

The only kind of authority I recognize is a Certificate Authority
I need to get the blogging muscle working out more - honestly, I need to workout more in general.
This article is a bit of an easy low intensity workout: what happens when you have a custom CA chain and you’d like to not get those pesky “SSL Certificate Not Valid” errors with curl or Chrome then this article is for you!
And yes, the header image is from DALL-E
Background
This is something you have to solve for at every level of PKI management, from a simple self-signed certificate to a complex chain.
Say you roll your own self-signed certificate - or your service generates its own self-signed certificate. Maybe you create a complex self-signed Certificate Authority chain, or use something like StepCA that makes a Root and Intermediate Certificate Authority set.
You go sign some certificates, configure your services to use them - but the clients are still showing an ERR_CERT_AUTHORITY_INVALID error! Something that looks like this maybe:

This is because while the connection is encrypted, your client can’t be sure you’re not being Man-in-the-Middle’d because it can’t validate the identity of the other side.
The reason it works seamlessly with other services/websites on the public Internet is because your system comes with a default “Trusted Root Certificate Authority Bundle.” These are all the CAs that are trusted out of the box - eg, Amazon, Microsoft, Google, Comodo, DigiCert, governments, etc.
Notably, a very popular free CA, Let’s Encrypt, is absent from the system trusted stores - this is because the Root CA is actually ISRG’s Root CA, which then signs the Let’s Encrypt Intermediate CA. This Intermediate CA Certificate is provided when you use Let’s Encrypt’s ACME service and often concatenated at the end of the Service Certificate as a bundle.
So all you need to do is add the Root Certificate Authority’s Certificate to your system trusted root stores…and sometimes even your browser. When configuring your various services, you would also need to make sure to pass along any Intermediate CAs with the Service Certificate. Then your clients can validate the identity of all the Authorities on the chain.
This is also a challenge in other general use cases where Certificates are needed such as client based authentication, mTLS, etc - not something exclusive with traditional HTTPS client-server implementations.
Adding to Fedora/RHEL-based Systems
Let’s start with something easy - Linux systems by far are the easiest. Just copy to a path, run a command, and you’re done. Make sure your certificate is in PEM format with the matching .pem extension.
## Copy your Root CA to the sources path
sudo cp your-root-ca.pem /etc/pki/ca-trust/source/anchors/

## Update the Root CA Trust Bundles
sudo update-ca-trust
Bam! Restart your browser or re-run your curl command and you should be able to connect.
The update-ca-trust command takes any .pem certificates in the /etc/pki/ca-trust/source/anchors/ directory and bundles them with the trusted bundle provided by the ca-certificates system package.
The collection of these bundled Root CA Certificates is then stored in /etc/pki/ca-trust/extracted/pem/ for each type of CA bundle, email-ca-bundle.pem, objsign-ca-bundle.pem, and tls-ca-bundle.pem.
The command also rebuilds the system Java Keystore if you have Java installed - this is located at /etc/pki/ca-trust/extracted/java/.
Container Use Cases
The easiest way to trust custom Root CAs in a Linux container would be to just add a COPY and RUN set of instructions in your Containerfile. That totally works.
However, if you add/revoke/renew Root CAs - not an often occurance most places - but in case you do need to, such as - heaven forbid - in the case of a root key exfiltration, then you’ll need to rebuild all the containers that have that Root CA. If you have a Golden base image then that needs to be rebuilt, and then all the containers with layers that build on top of it. This can take some time.
Some folk may decide to mount the trusted Root CA bundle either from the container host or via a ConfigMap/Volume in Kubernetes/Podman. I wrote all about how to handle Custom Root CAs in OpenShift, which has a few nifty capabilities to make this option much easier. This way, if they’re mounted at runtime, you can just update the mounted definition and rollout/restart affect pods/containers.
Adding to Debian/Ubuntu-based Systems
Of course, the Linux Standard Base differs on the two largest Linux foundations - nothing can ever be truly simple.
Though, it’s still not that hard - just add the PEM formatted file to a different location, making sure that the extension is .crt this time.
## Copy your Root CA to the sources path
sudo cp your-root-ca.crt /usr/local/share/ca-certificates/

## Update the Root CA Trust Bundles
sudo update-ca-certificates
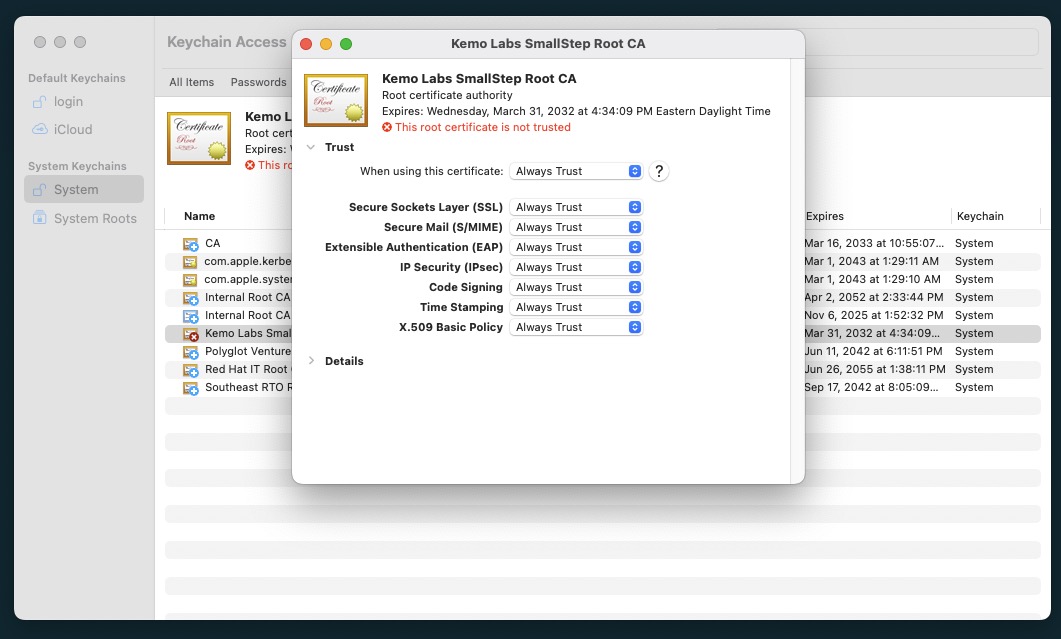
Adding to Mac OS X - GUI
If you’re using OS X it’s not too difficult to add a custom Root CA to your trusted system store - make sure it’s in PEM format with a .crt extension.
- Download the Root CA PEM to your system
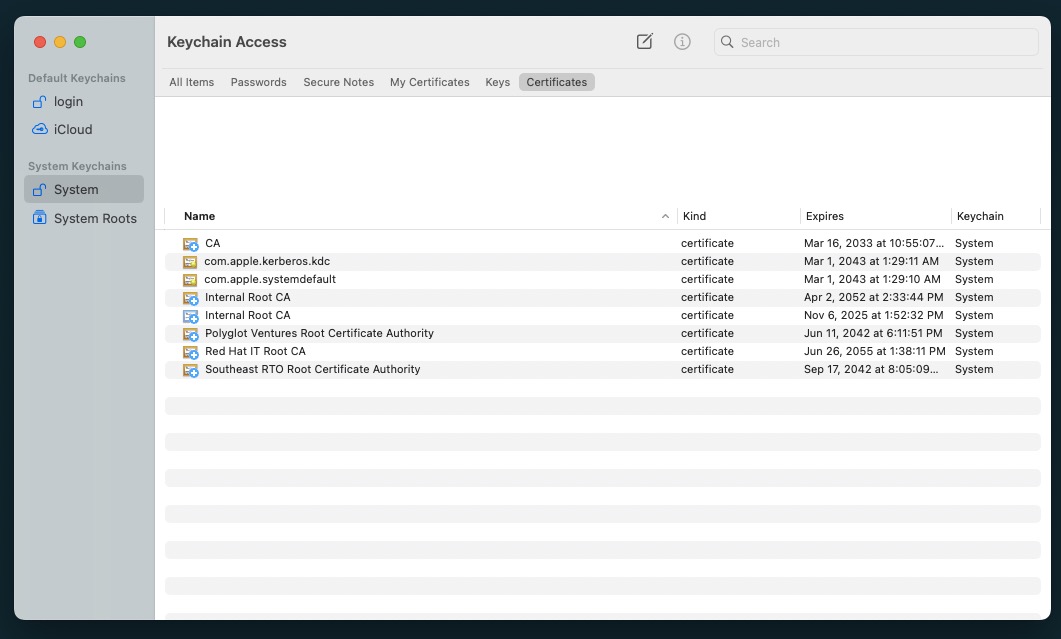
- Open the Keychain Access App
- Navigate to the System Keychains > System view in the left-hand pane.
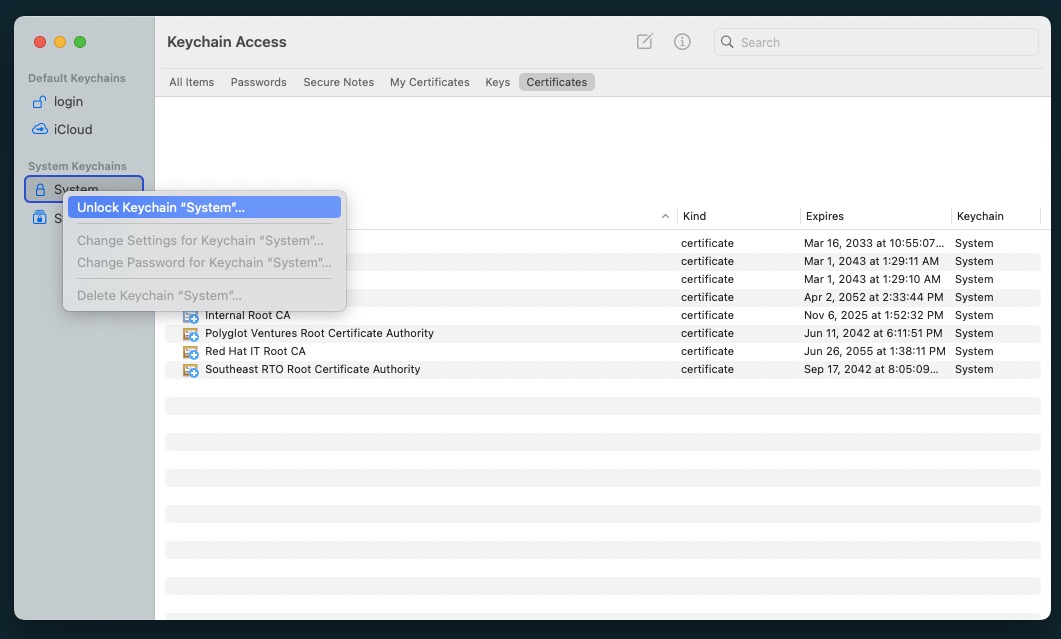
- From the Menu Bar, select File > Unlock Keychain “System” - enter your password. You can also right-click on the Keychain to unlock.
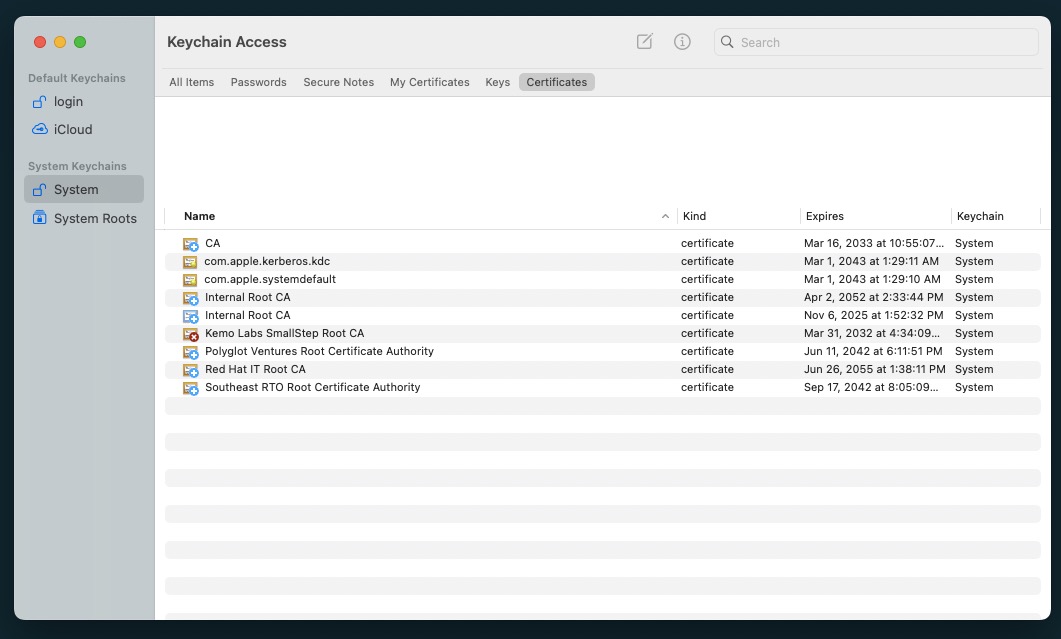
- From the Menu Bar, select File > Import Item..
- Select the PEM file
- Enter your password
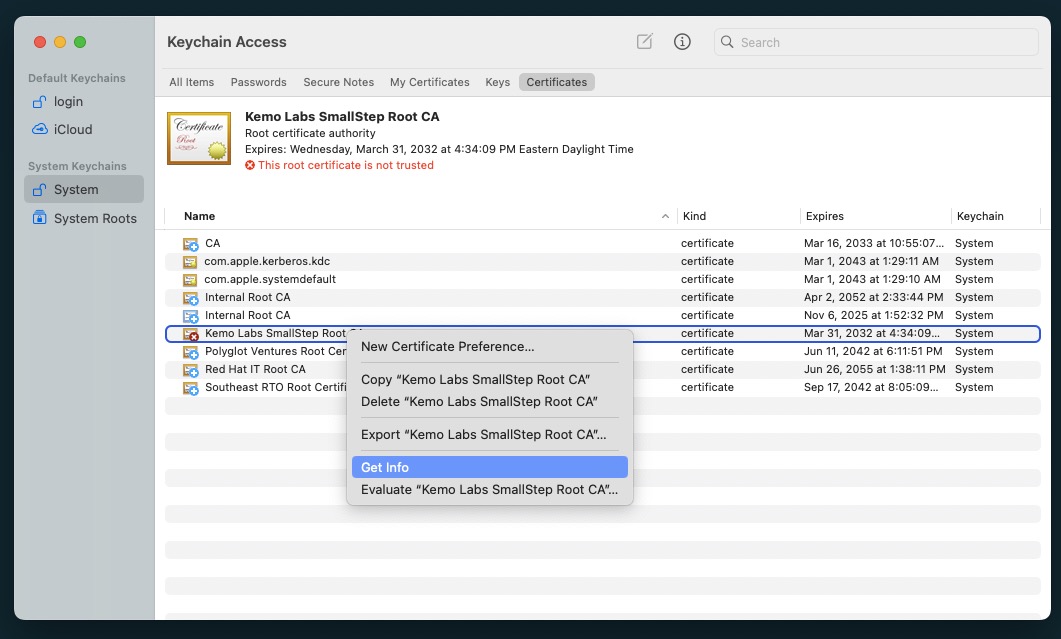
From this point, it will be imported into the System Keychain, but not trusted yet - you’ll see a Red “X” on its icon.
- Right click on the newly imported Root CA select Get Info…
- Expand the Trust section in the popup modal.
- Select the “Always Trust” option from the When using this certificate: dropdown.
- Close the modal - enter your password again.

Now you should be able to relaunch your browser/terminal and have nice and validated secure connections!
Adding to Mac OS X - CLI
Alternatively, you can do the same thing via the command line as well - make sure the Certificate is in PEM format, extension doesn’t matter:
# Add the CA cert to the
sudo security add-trusted-cert -d -r trustRoot -k /Library/Keychains/System.keychain ~/Downloads/your-root-ca.crt
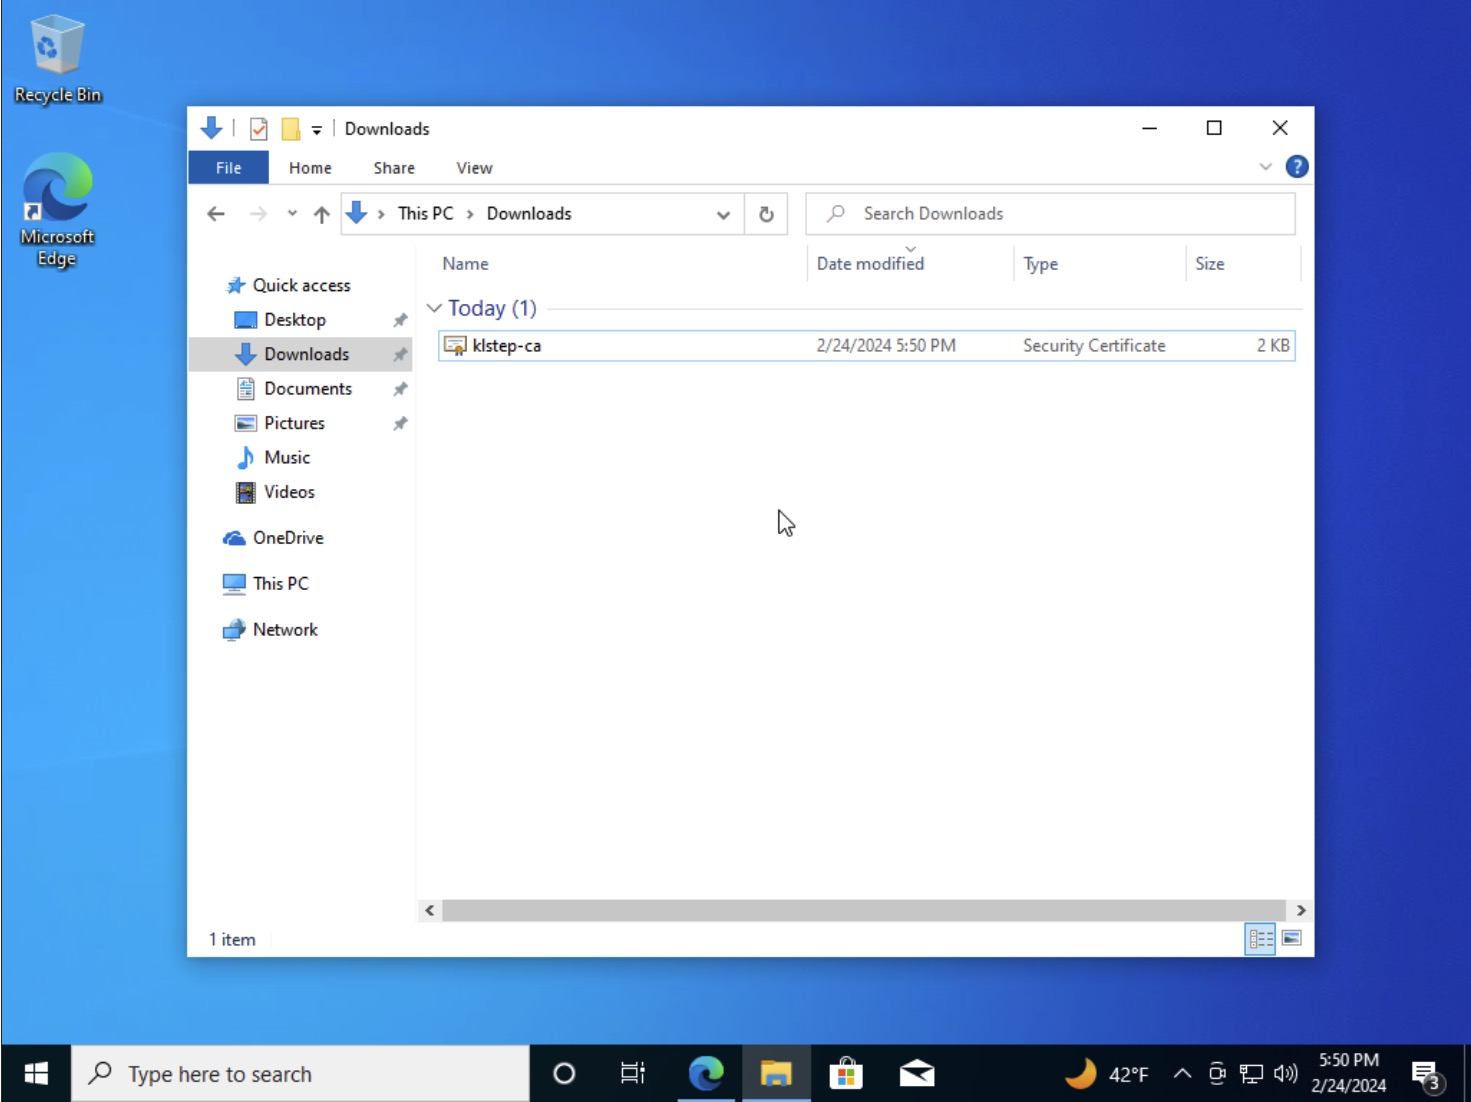
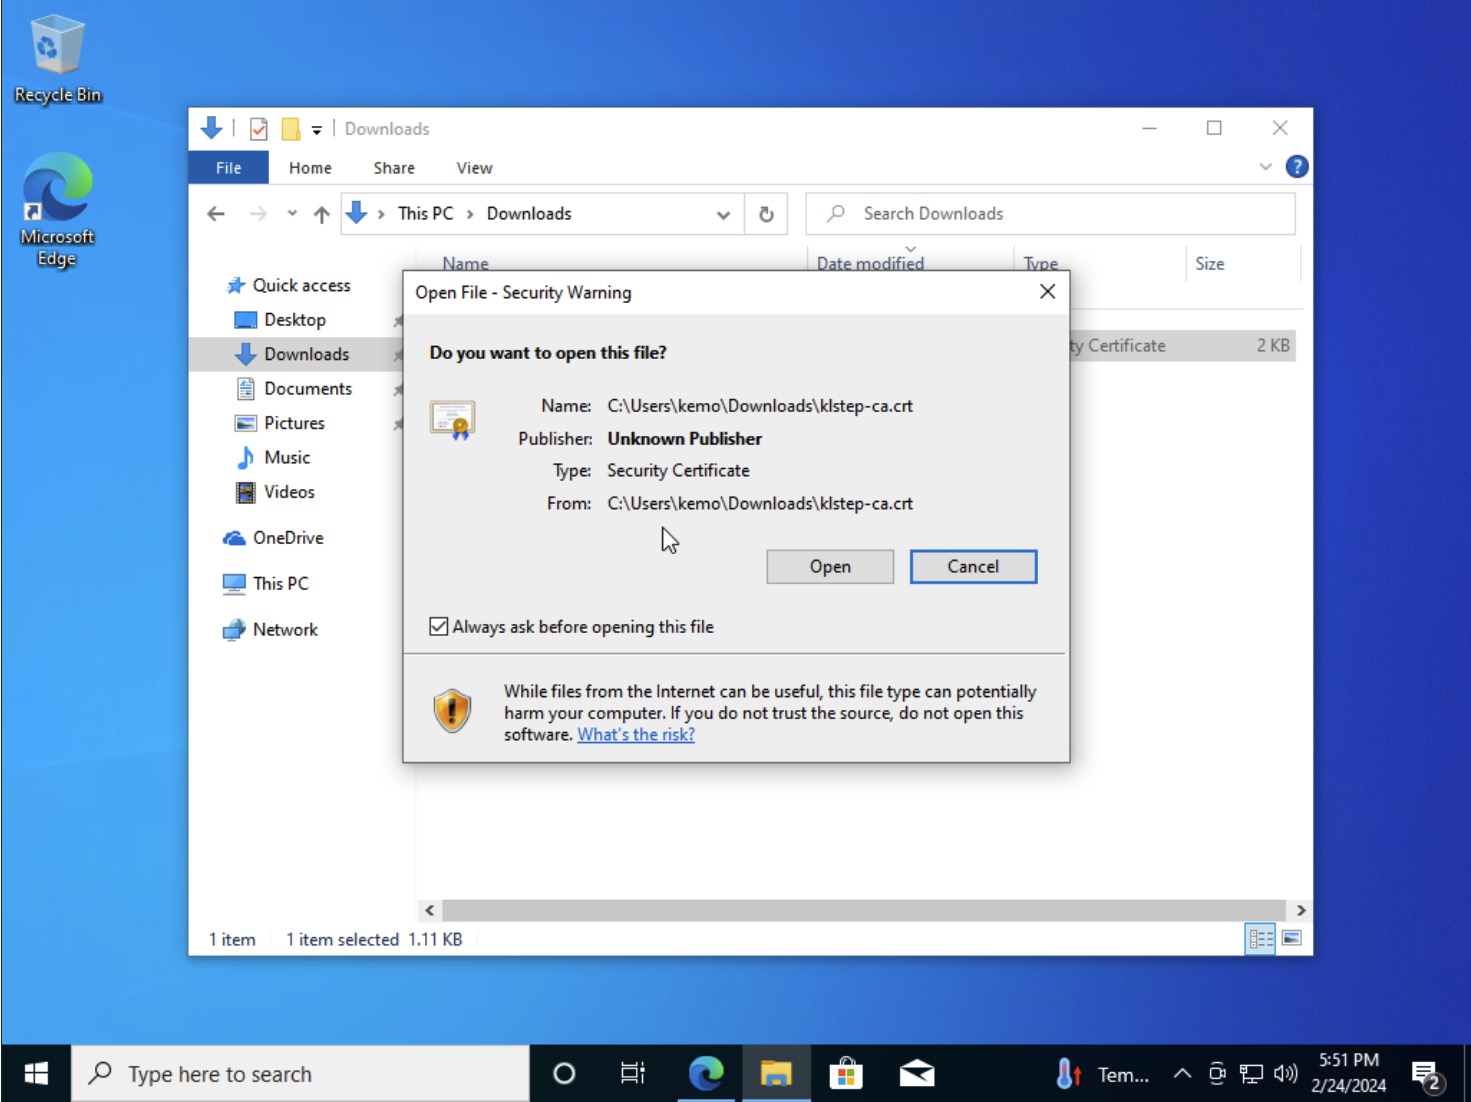
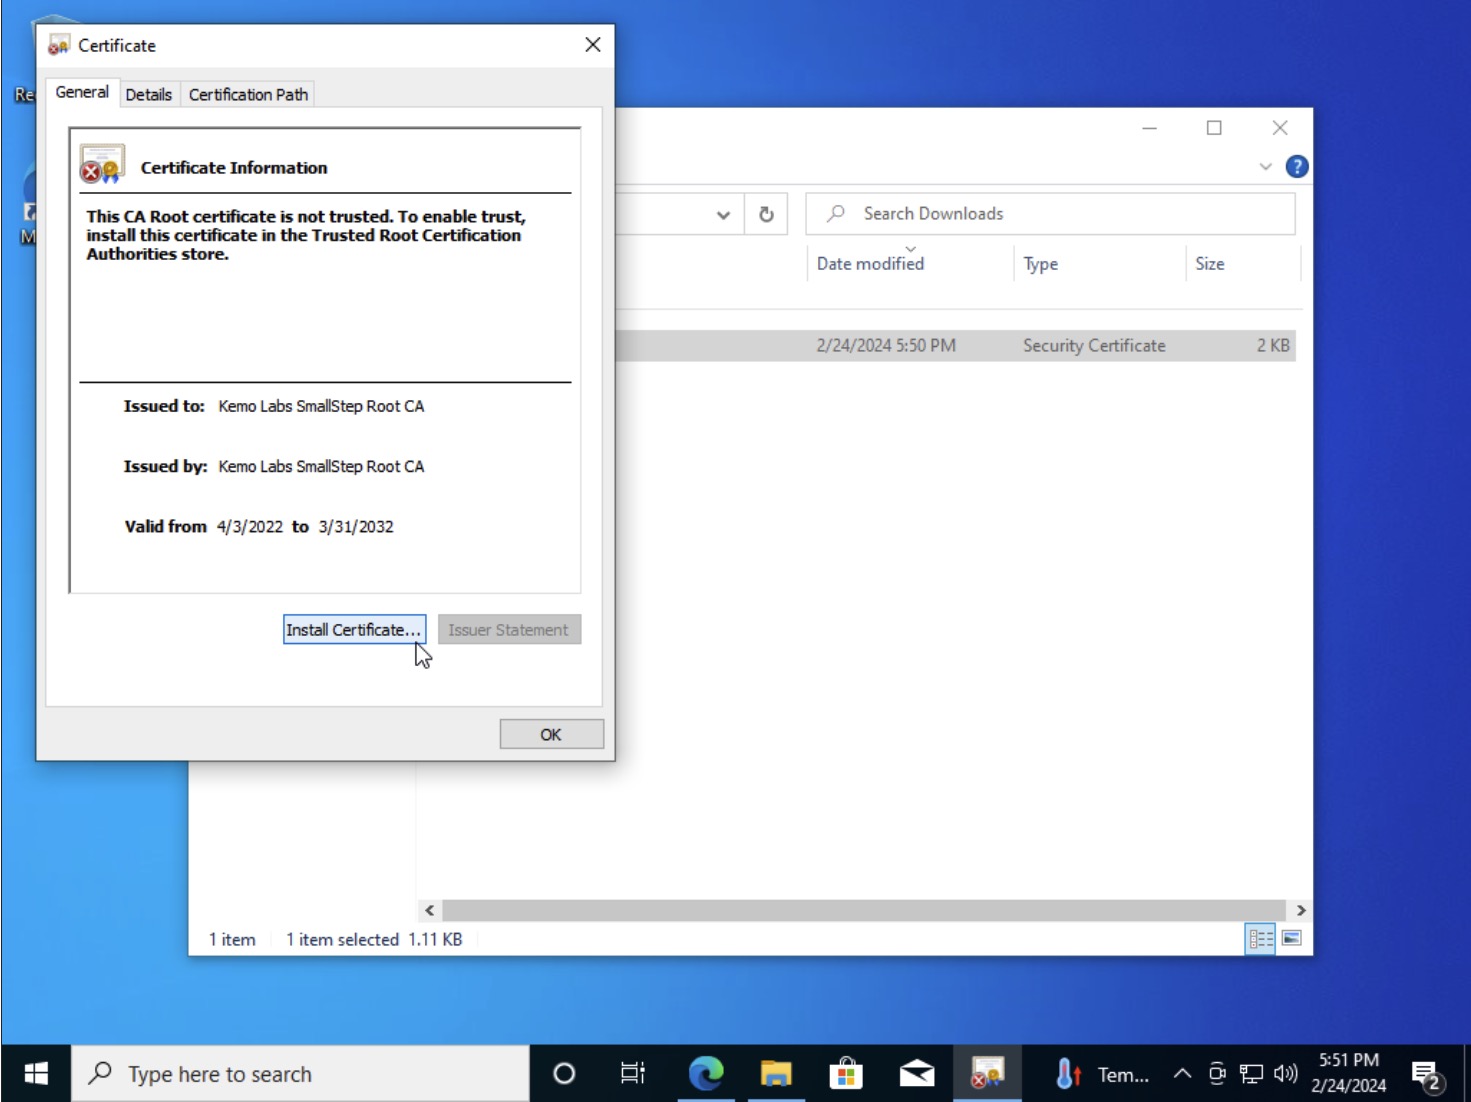
Adding to Windows Systems - GUI
Next up, everyone’s favorite side-piece: Windows. Windows can install a variety of Certificate formats, but the easiest is still a PEM formatted .crt file:
- Download the
.crtto your system - Open Windows Explorer, navigate to the downloaded location, double click to open the file
- Blow past the Security Warning - Windows is so sensitive about things from the Internet
- In the Certificate modal that pops-up, click the Install Certificate… button
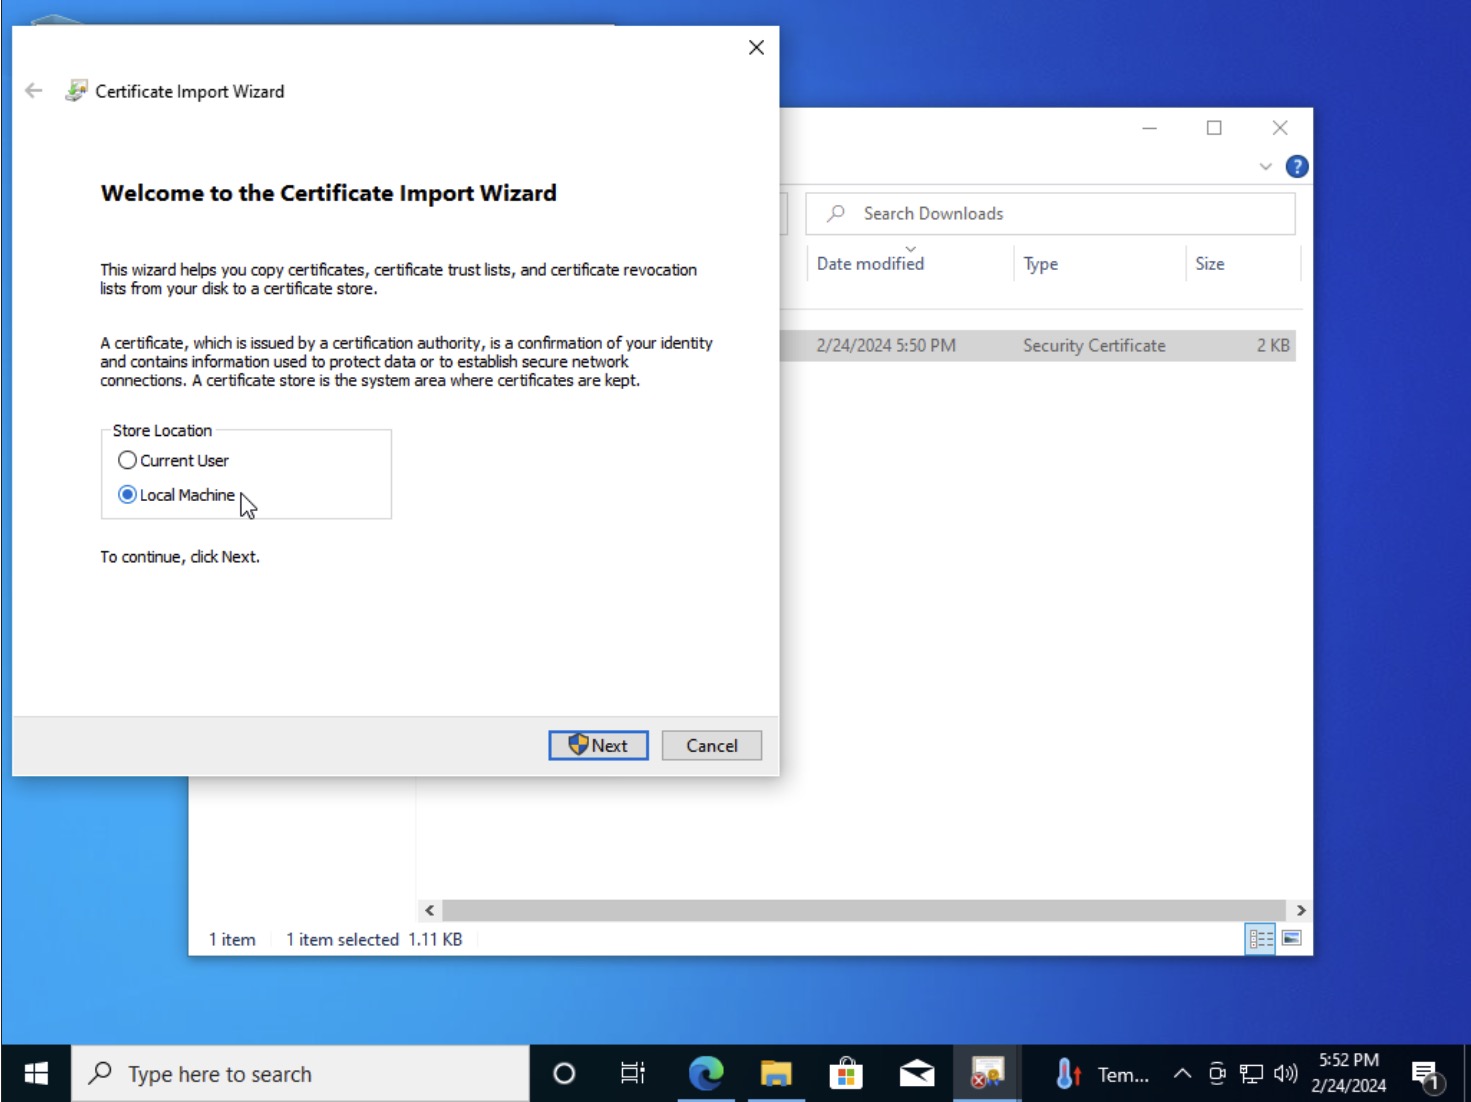
- Select the “Local Machine” Store Location
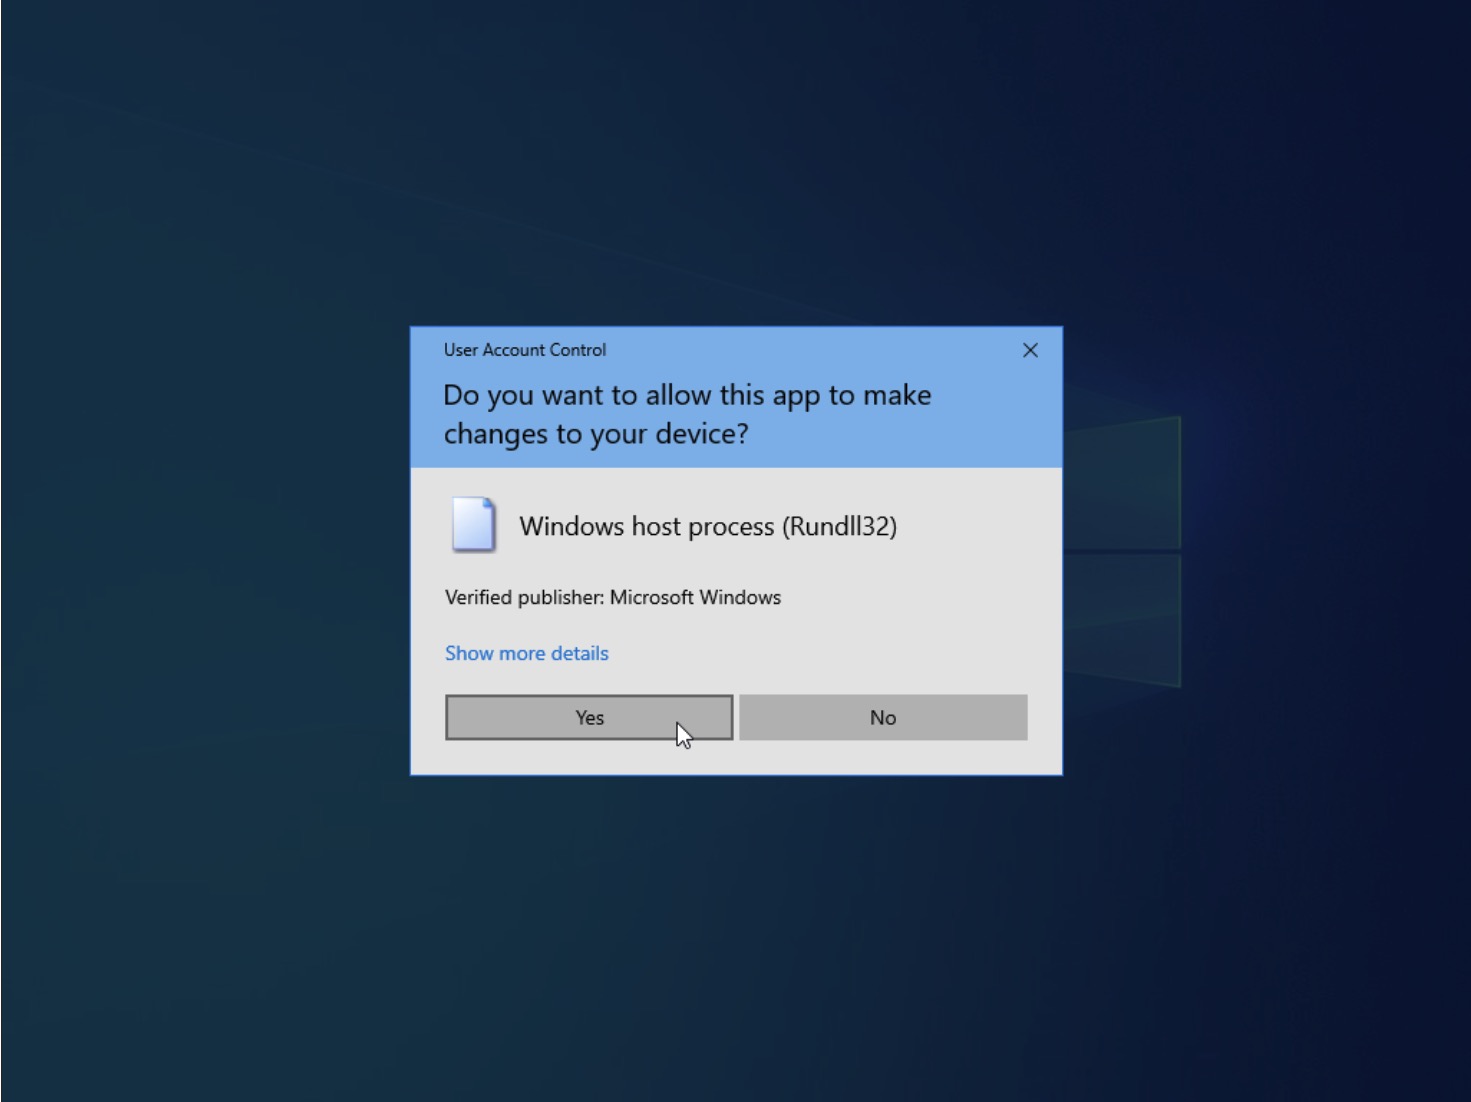
- Skrt-skrt past the UAC prompt
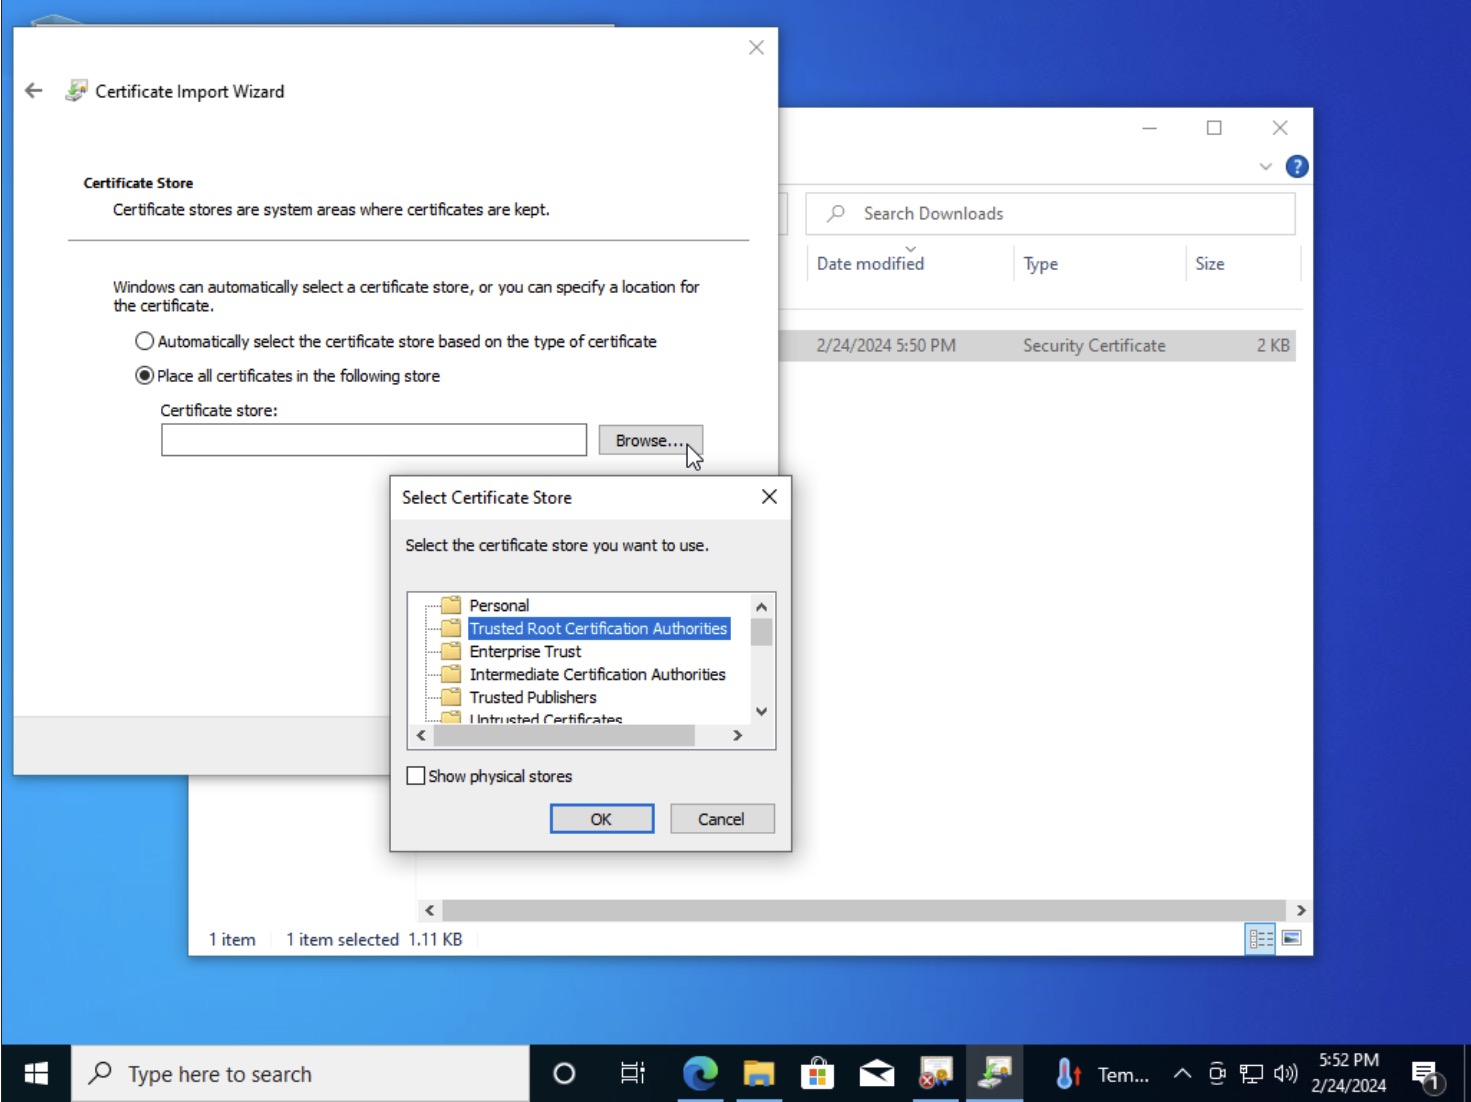
- In the Certificate Import Wizard, select “Place all certificate in the following store” and click the “Browse” button
- In the “Select Certificate Store” pop-up, select “Trusted Root Certification Authorities” and click “OK”
- Once back at the Certificate Import Wizard click “Next” and “Finish”

Adding to Windows Systems - CLI
Of course, this wouldn’t be an thorough guide if there wasn’t a Windows Powershell way to do things! Make sure this is an Administrative Powershell Console since this is adding the certificate to the Local Machine (System) Trusted Root Store. Windows can take DER or PEM formatted Certificates, just make sure the extension is .crt. If importing a PKCS 12 format file, the extension needs to be .p12
Import-Certificate -FilePath "C:\Users\myUser\Downloads\your-root-ca.crt" -CertStoreLocation Cert:\LocalMachine\Root
Adding to iOS - iPhone/iPad
This is honestly the weirdest workflow of them all - you have to do things is a very specific way or else it doesn’t work.
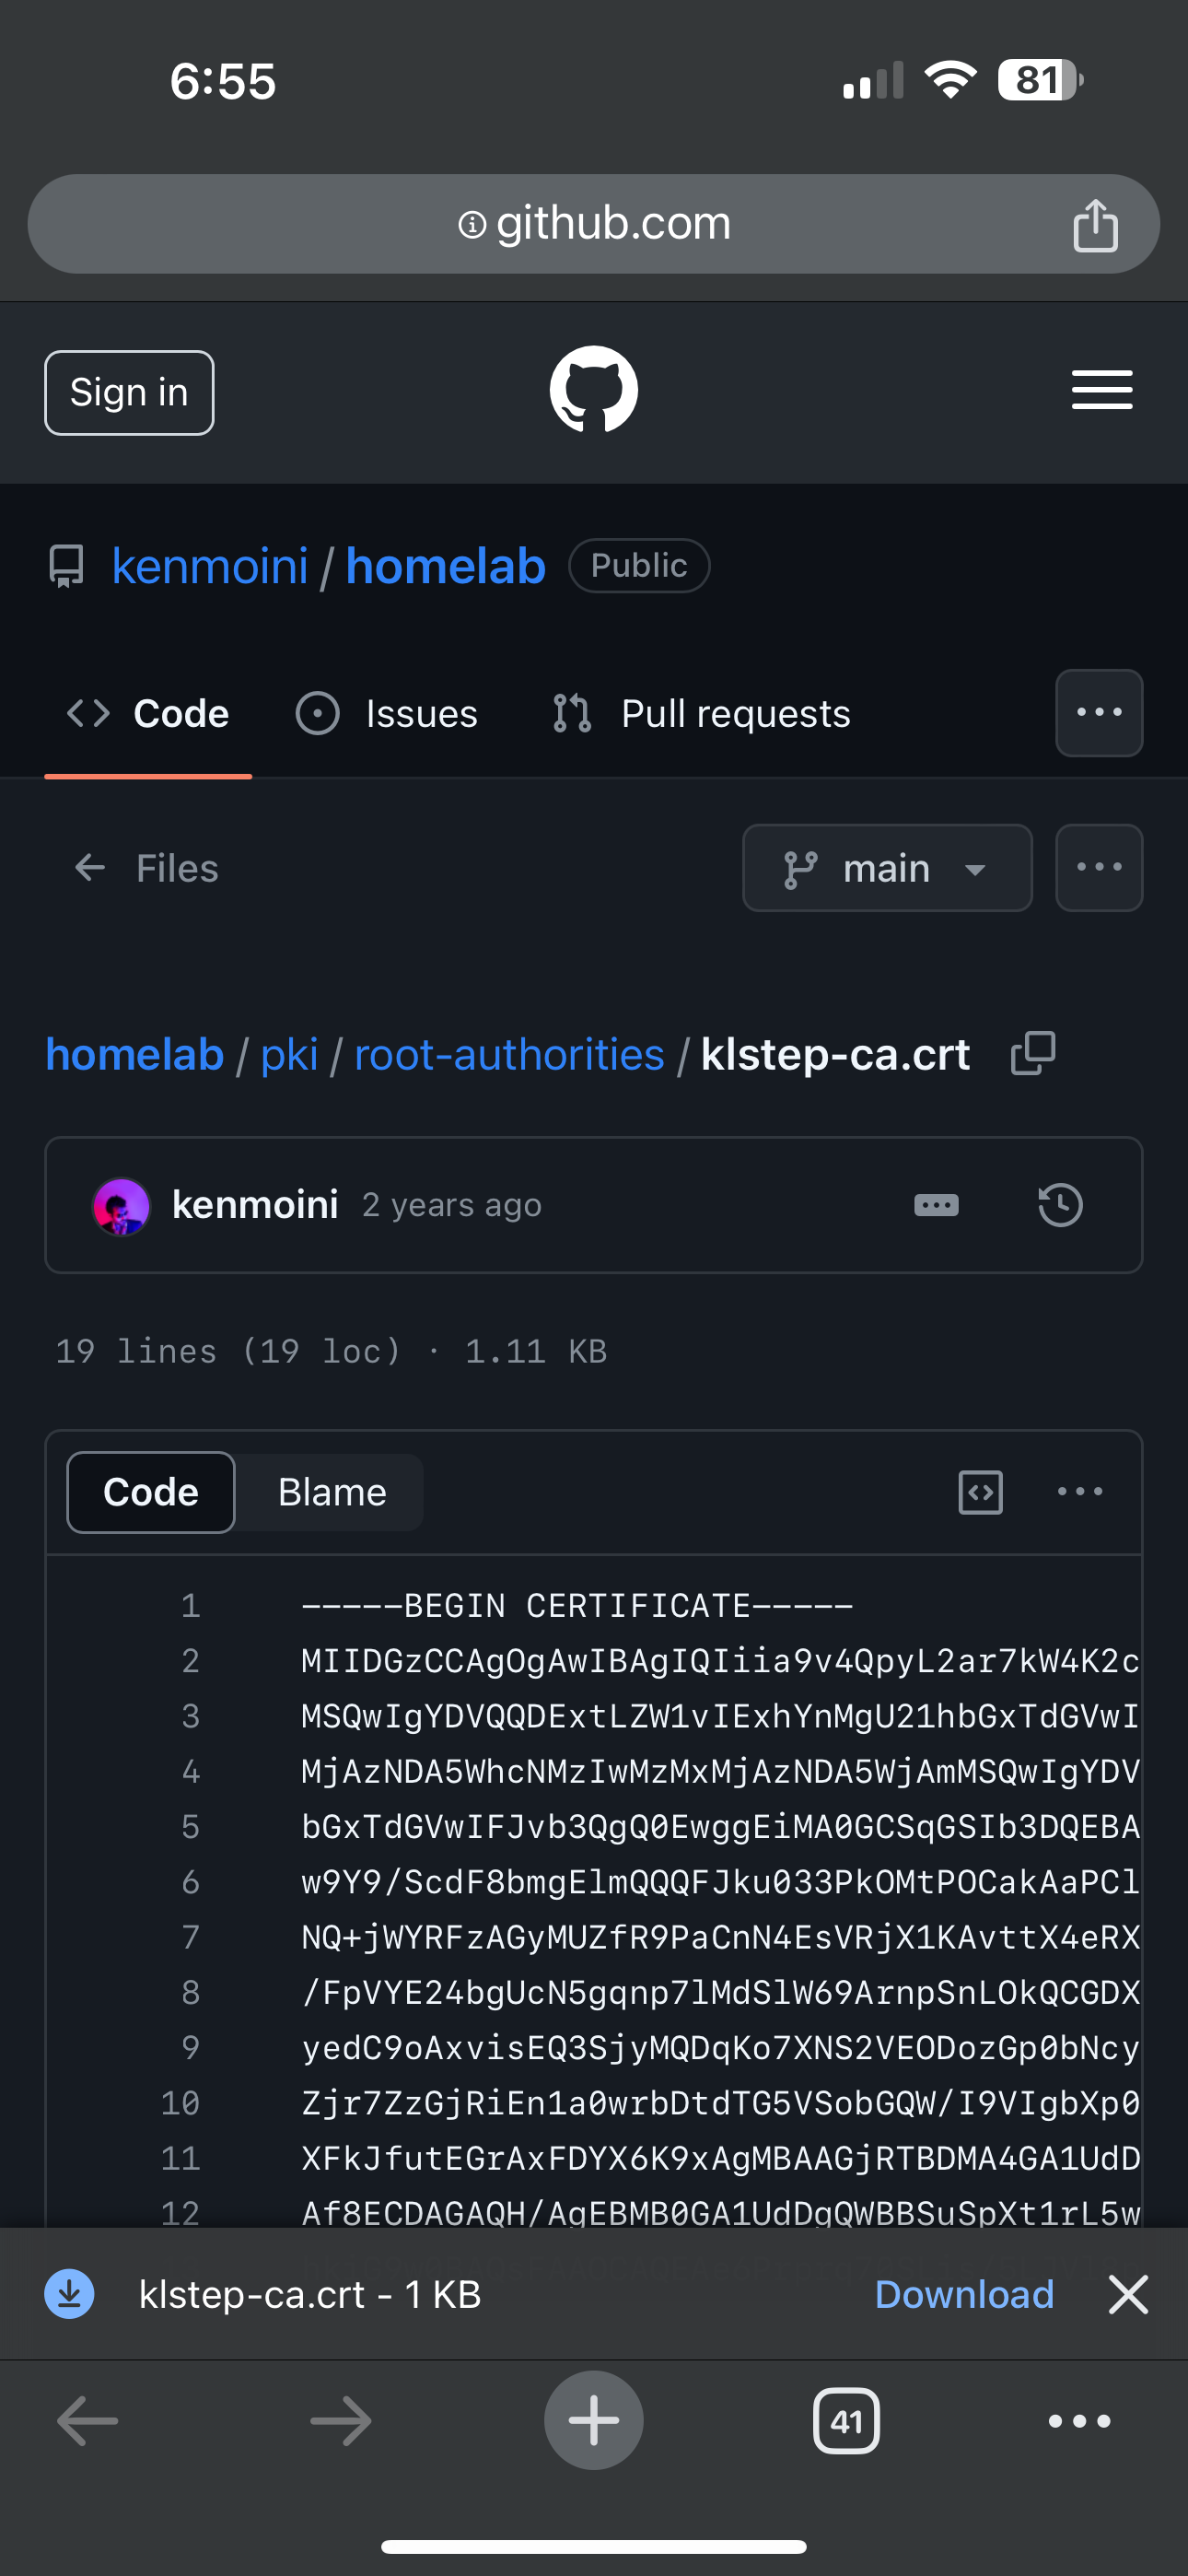
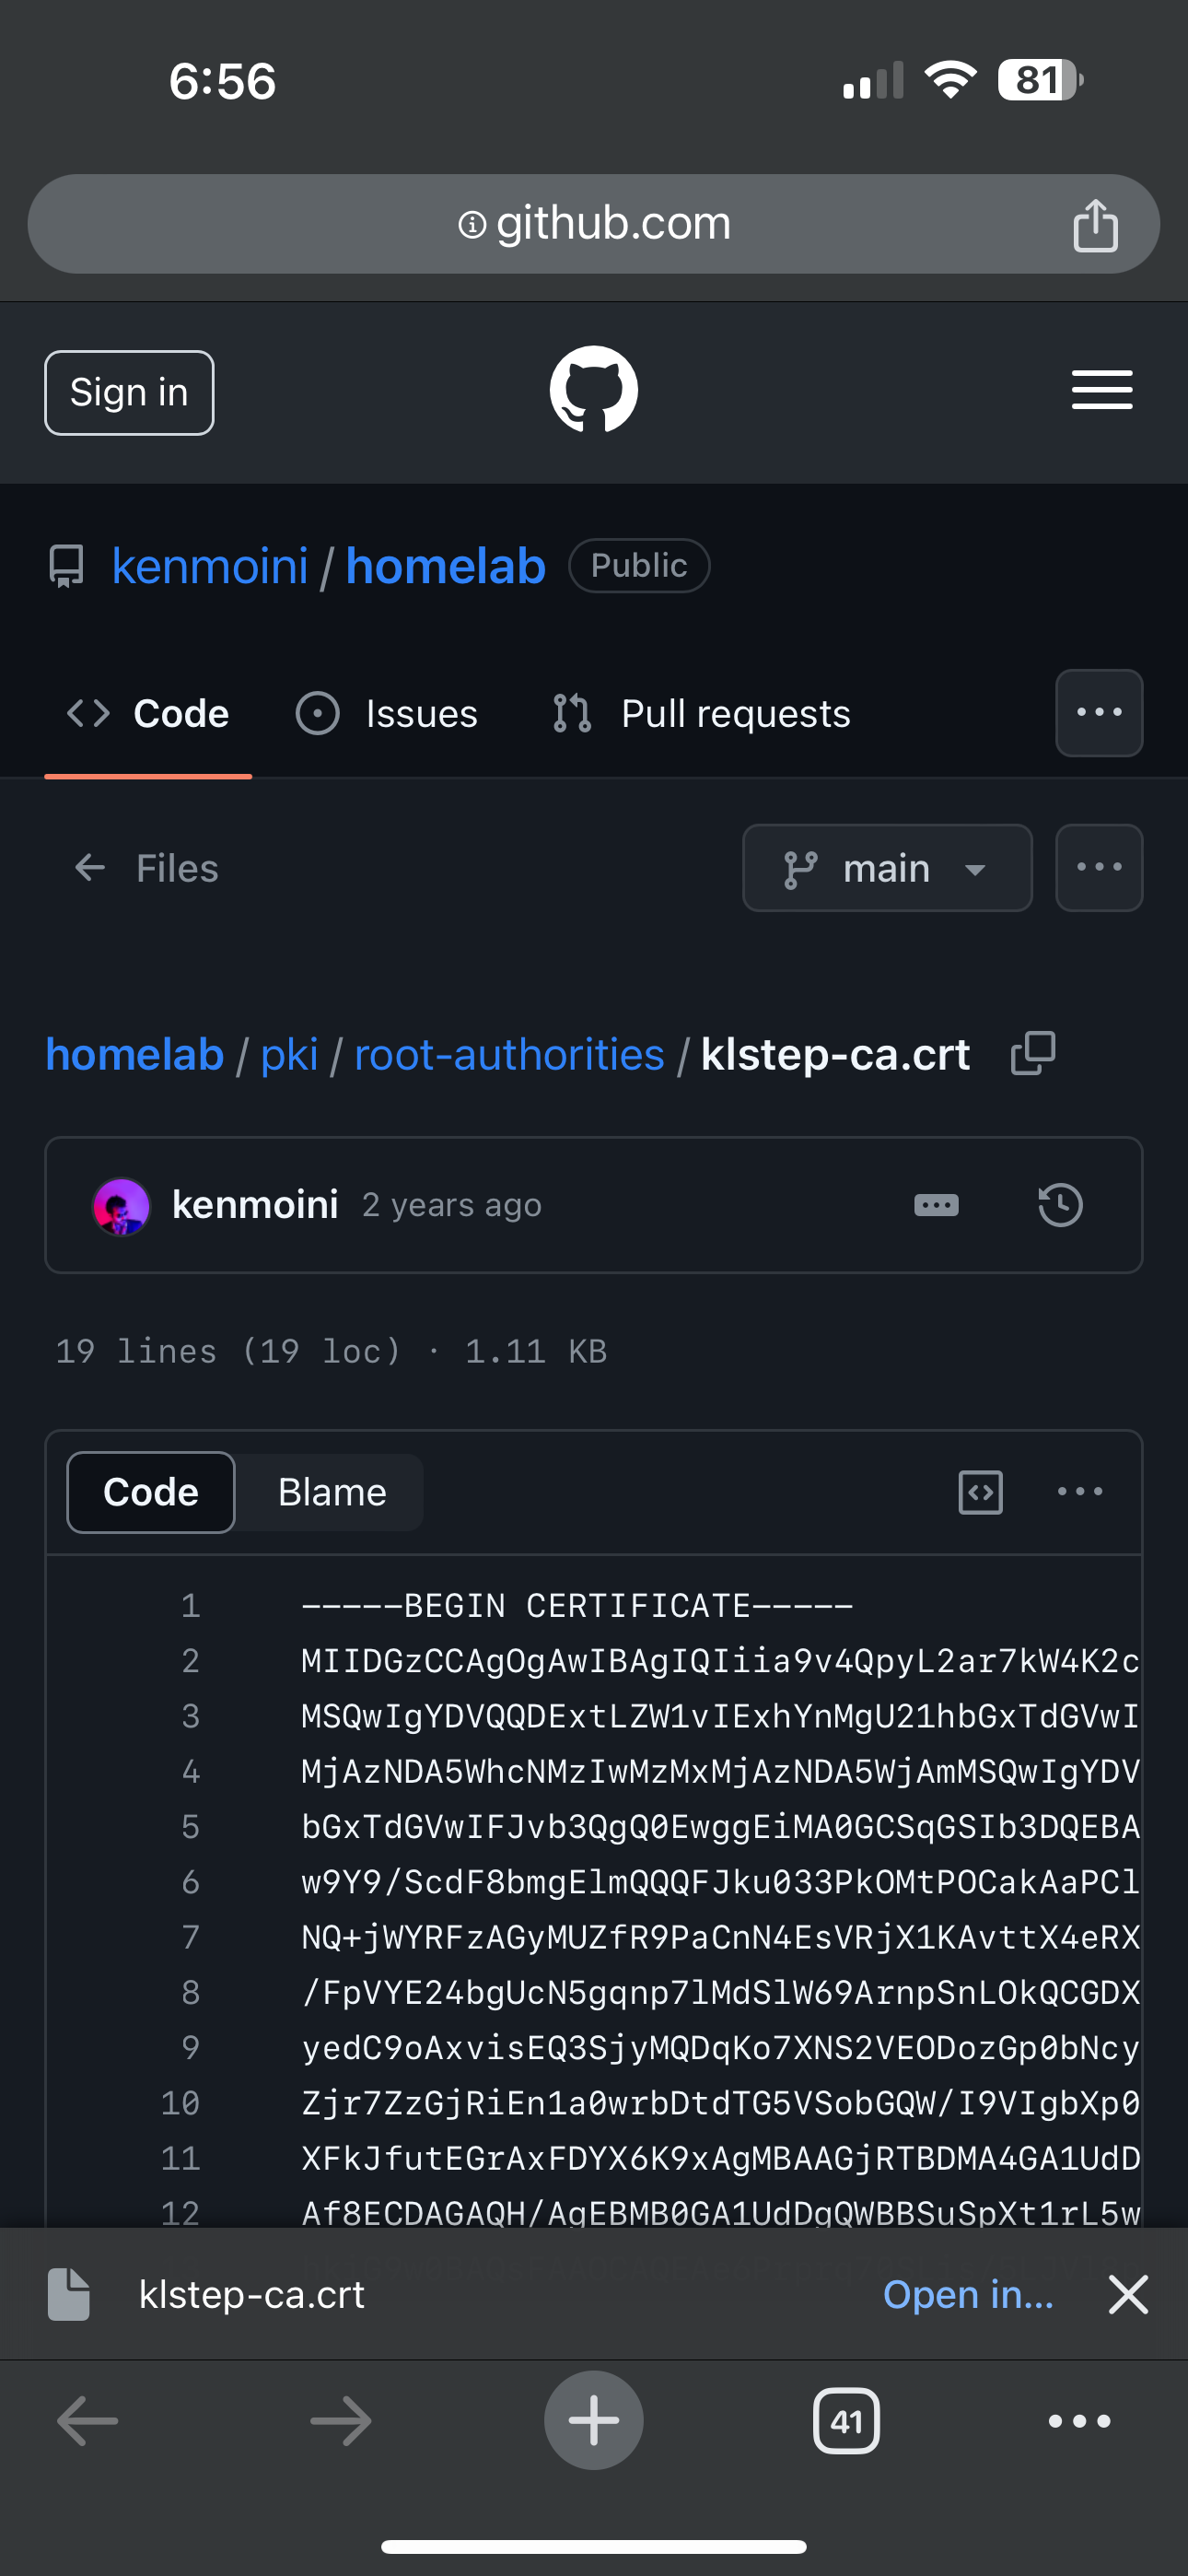
- Get the Root CA Certificate to the phone, in PEM format with a
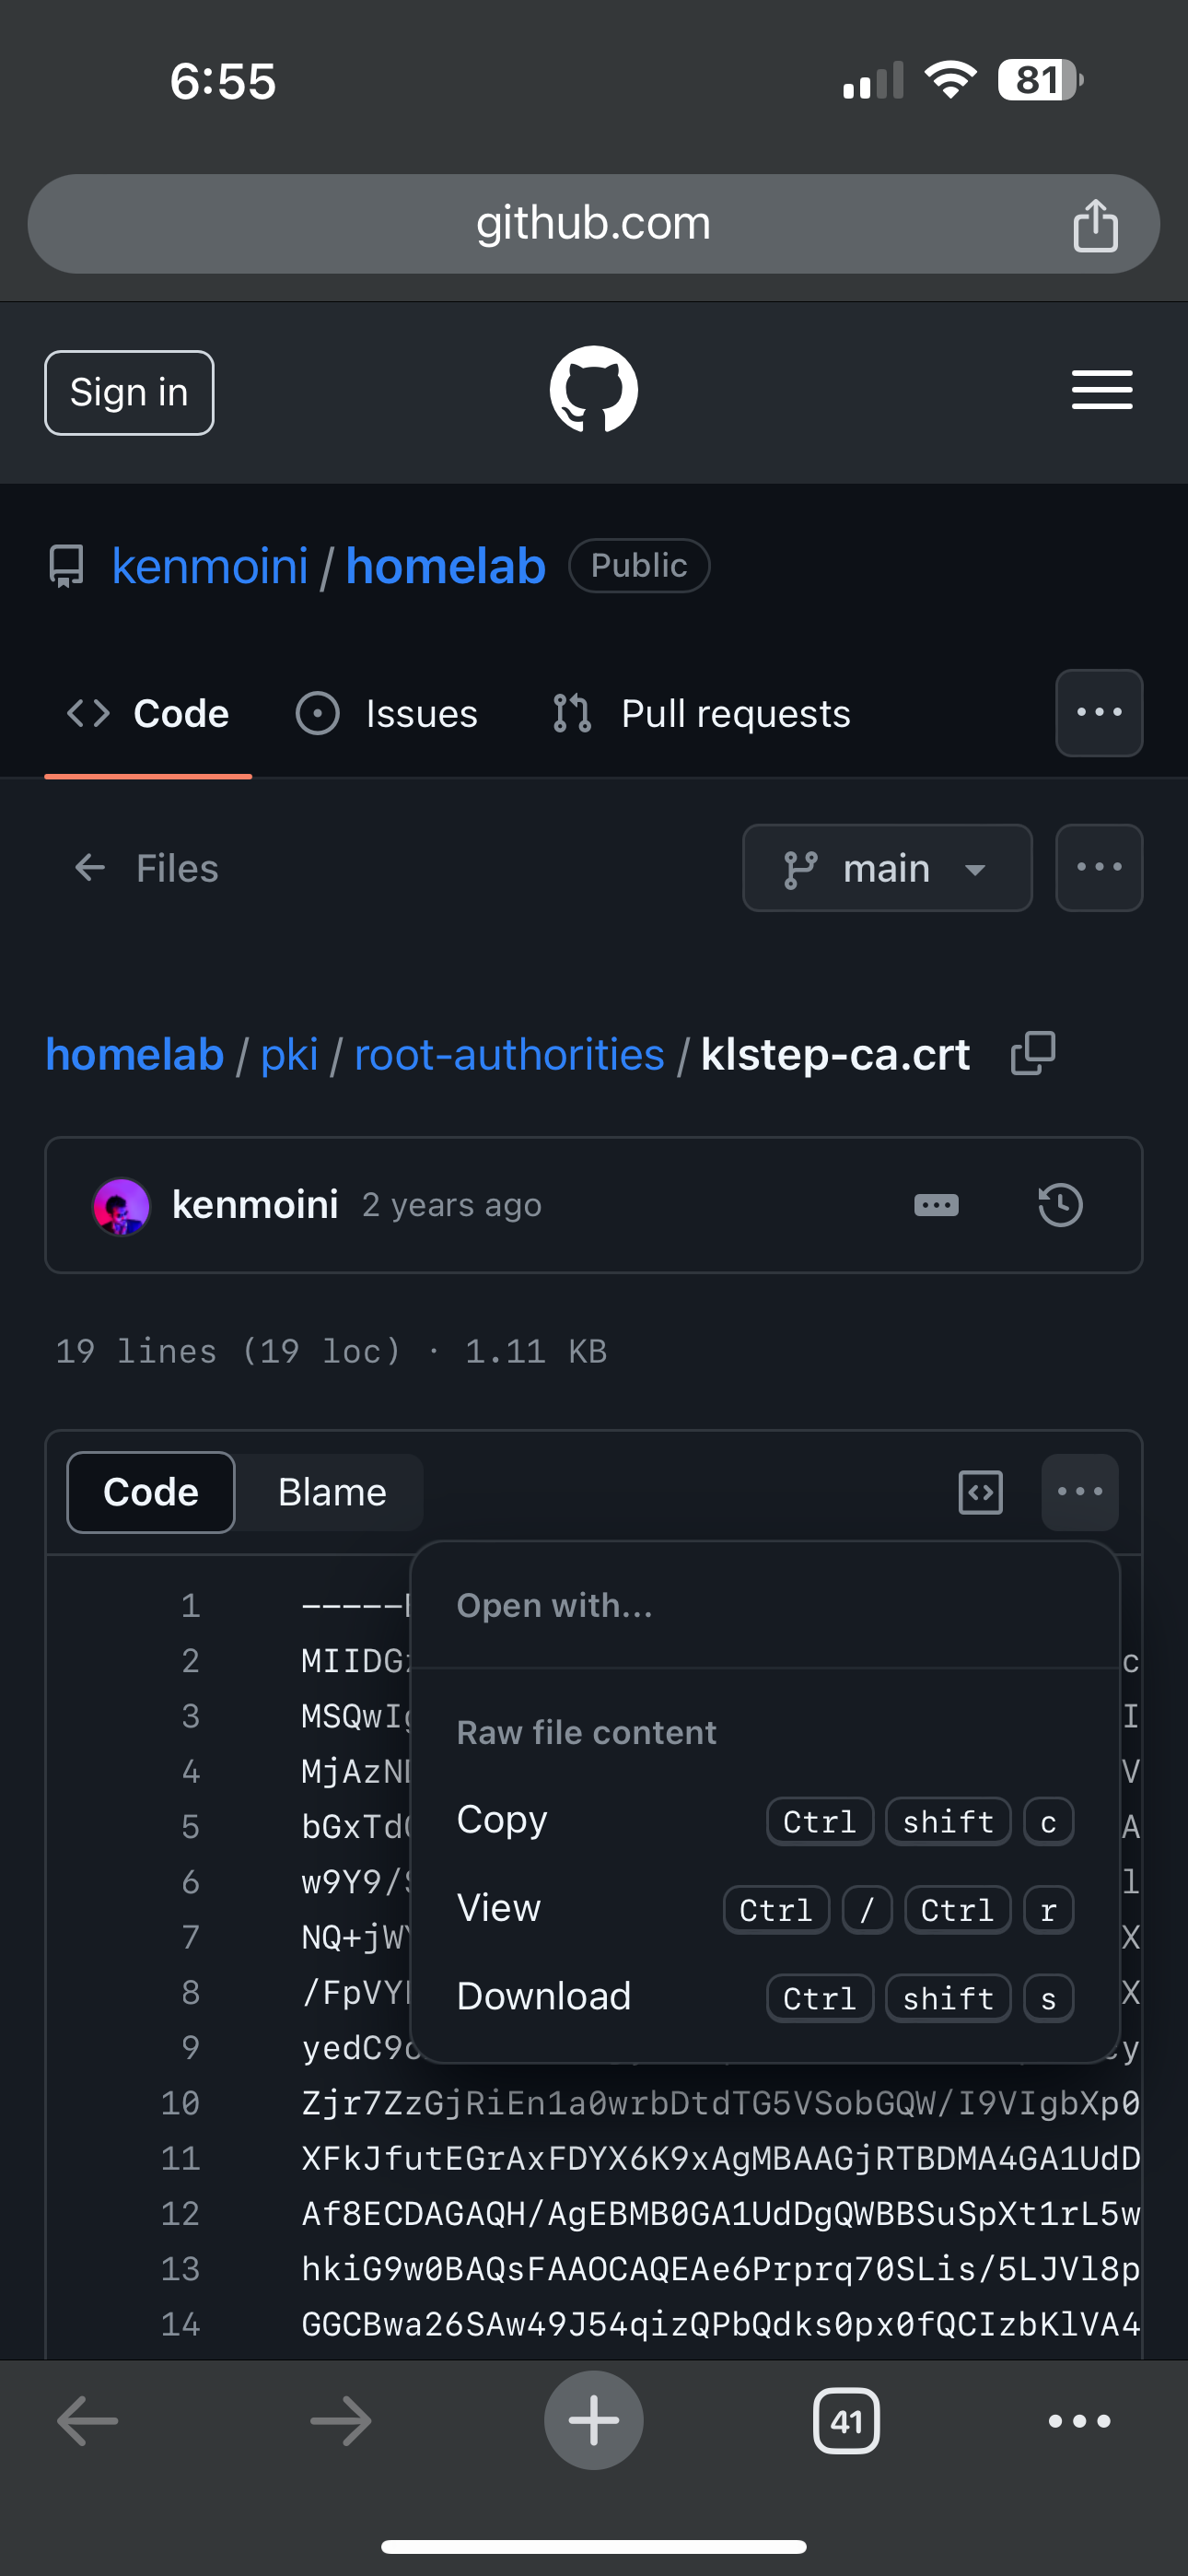
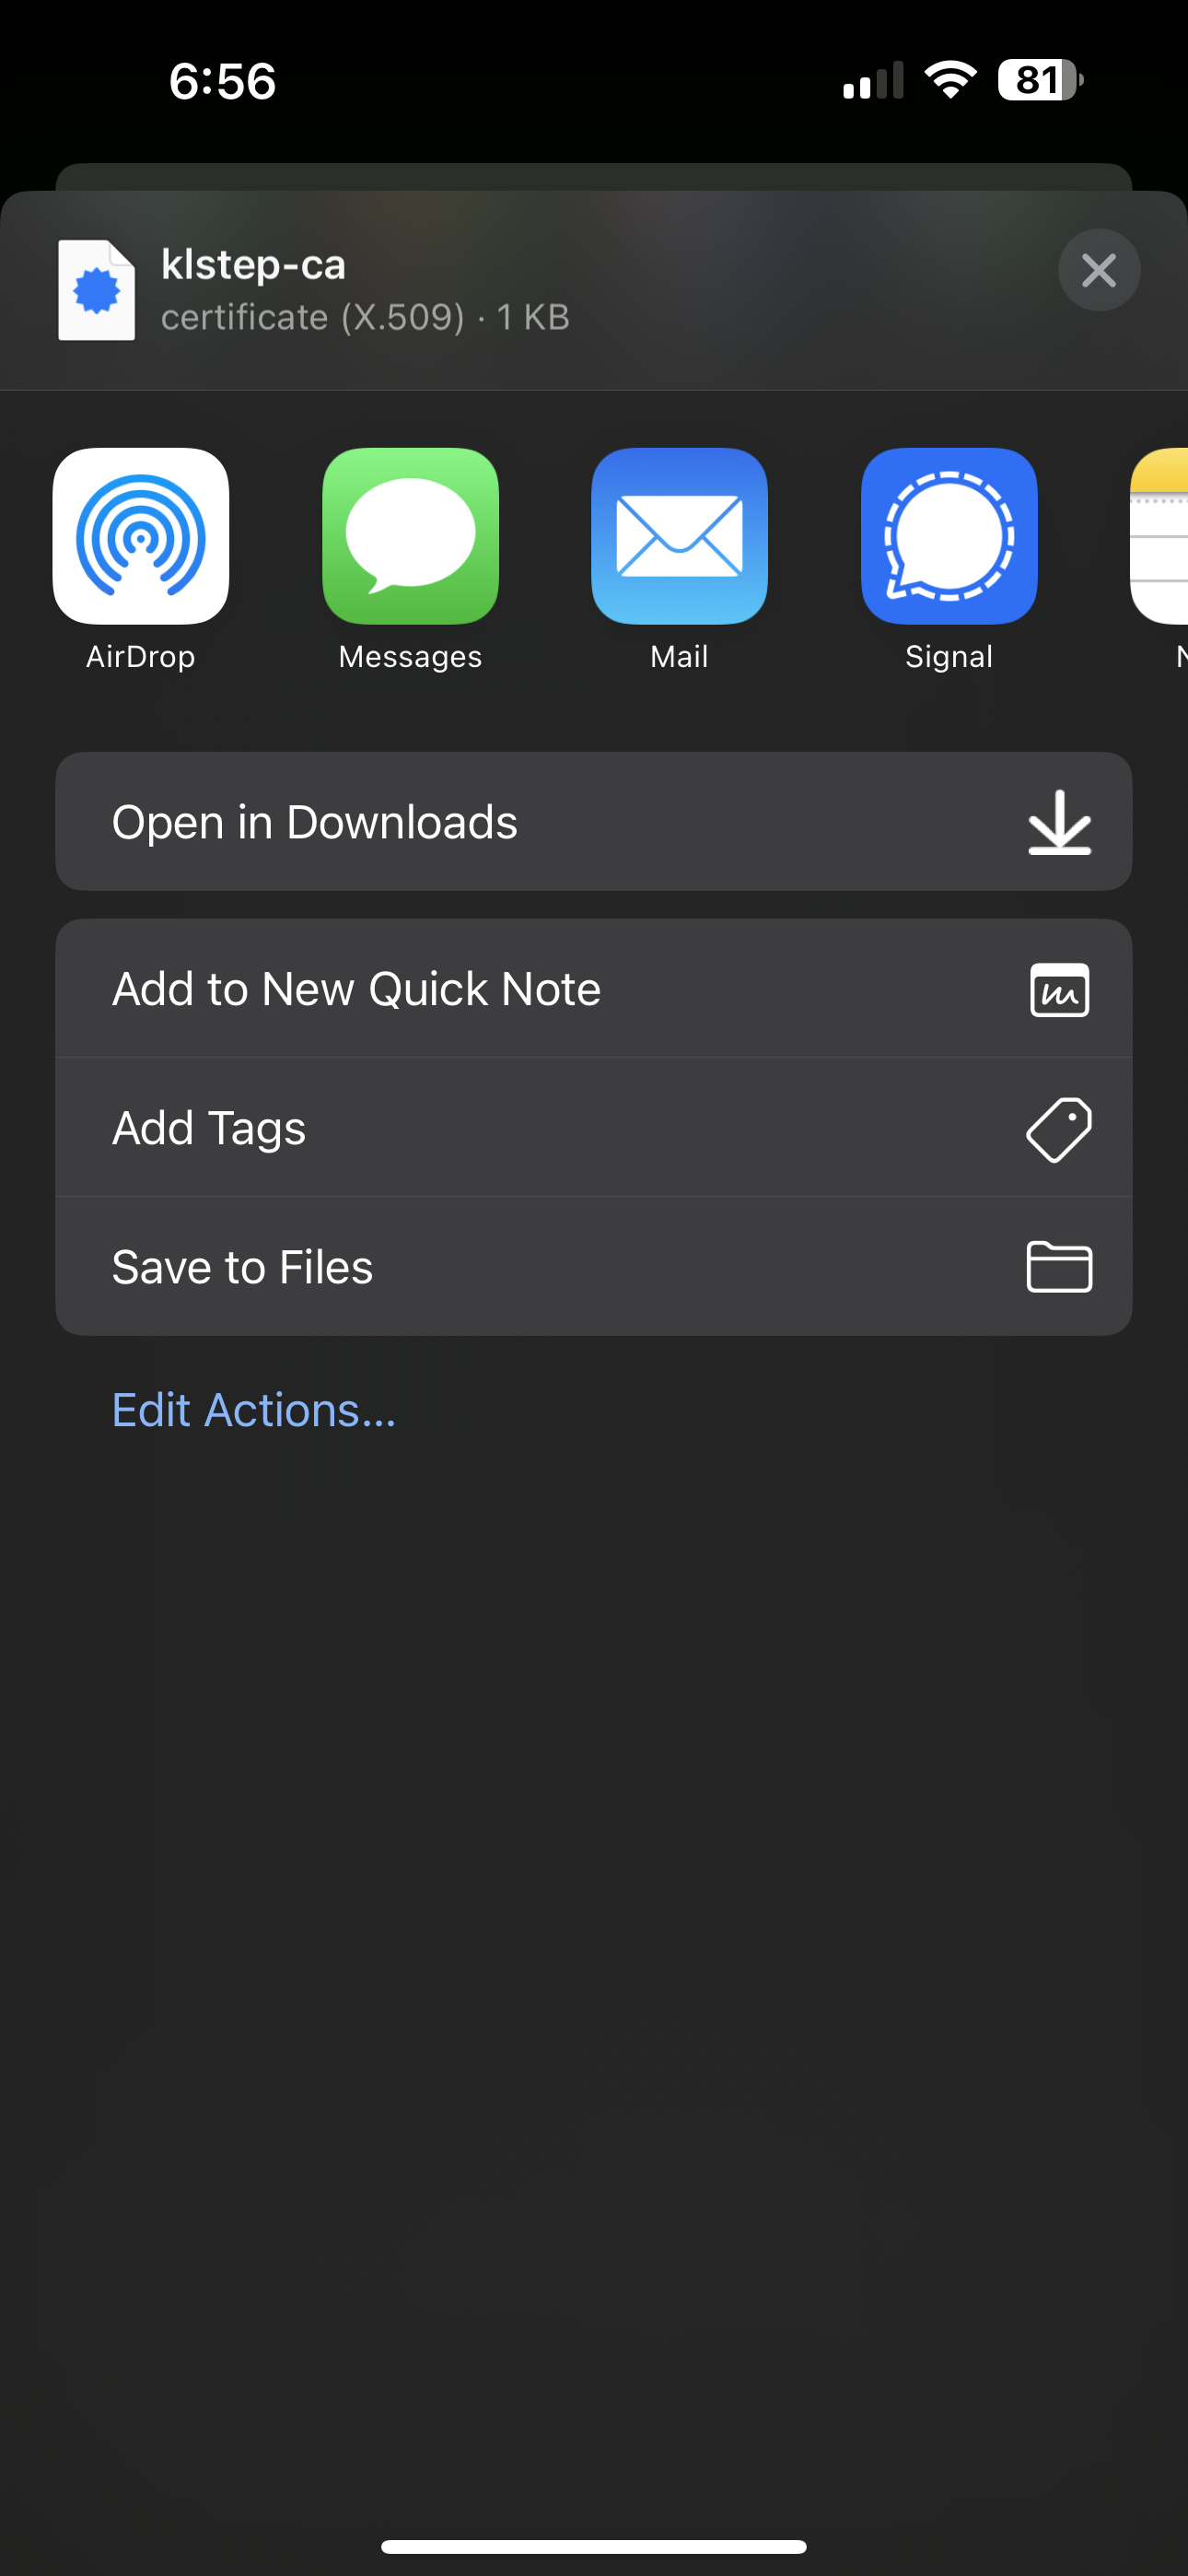
.crtextension - this is easiest via a browser link. I save my Root CA Certs on GitHub which makes it easy to download. - When downloading the Certificate, you may need to tap the prompt to “Download” at the bottom of the browser to actually download - make sure to select the “Save to Files…” option in the Downloads pop-up - and save it to your actual iPhone, not iCloud.
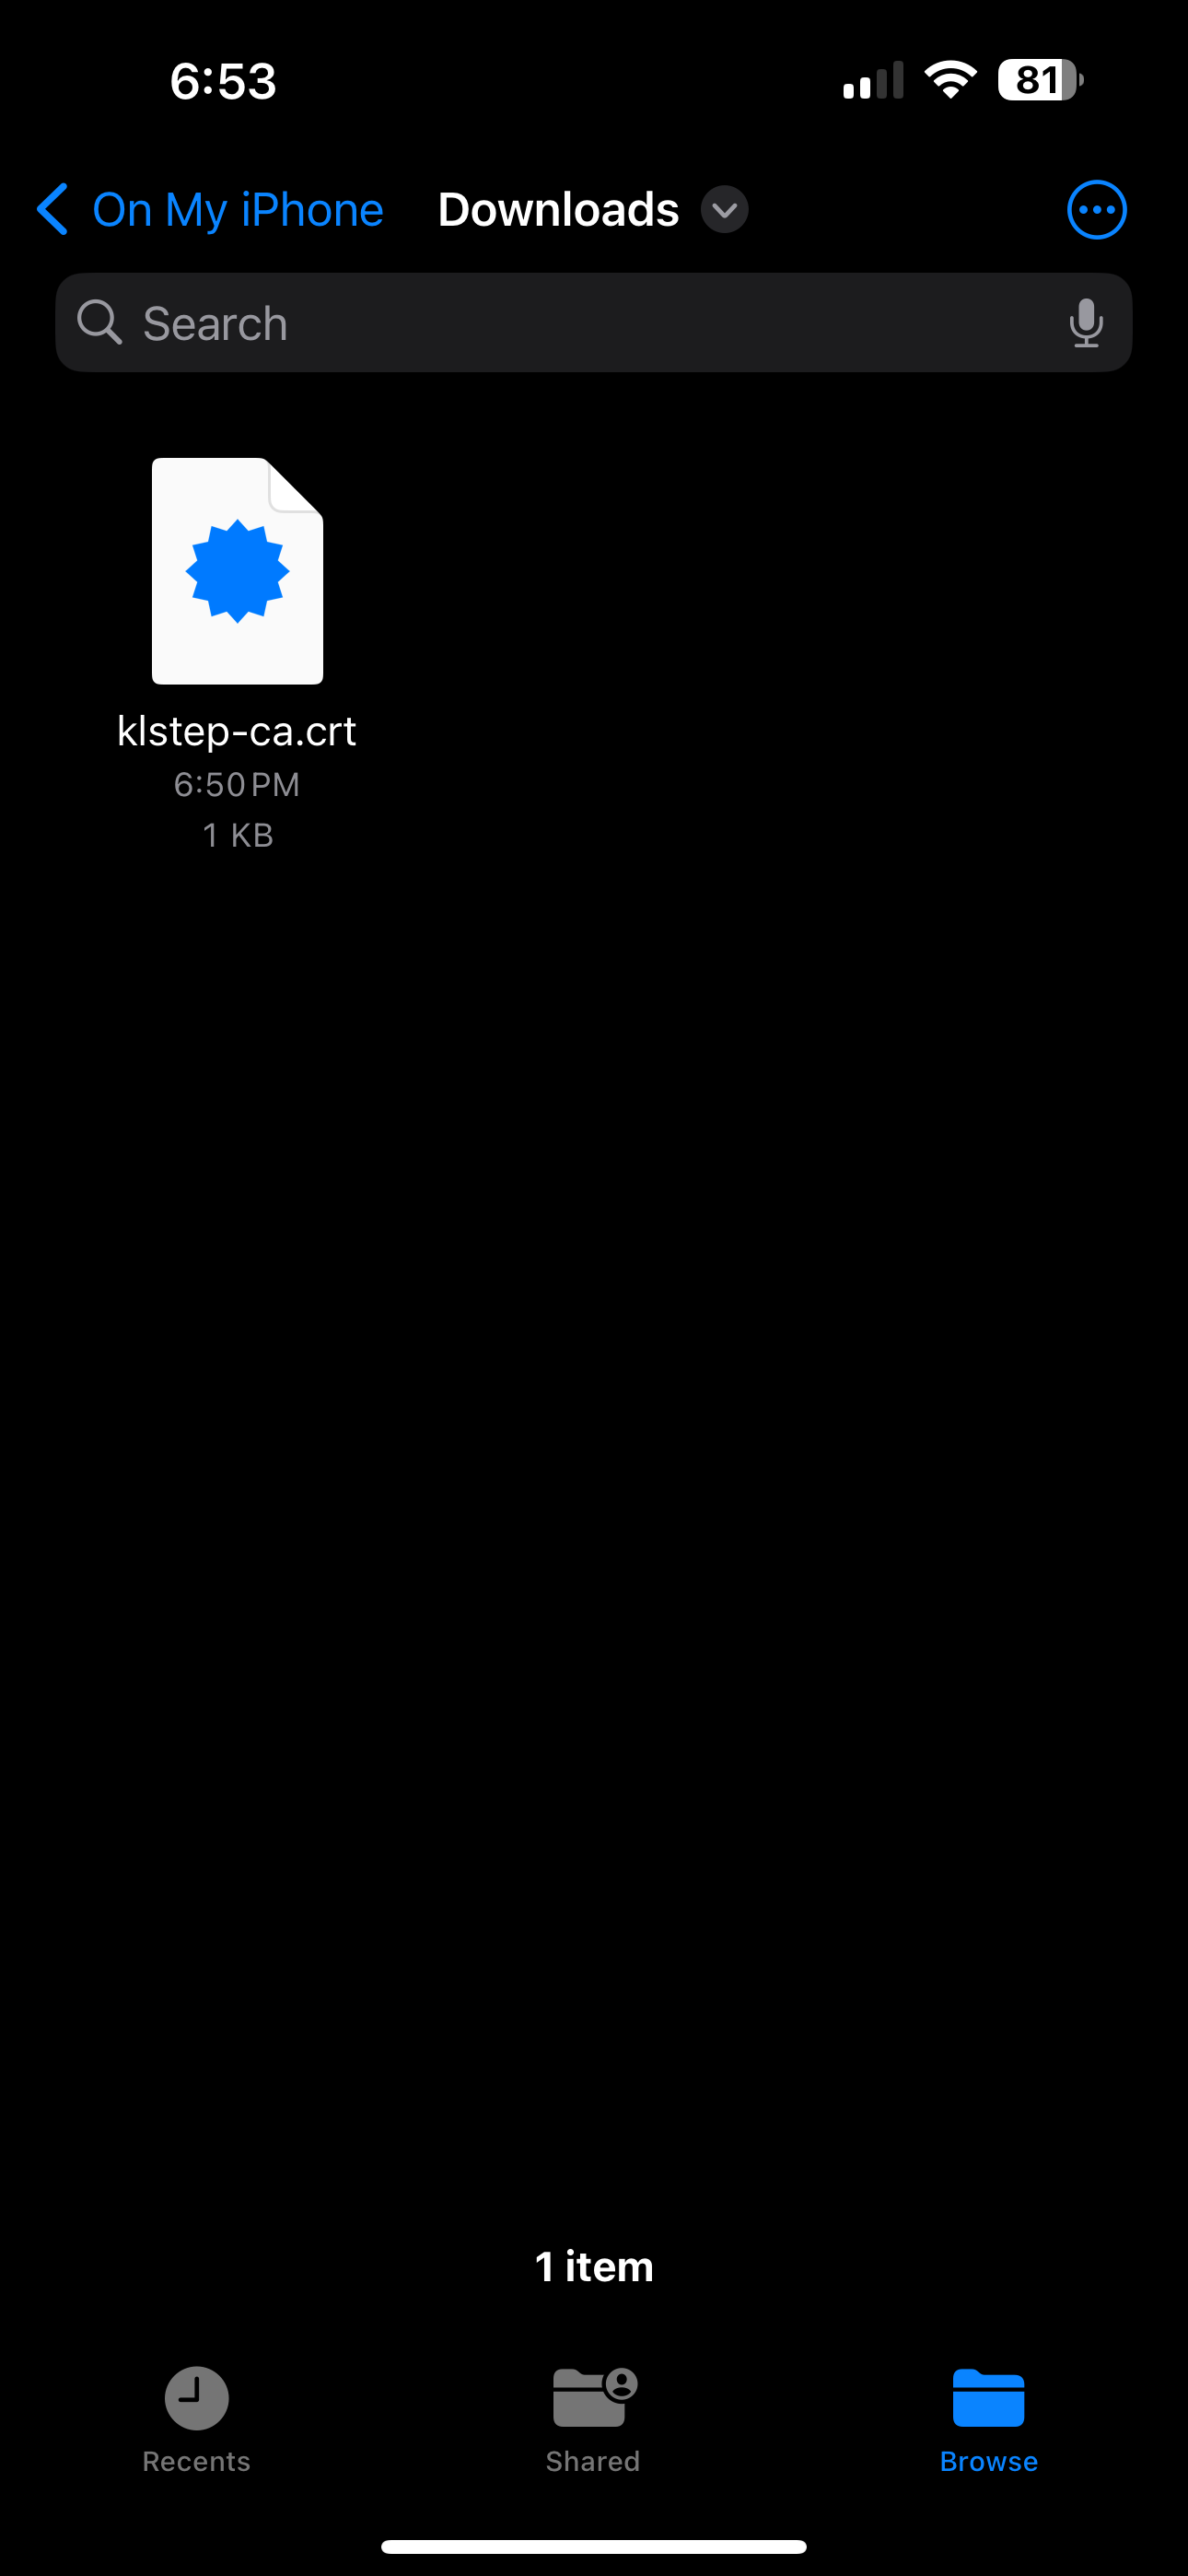
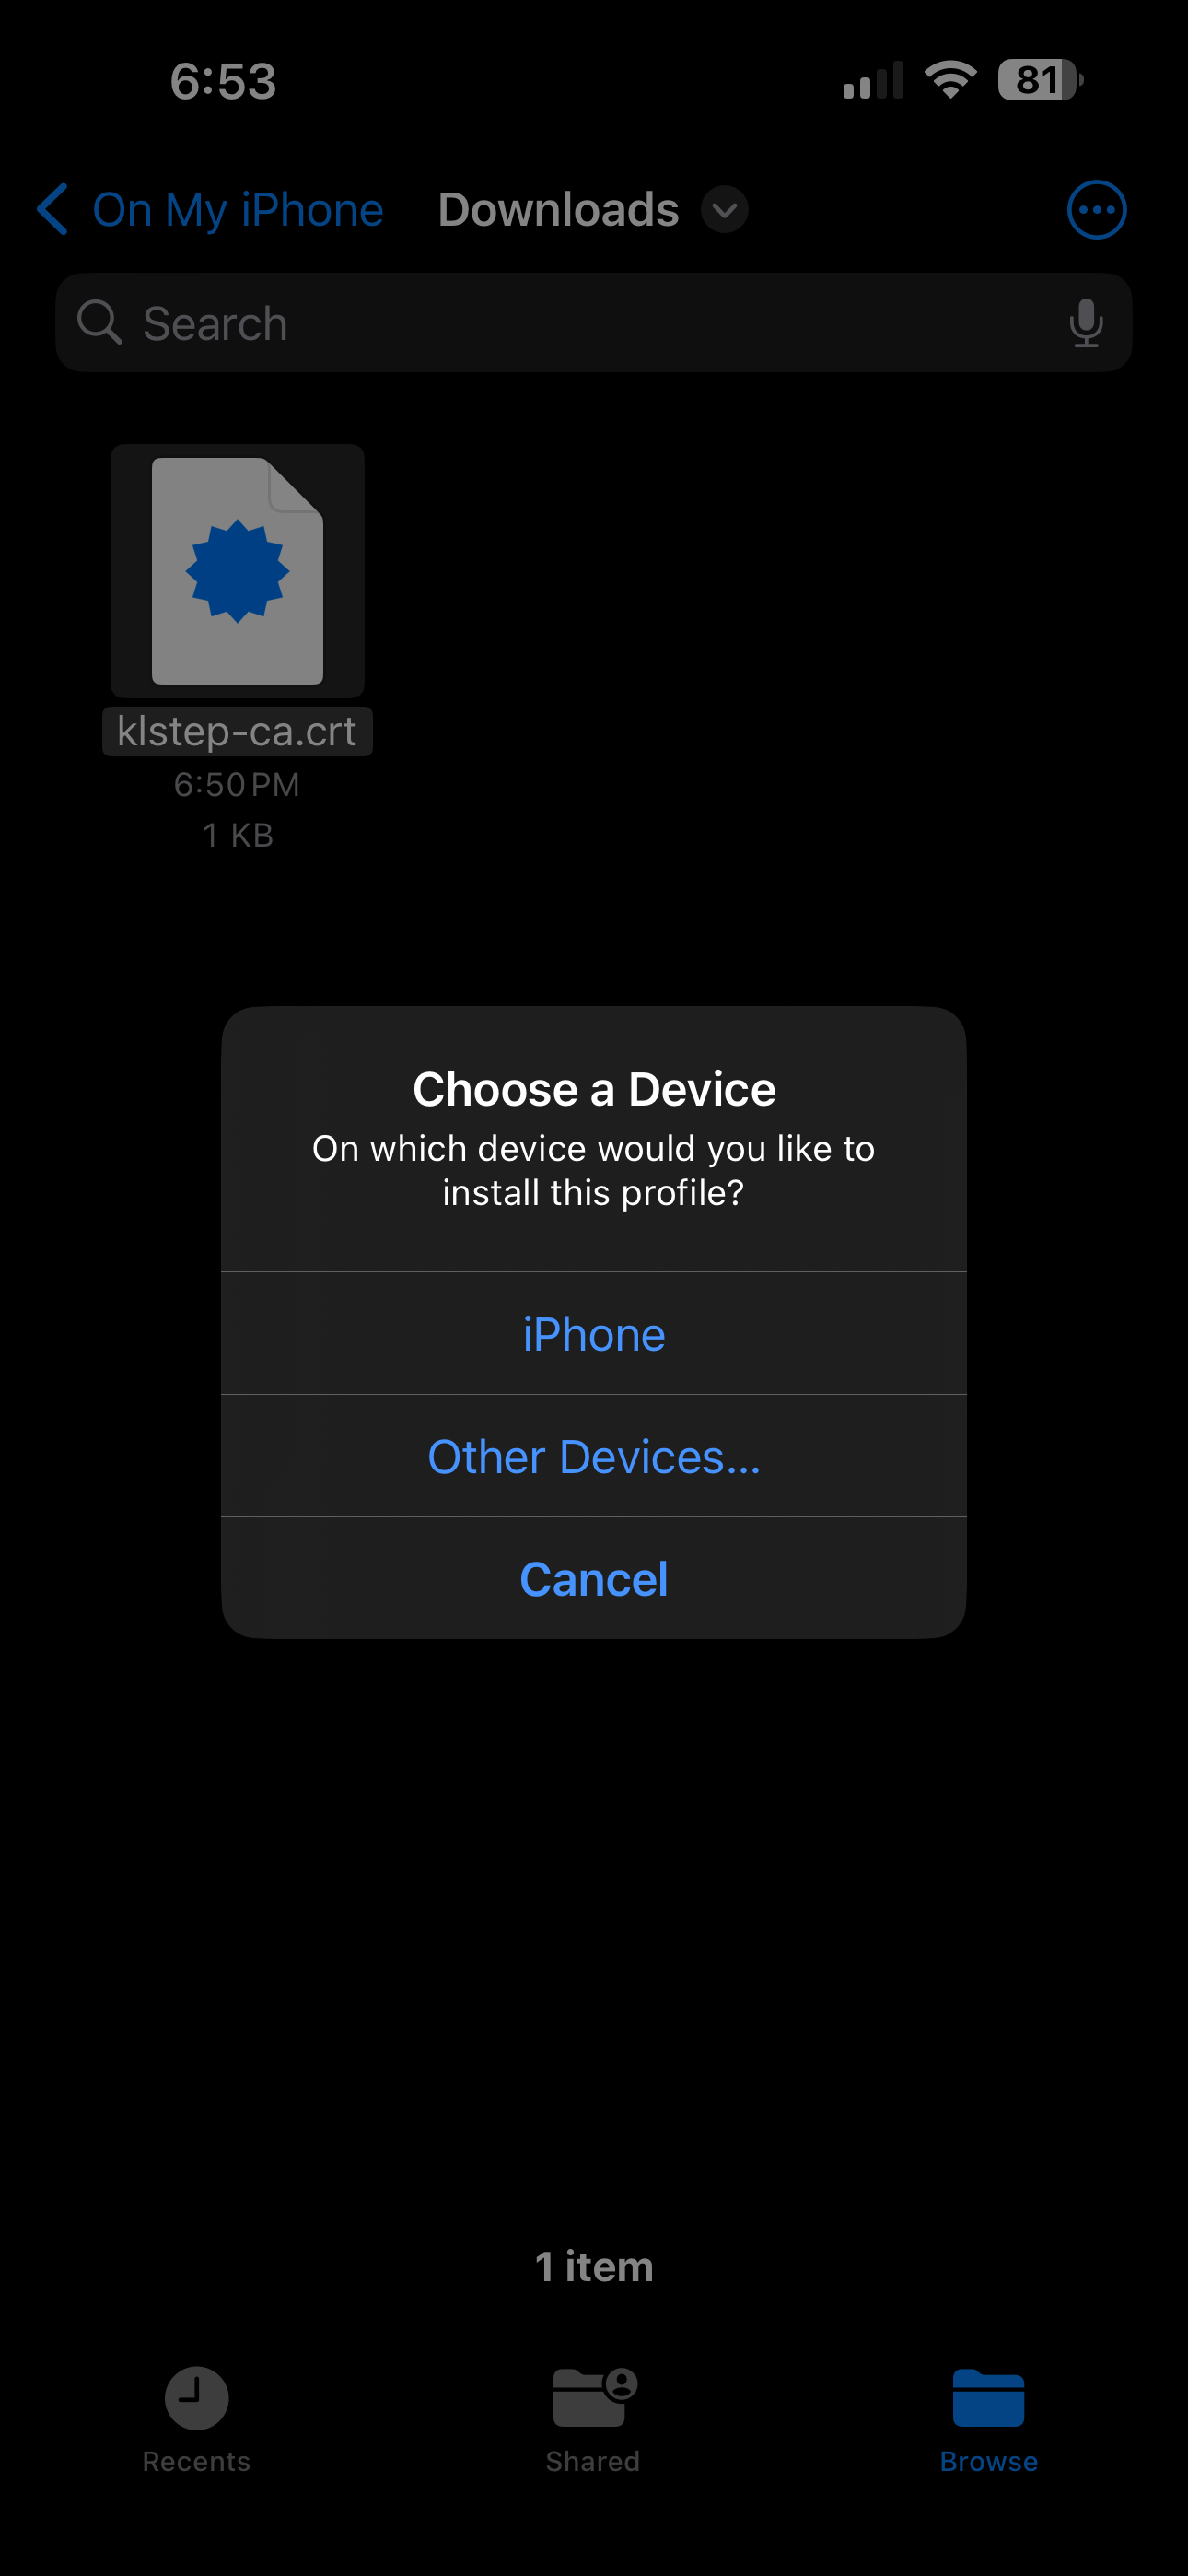
- Open the Files app, navigate to the path the Certificate was saved to, tap on it - select “iPhone” in the pop-up.
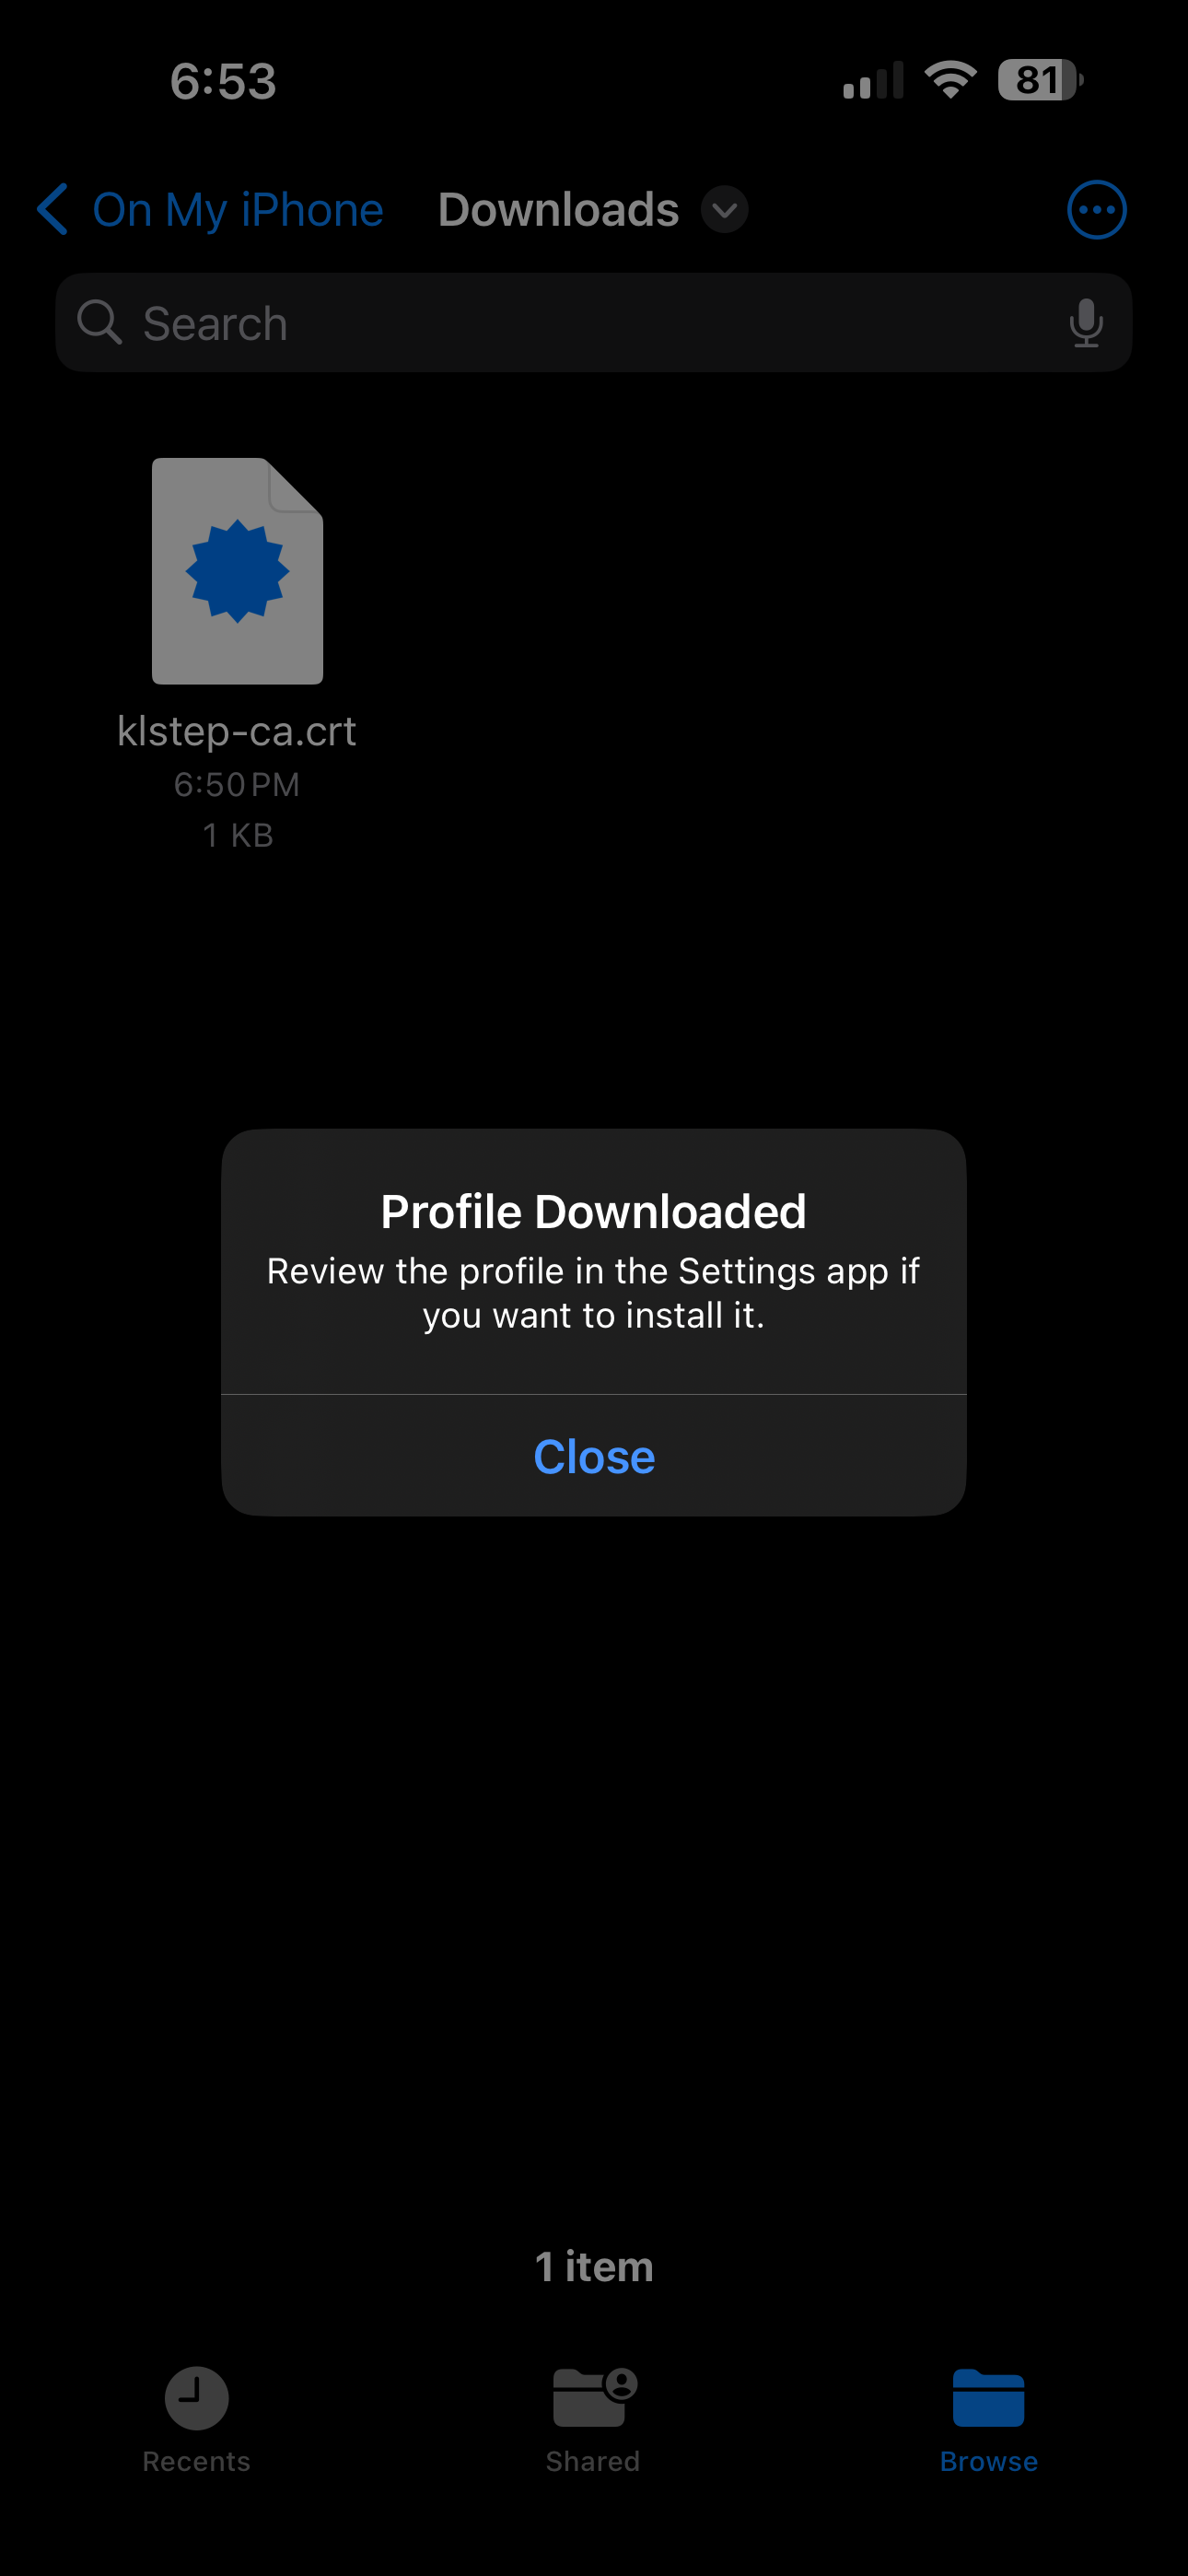
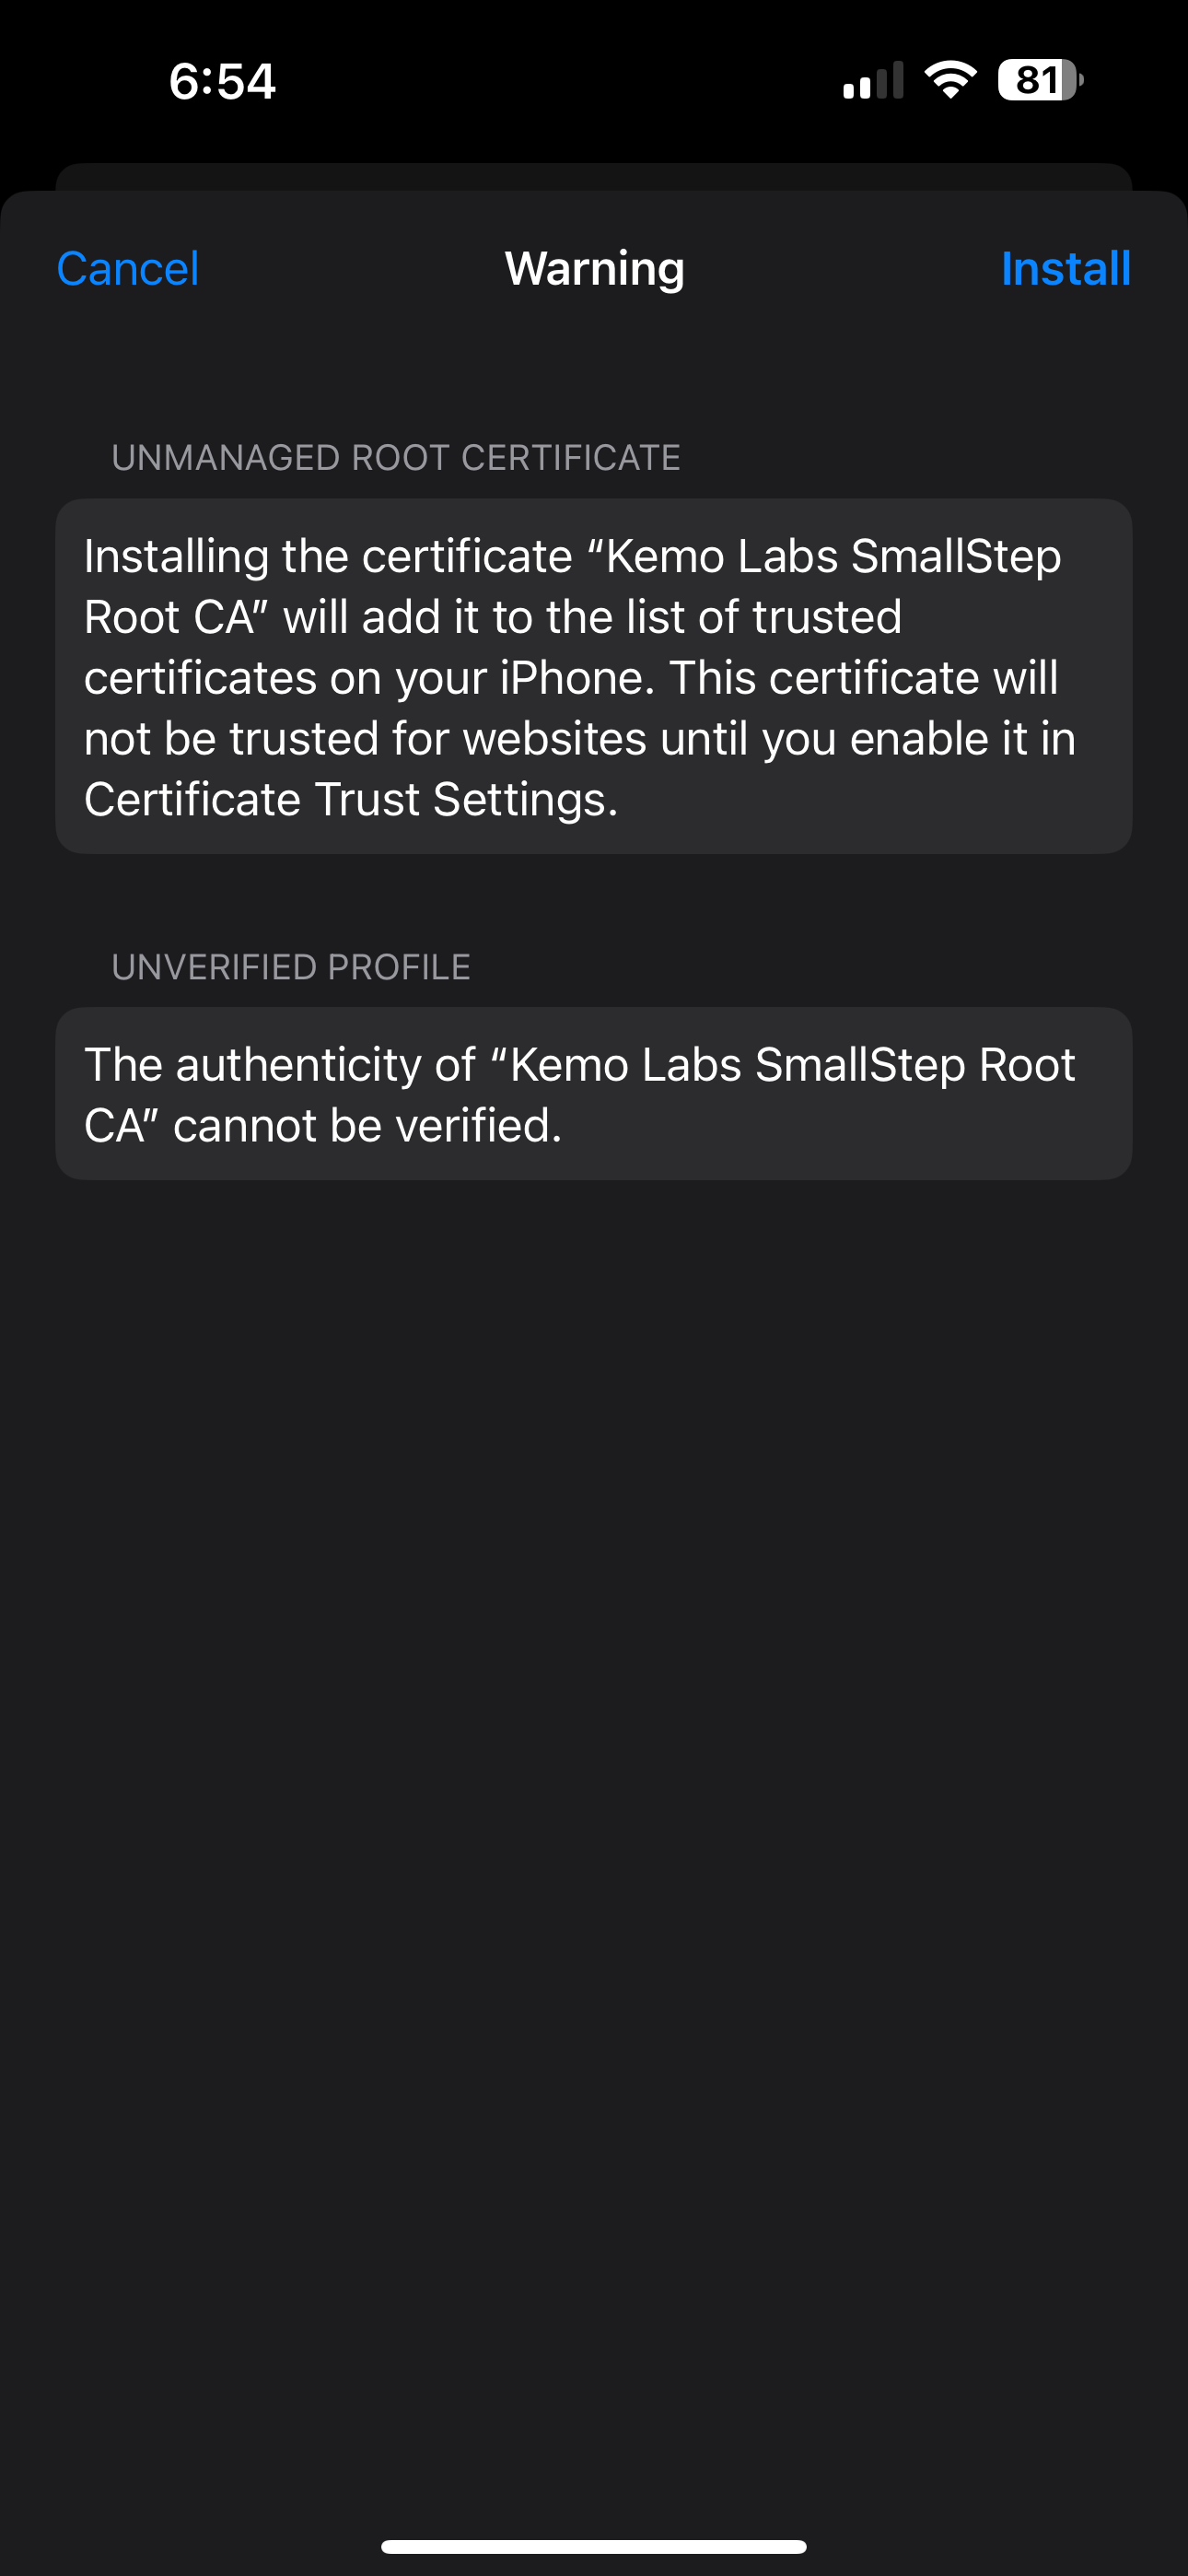
- A new pop-up will display instructing to approve the installation of the Certificate in the Settings app.
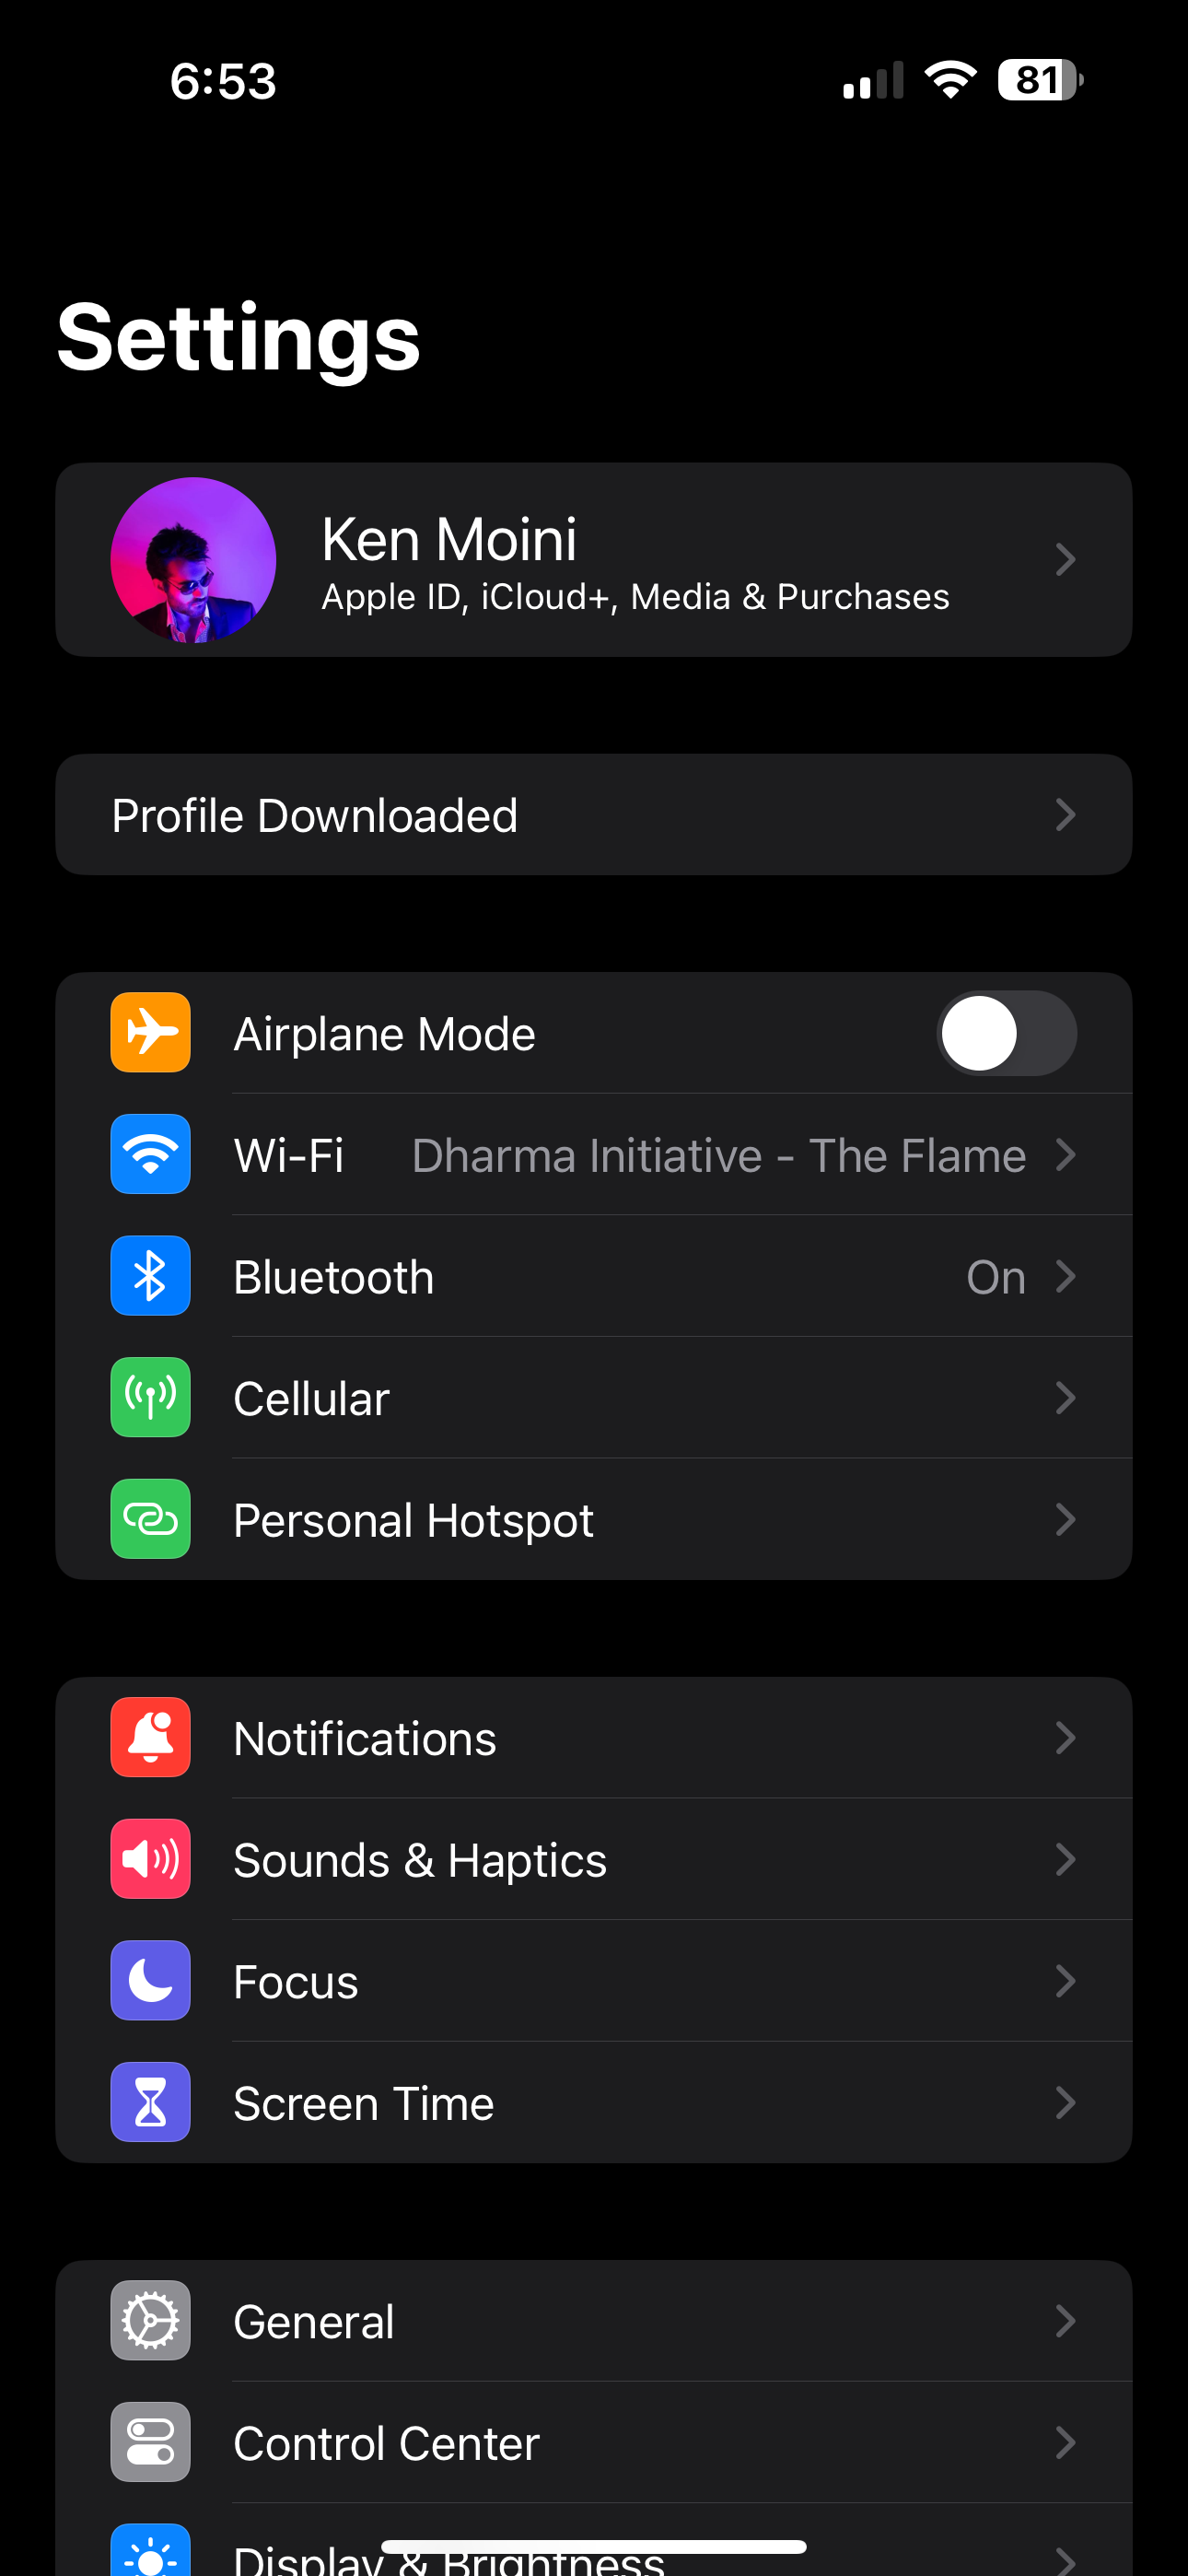
- Open the Settings app, click on the “Profile Downloaded” button
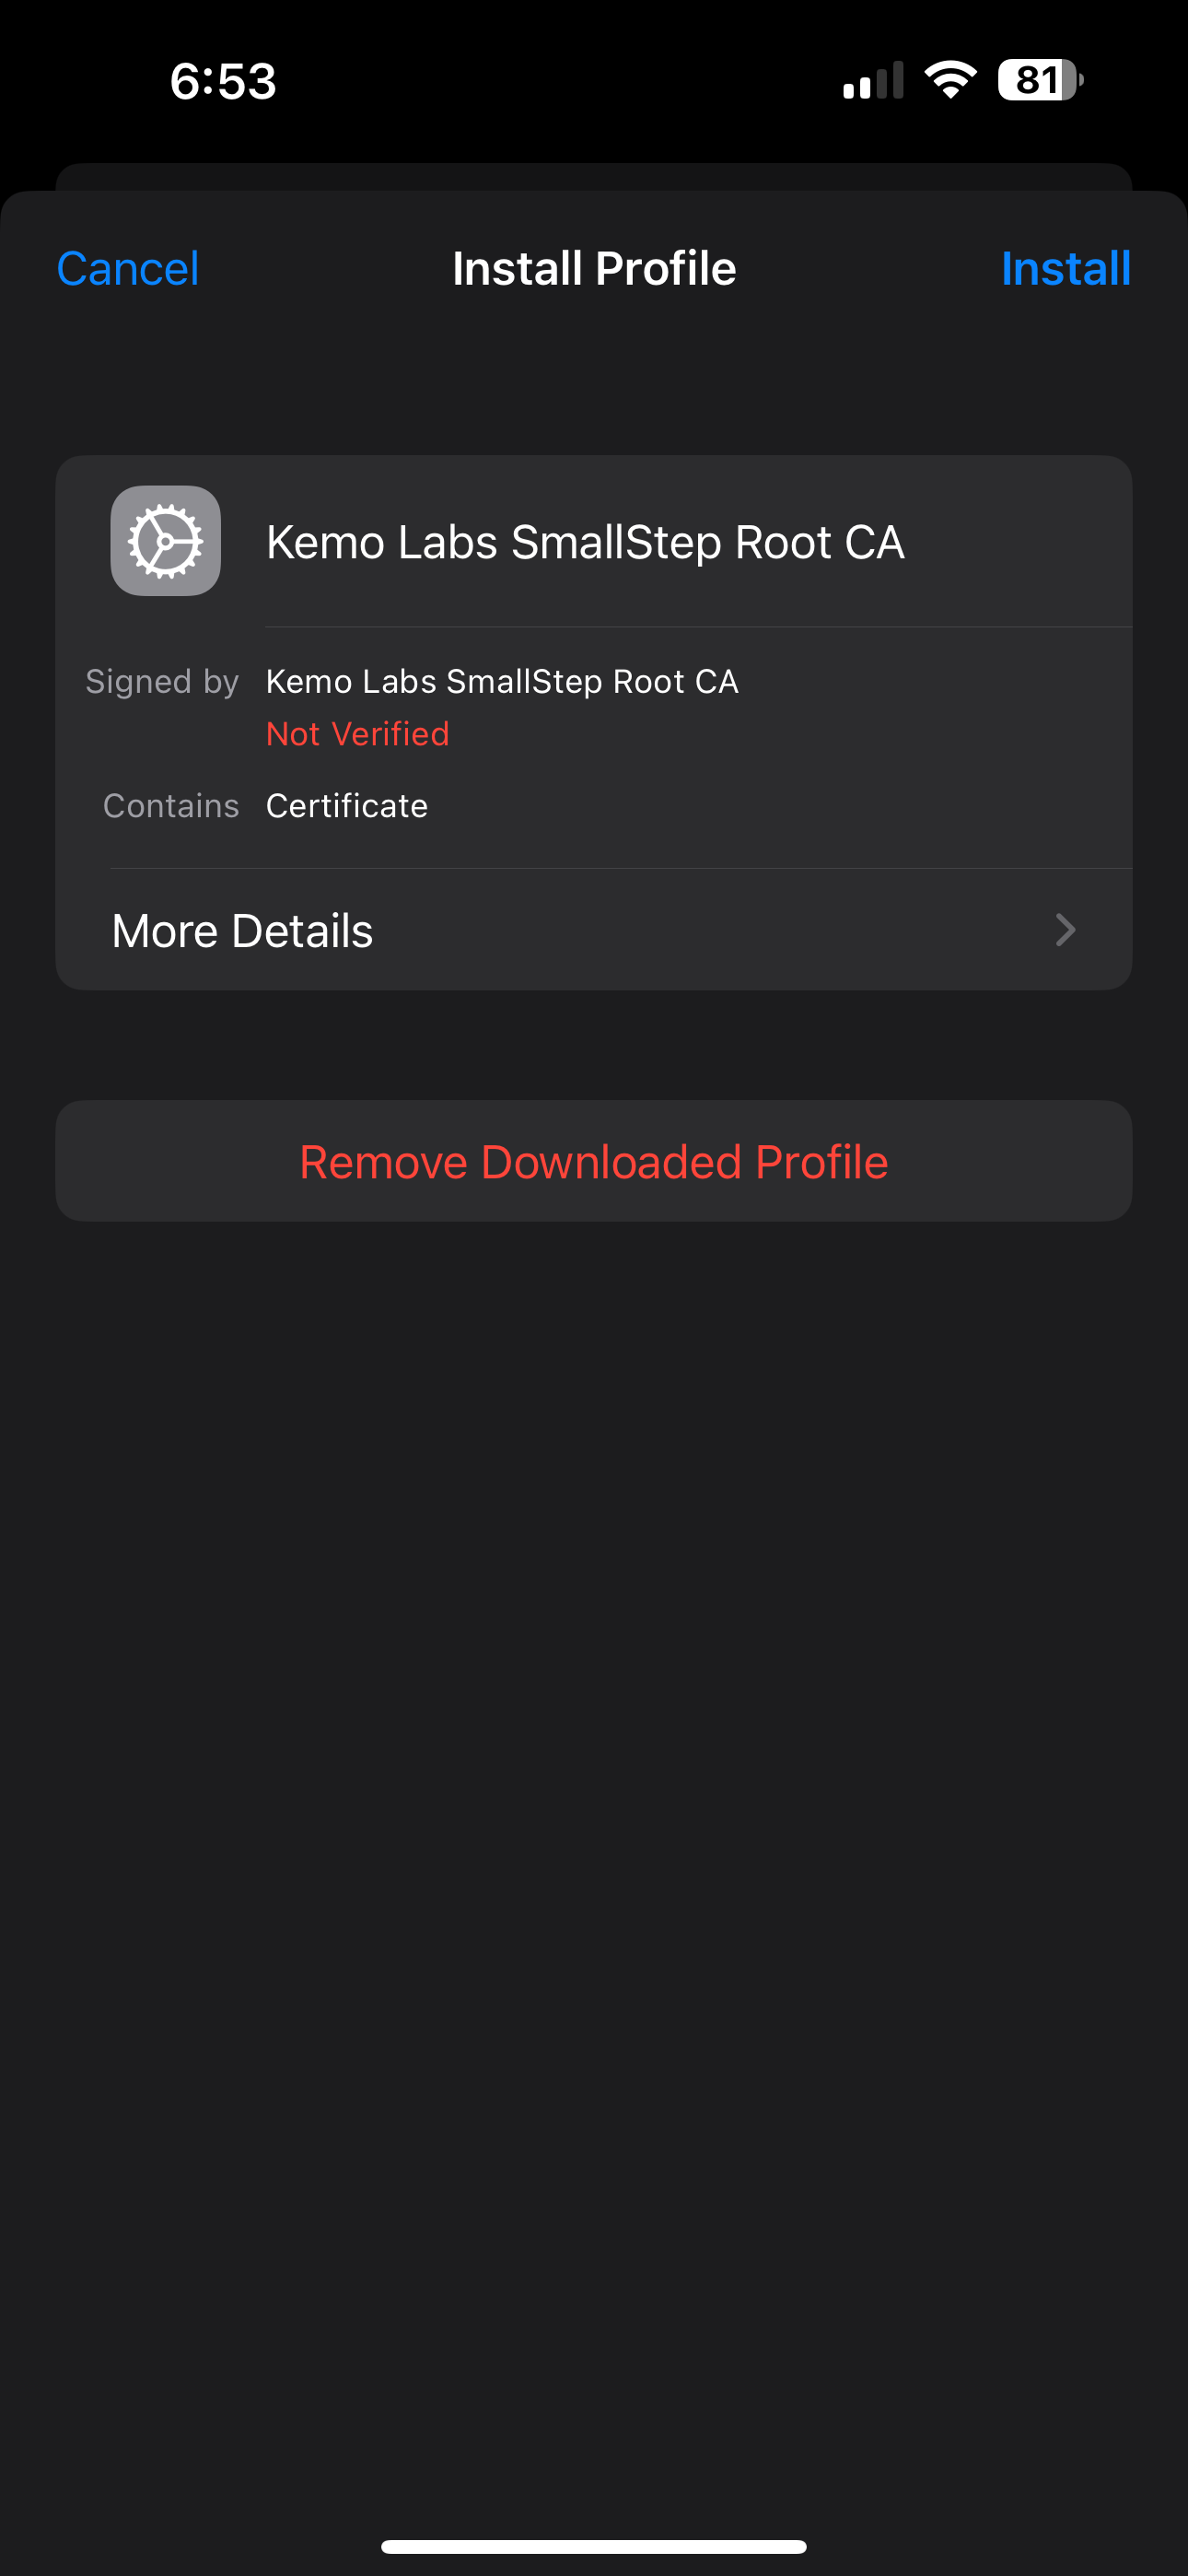
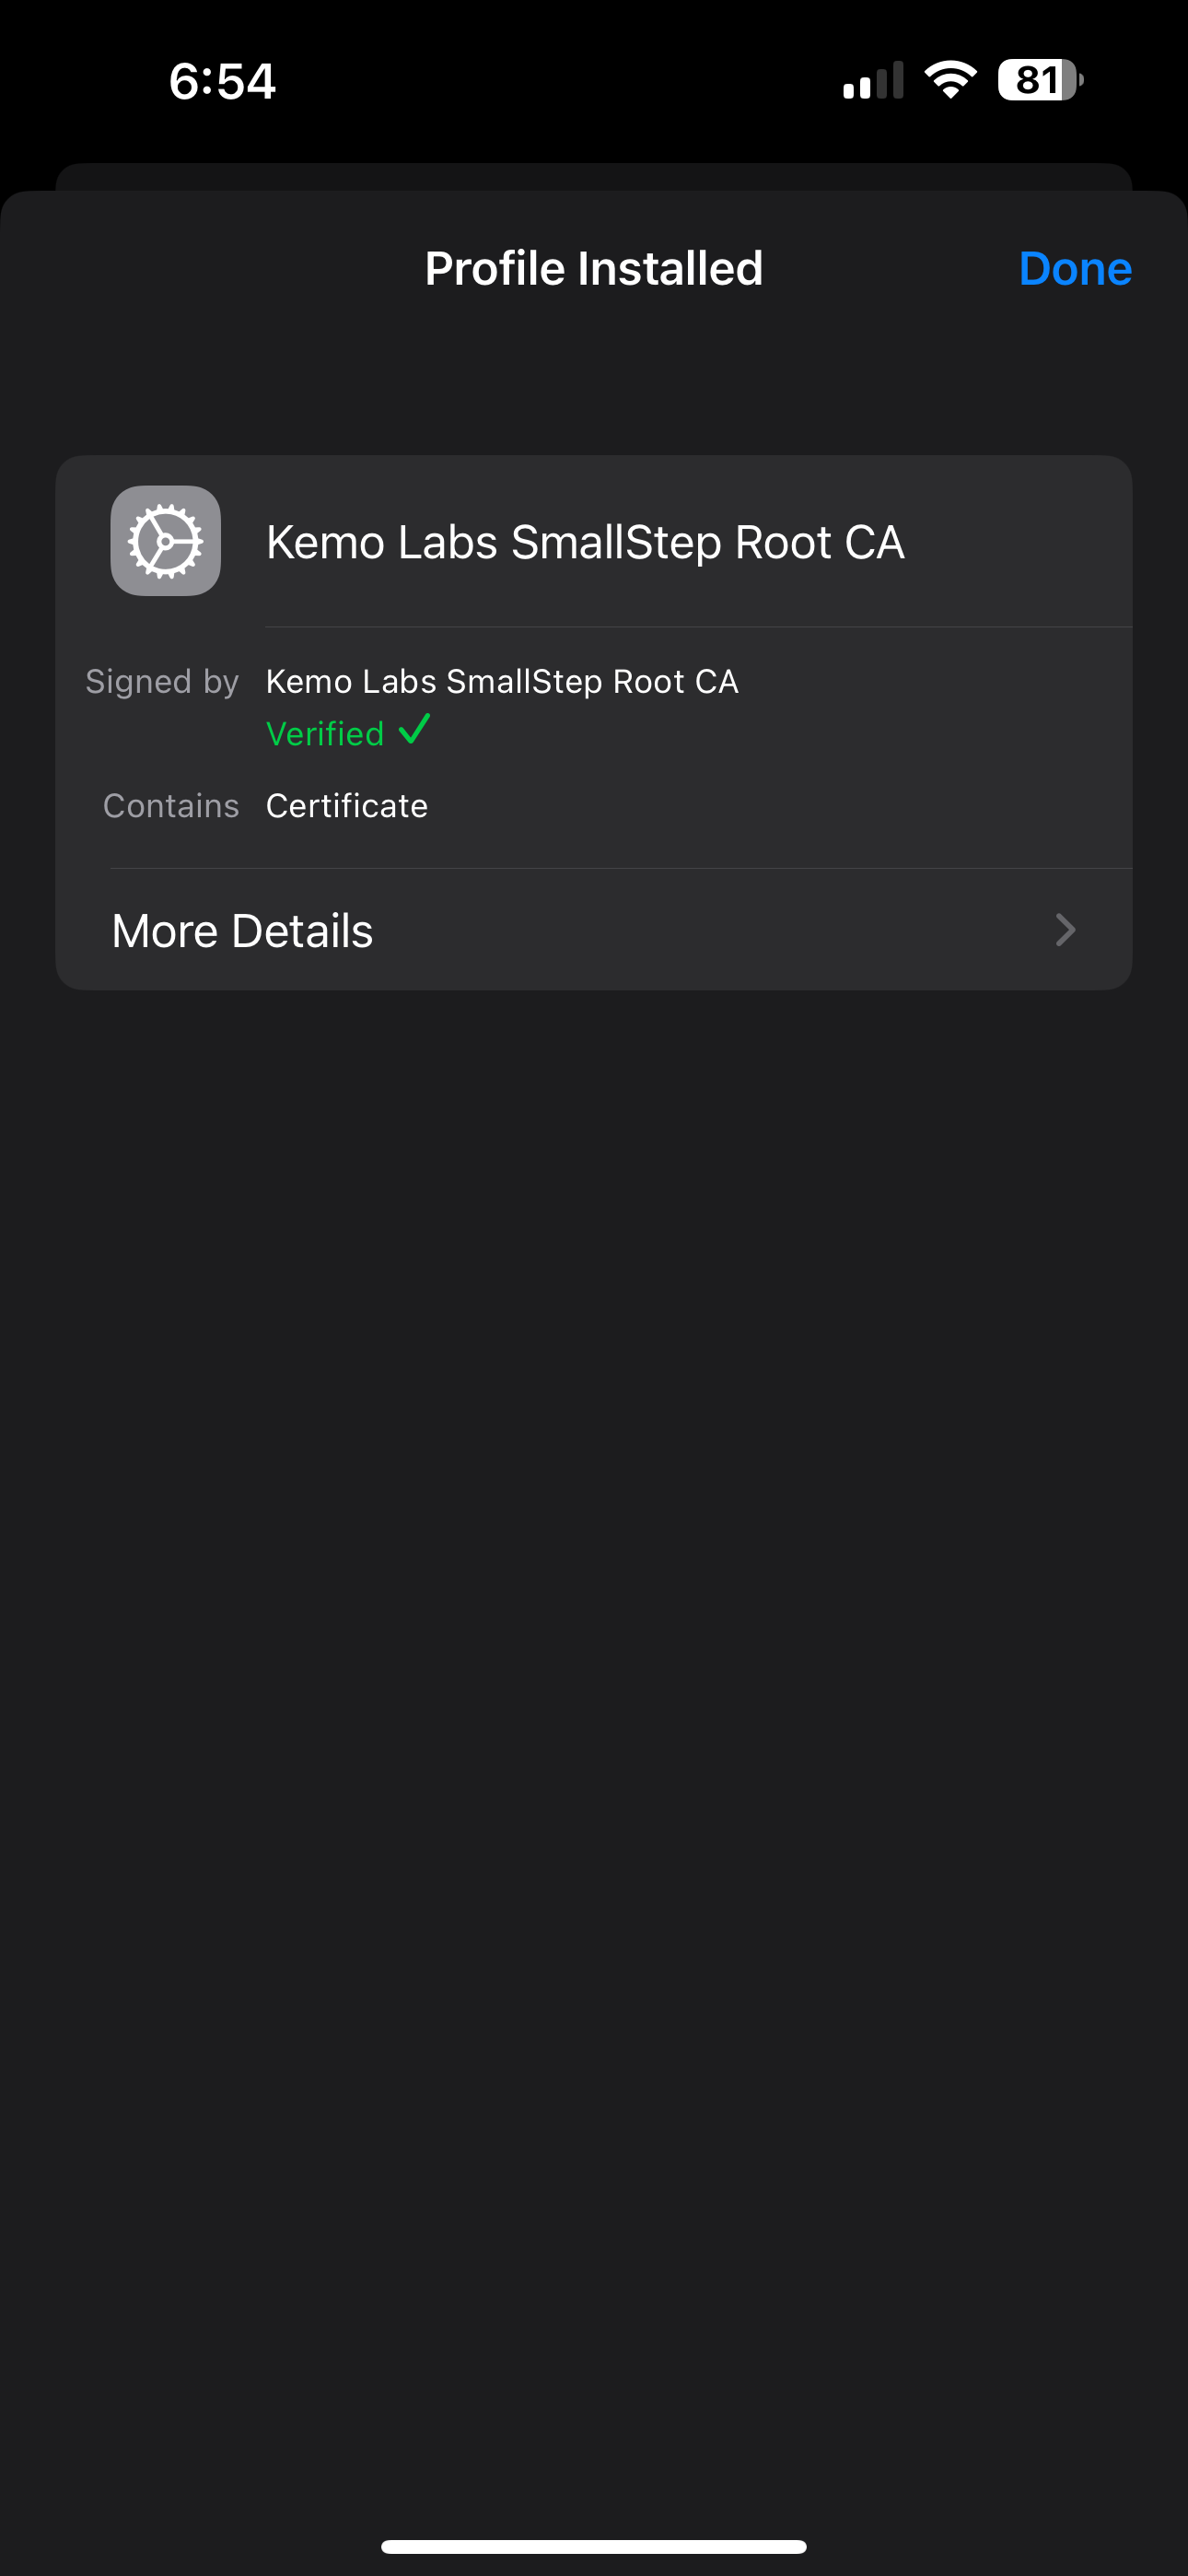
- The Install Profile card will pop-up - click on the Install button in the upper right-hand corner - then click Install again.
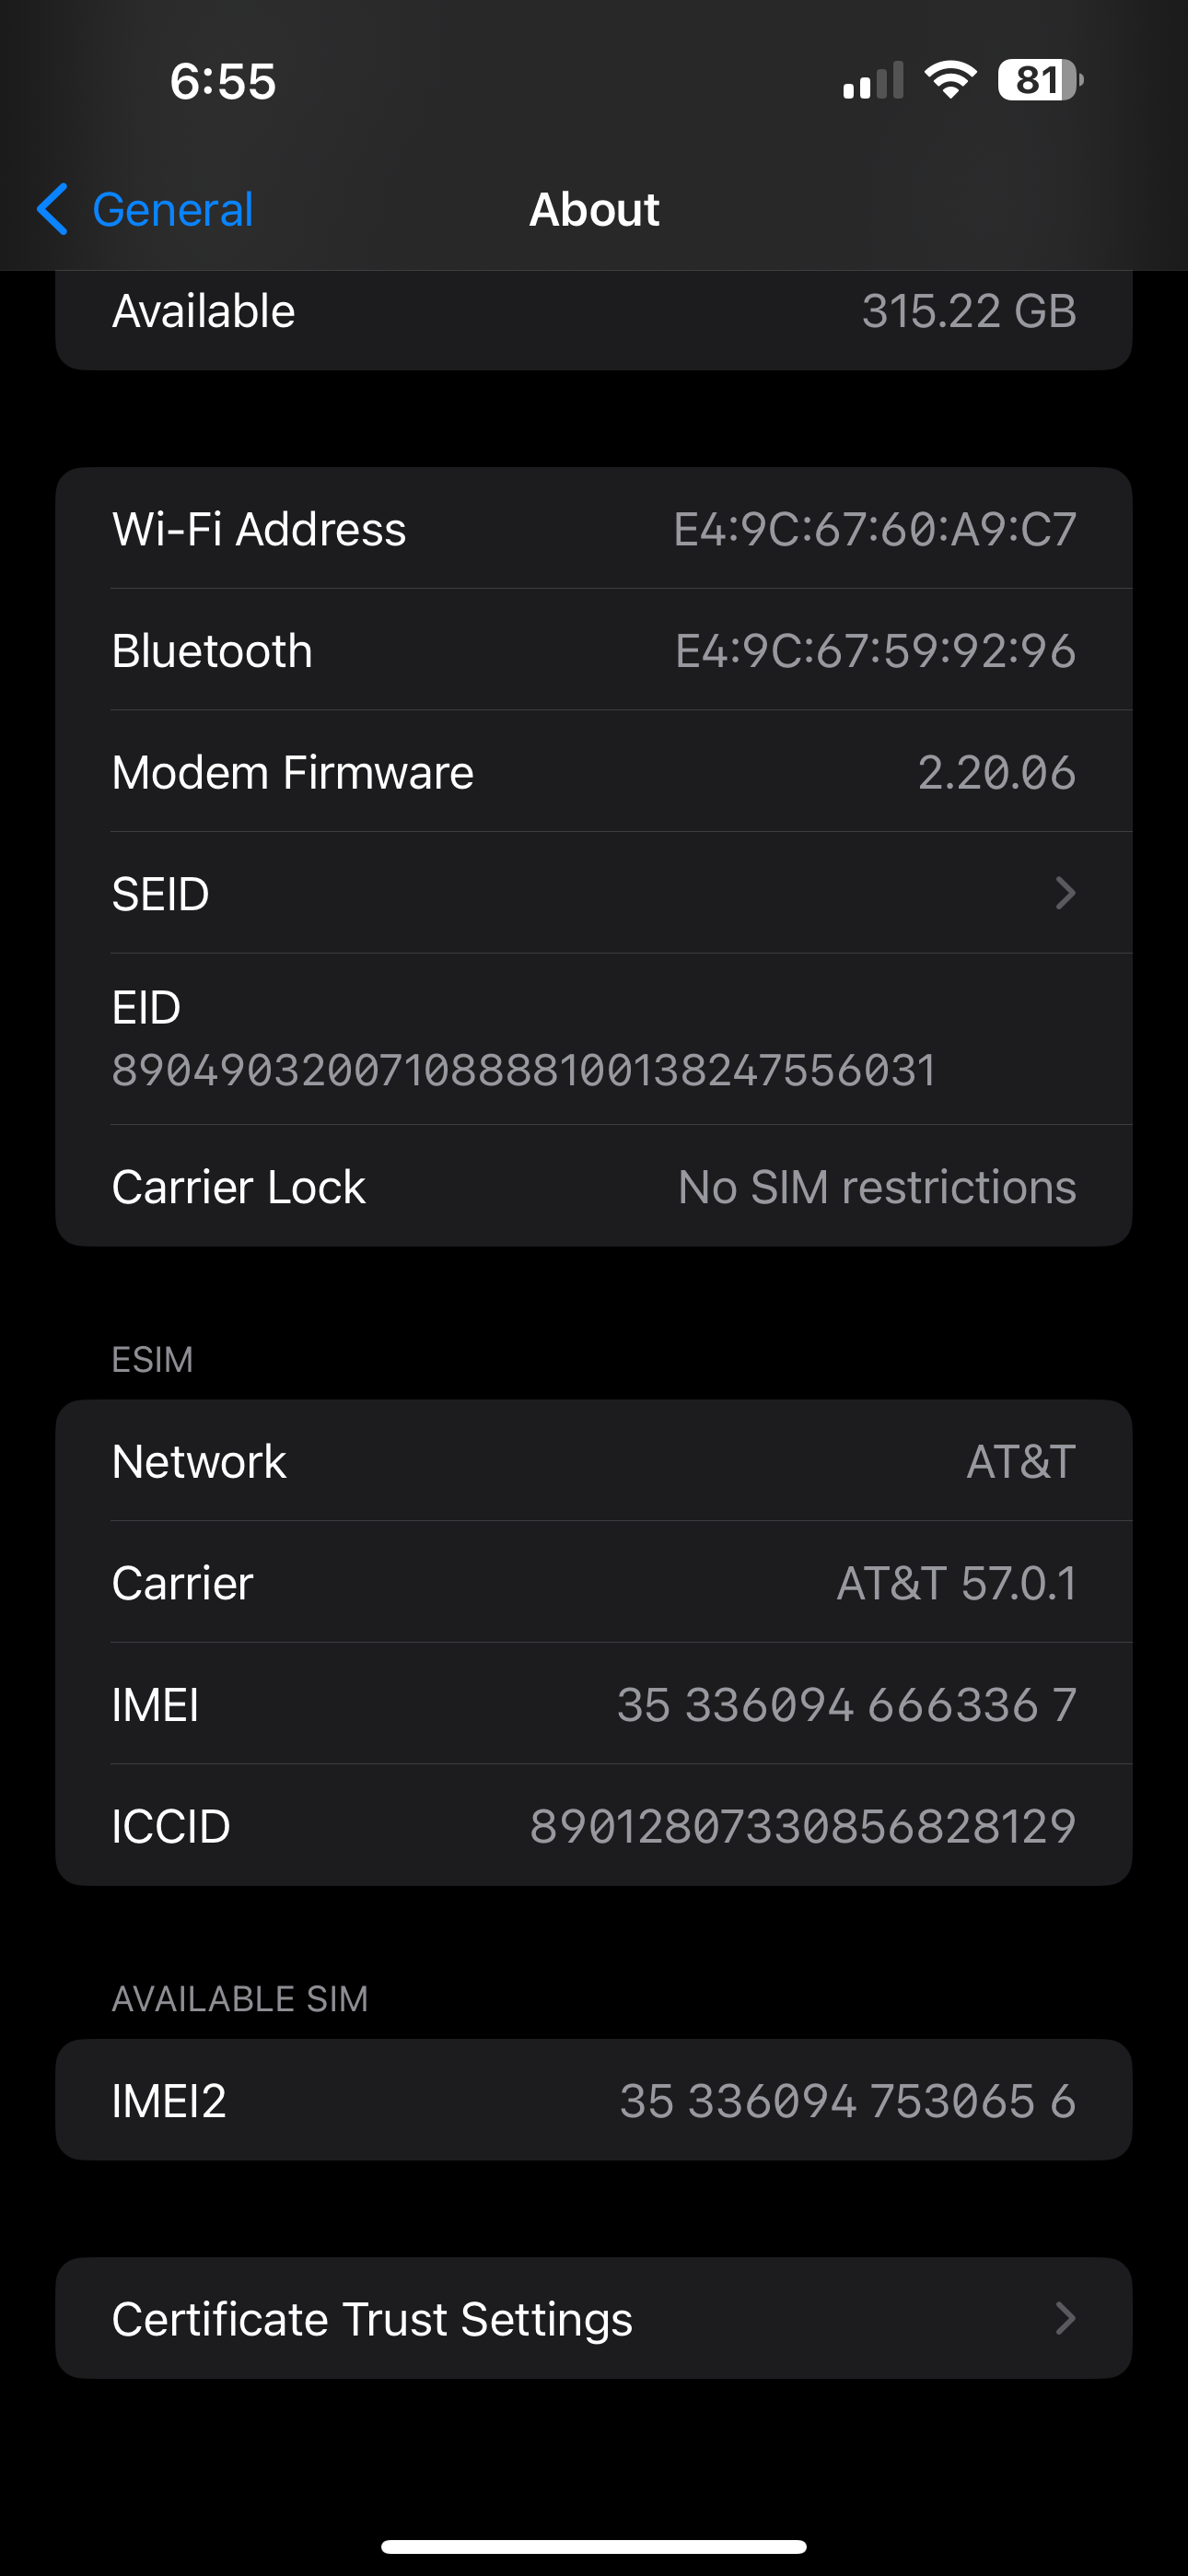
- In the Settings app, navigate to General > About, then scroll all the way down and click on “Certificate Trust Settings”
- Flip the toggle for the Root CA that was just installed and click “Continue”
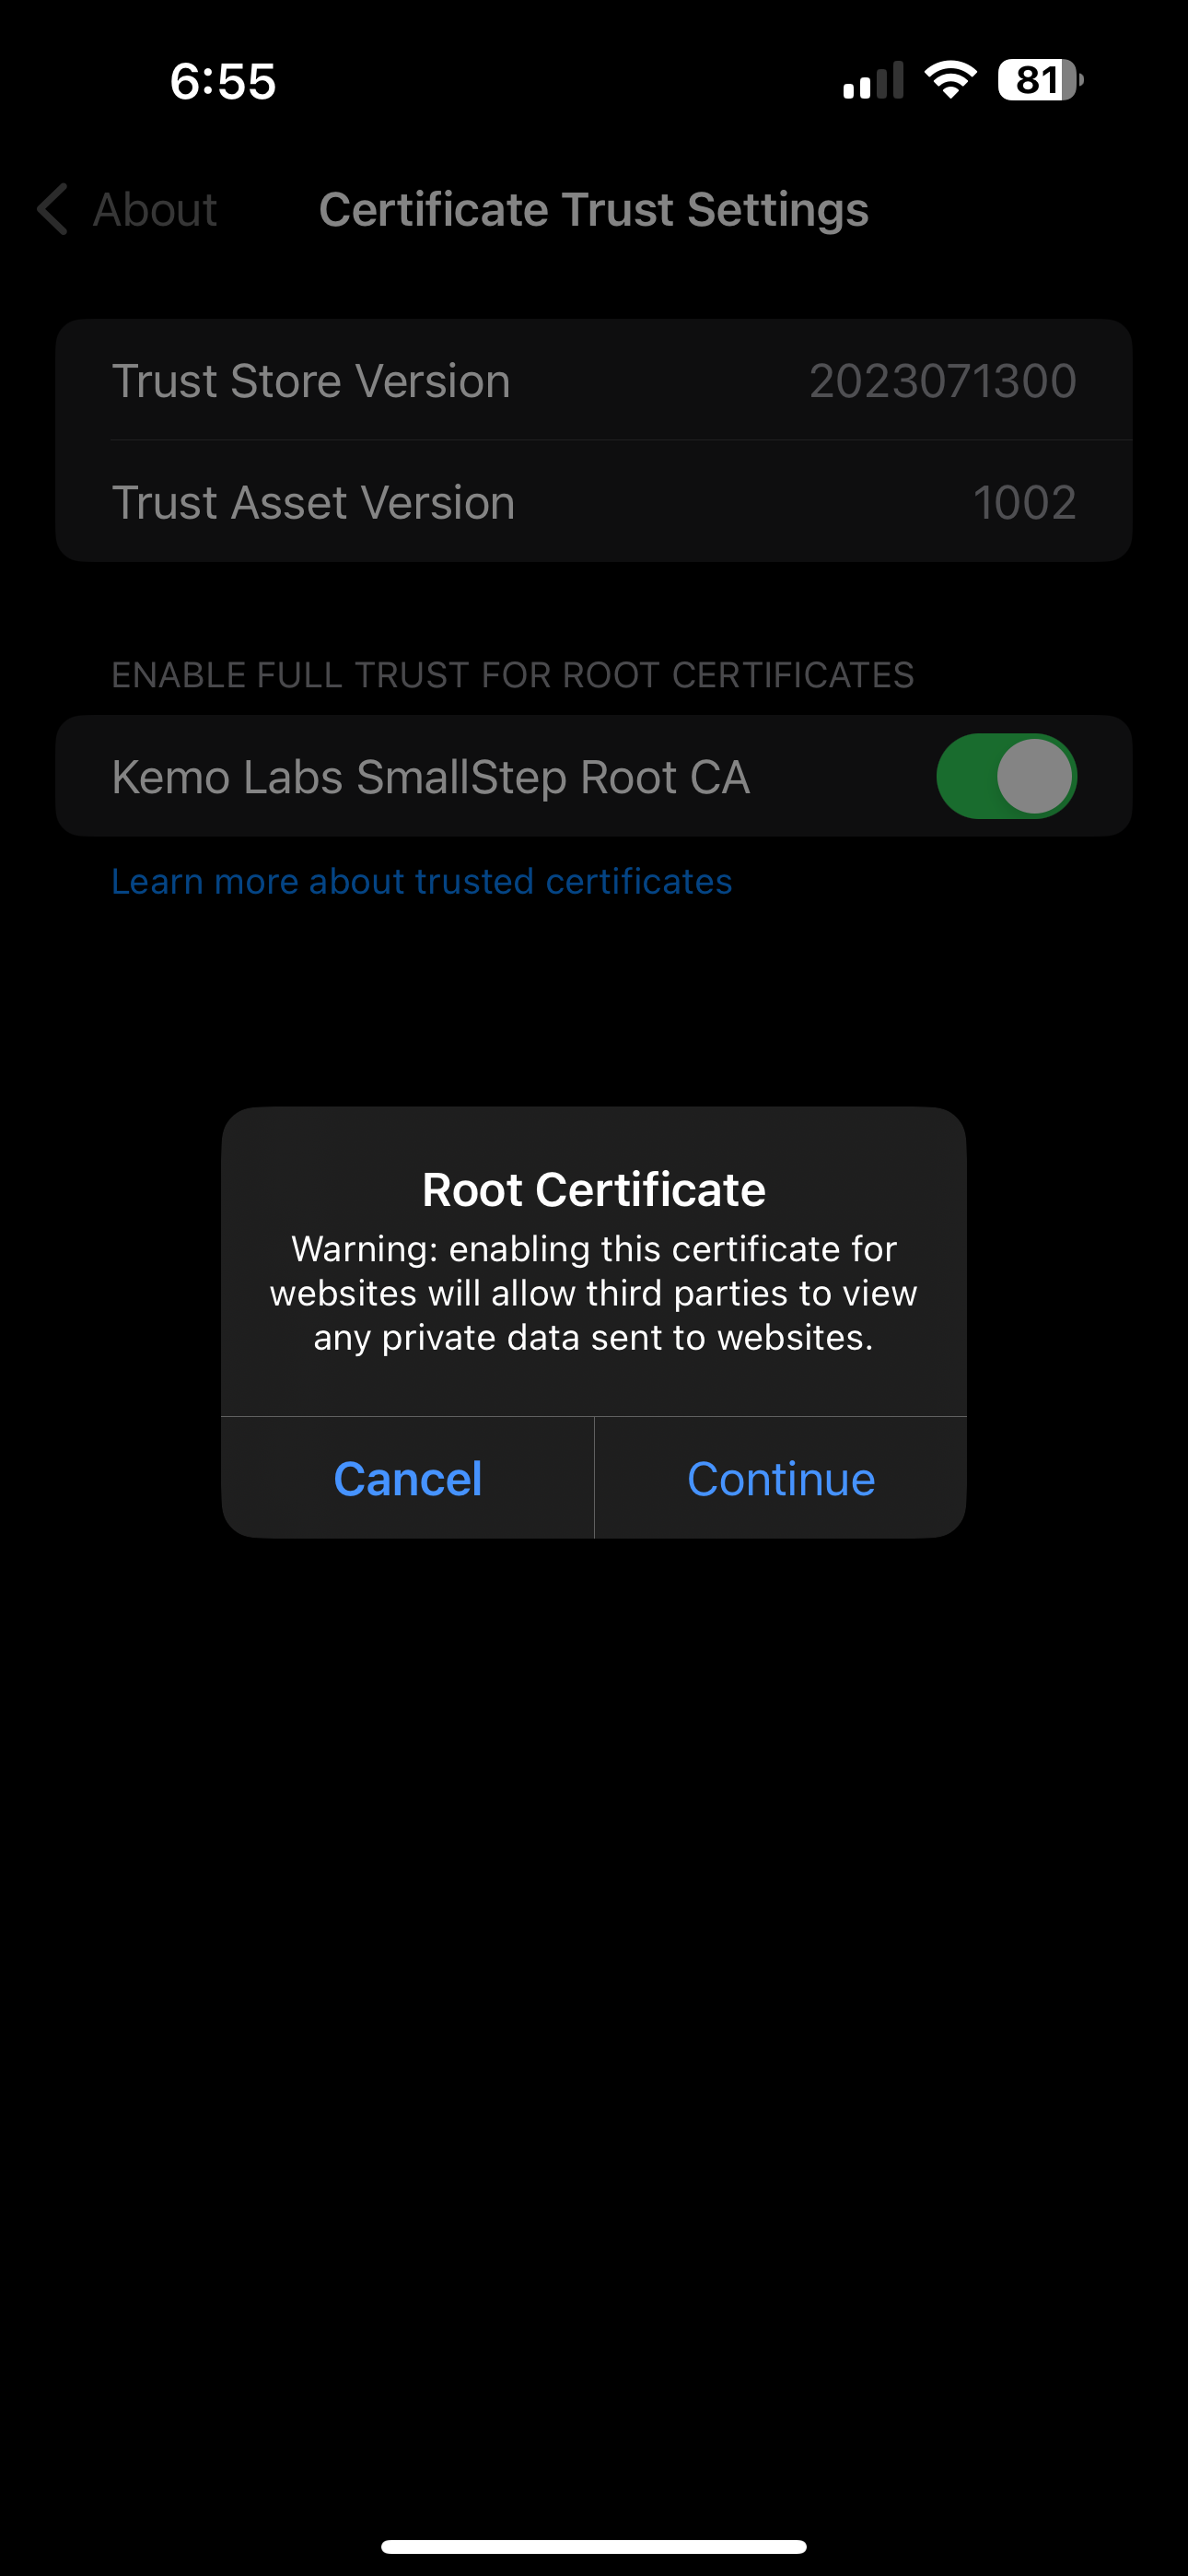
Congratulations, now your services are able to be validated on your iPhone/iPad!
Adding to Android - Galaxy devices
This is an instance where things can vary - since different handset manufacturers can build Android in different way, there are a few ways to do it. I only have a Samsung Galaxy phone at my disposal, the following steps may be a little different on a Pixel/LG/etc device.
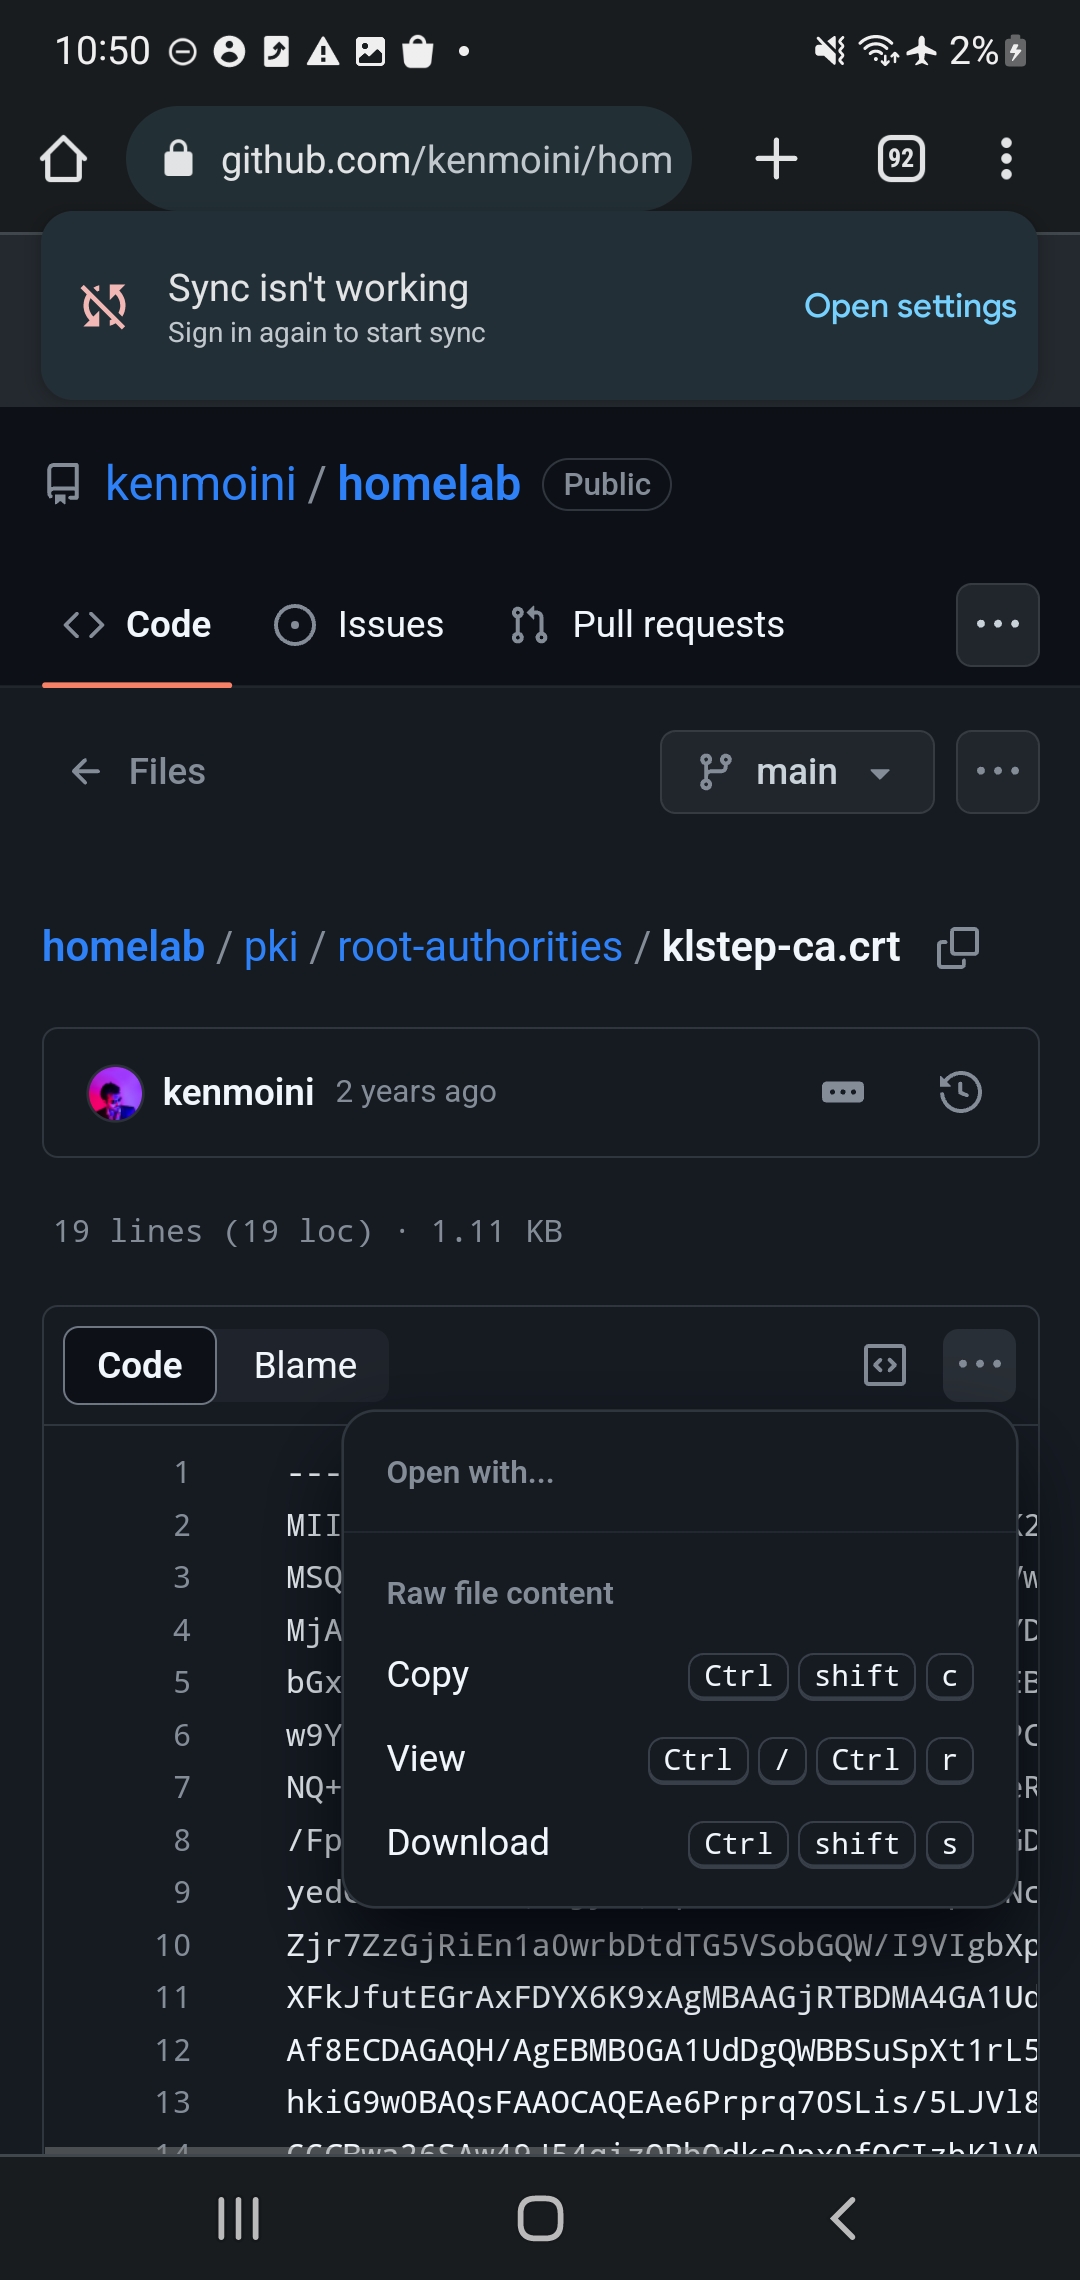
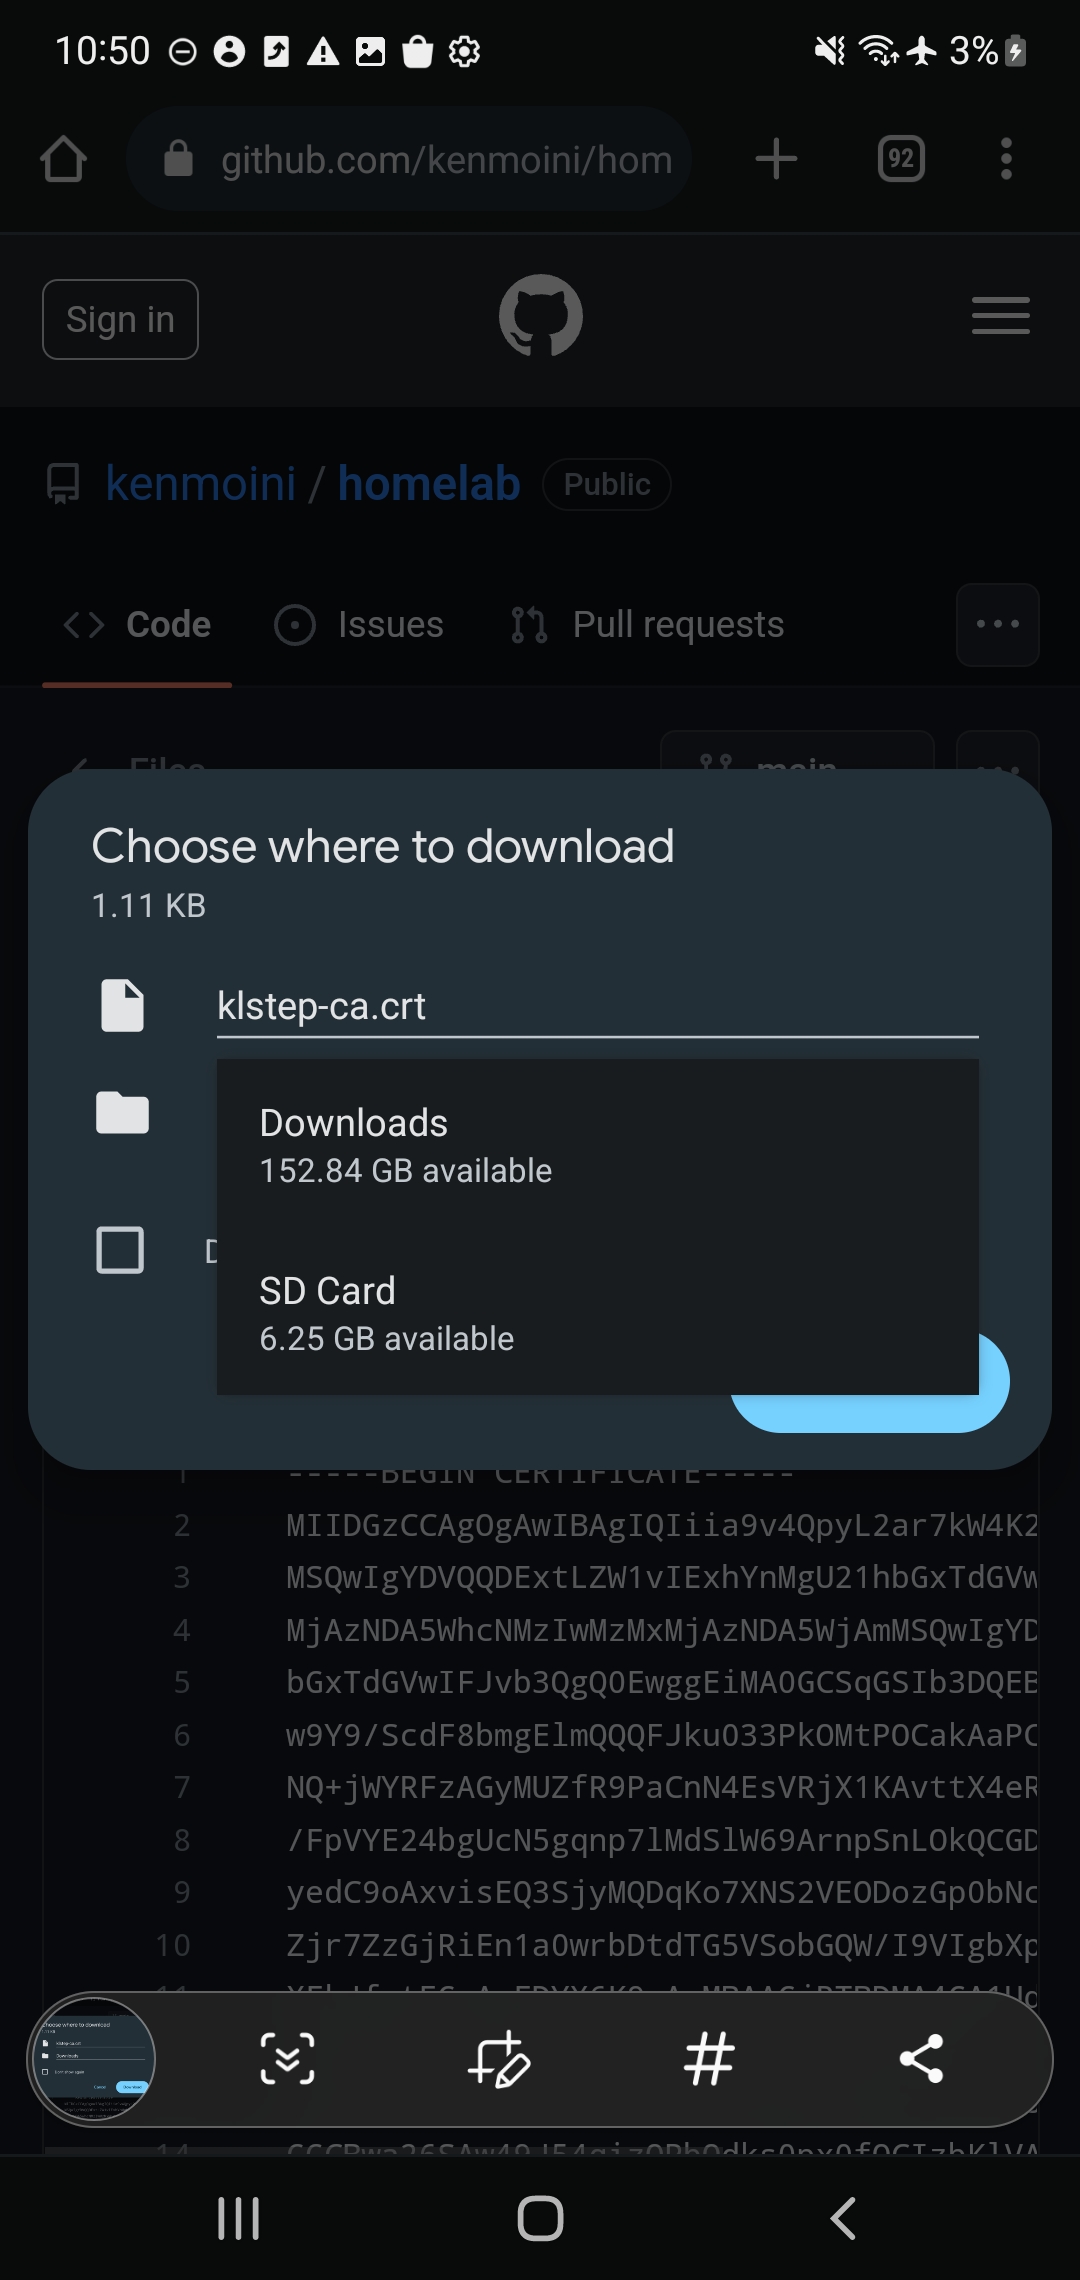
- Download/transfer the Certificate to your Android device’s Internal Storage - again in PEM format with a
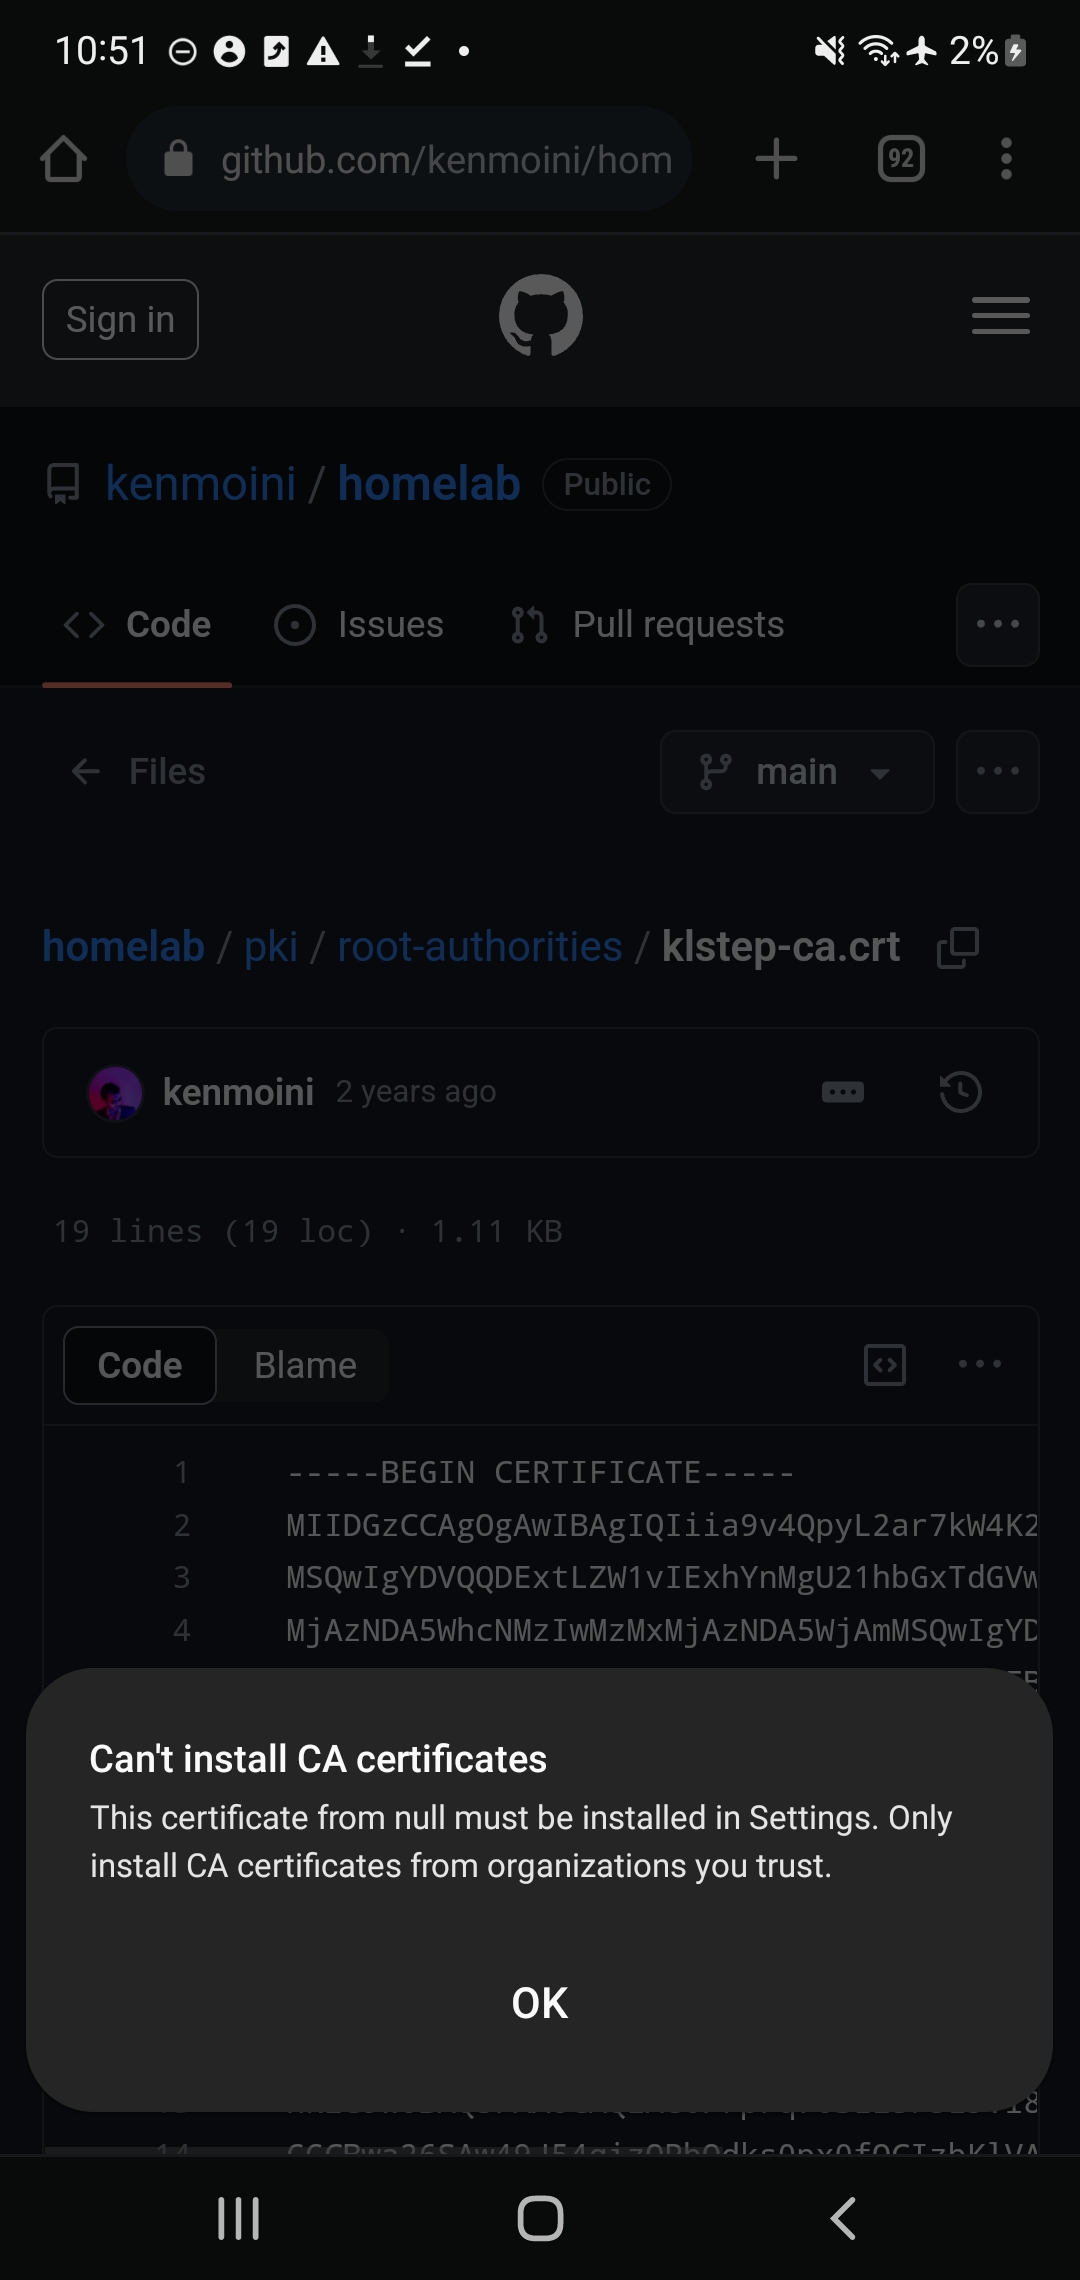
.crtextension. You can move it to your phone by hosting it in a web server, via email, or USB cable. - If downloading, then you’ll get a warning “Can’t Install CA certificates” - this is ok, continue to the next step regardless.
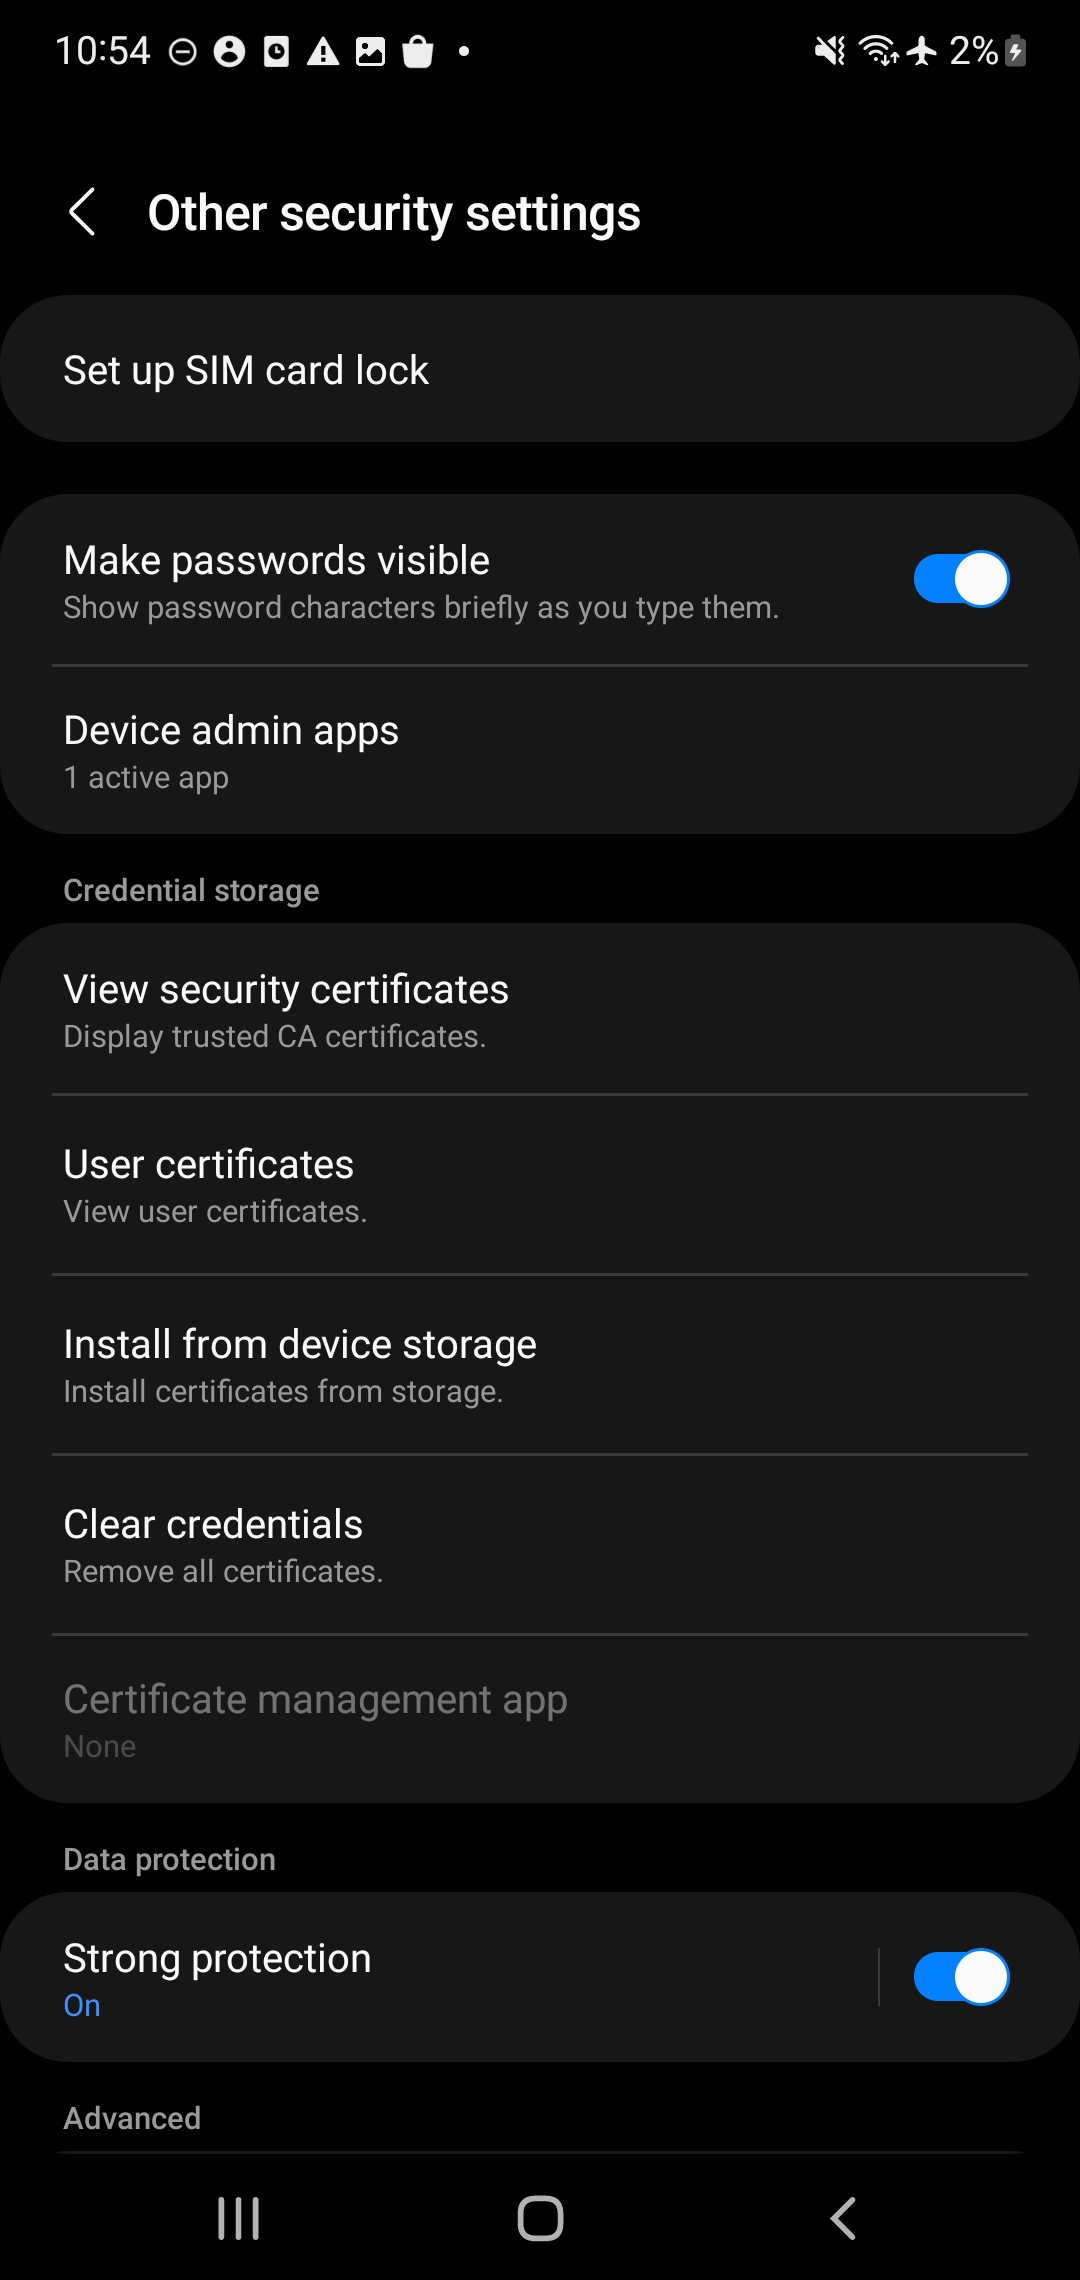
- Open the Settings app (at least on Galaxy phones…), navigate to Biometrics and Security > Other security
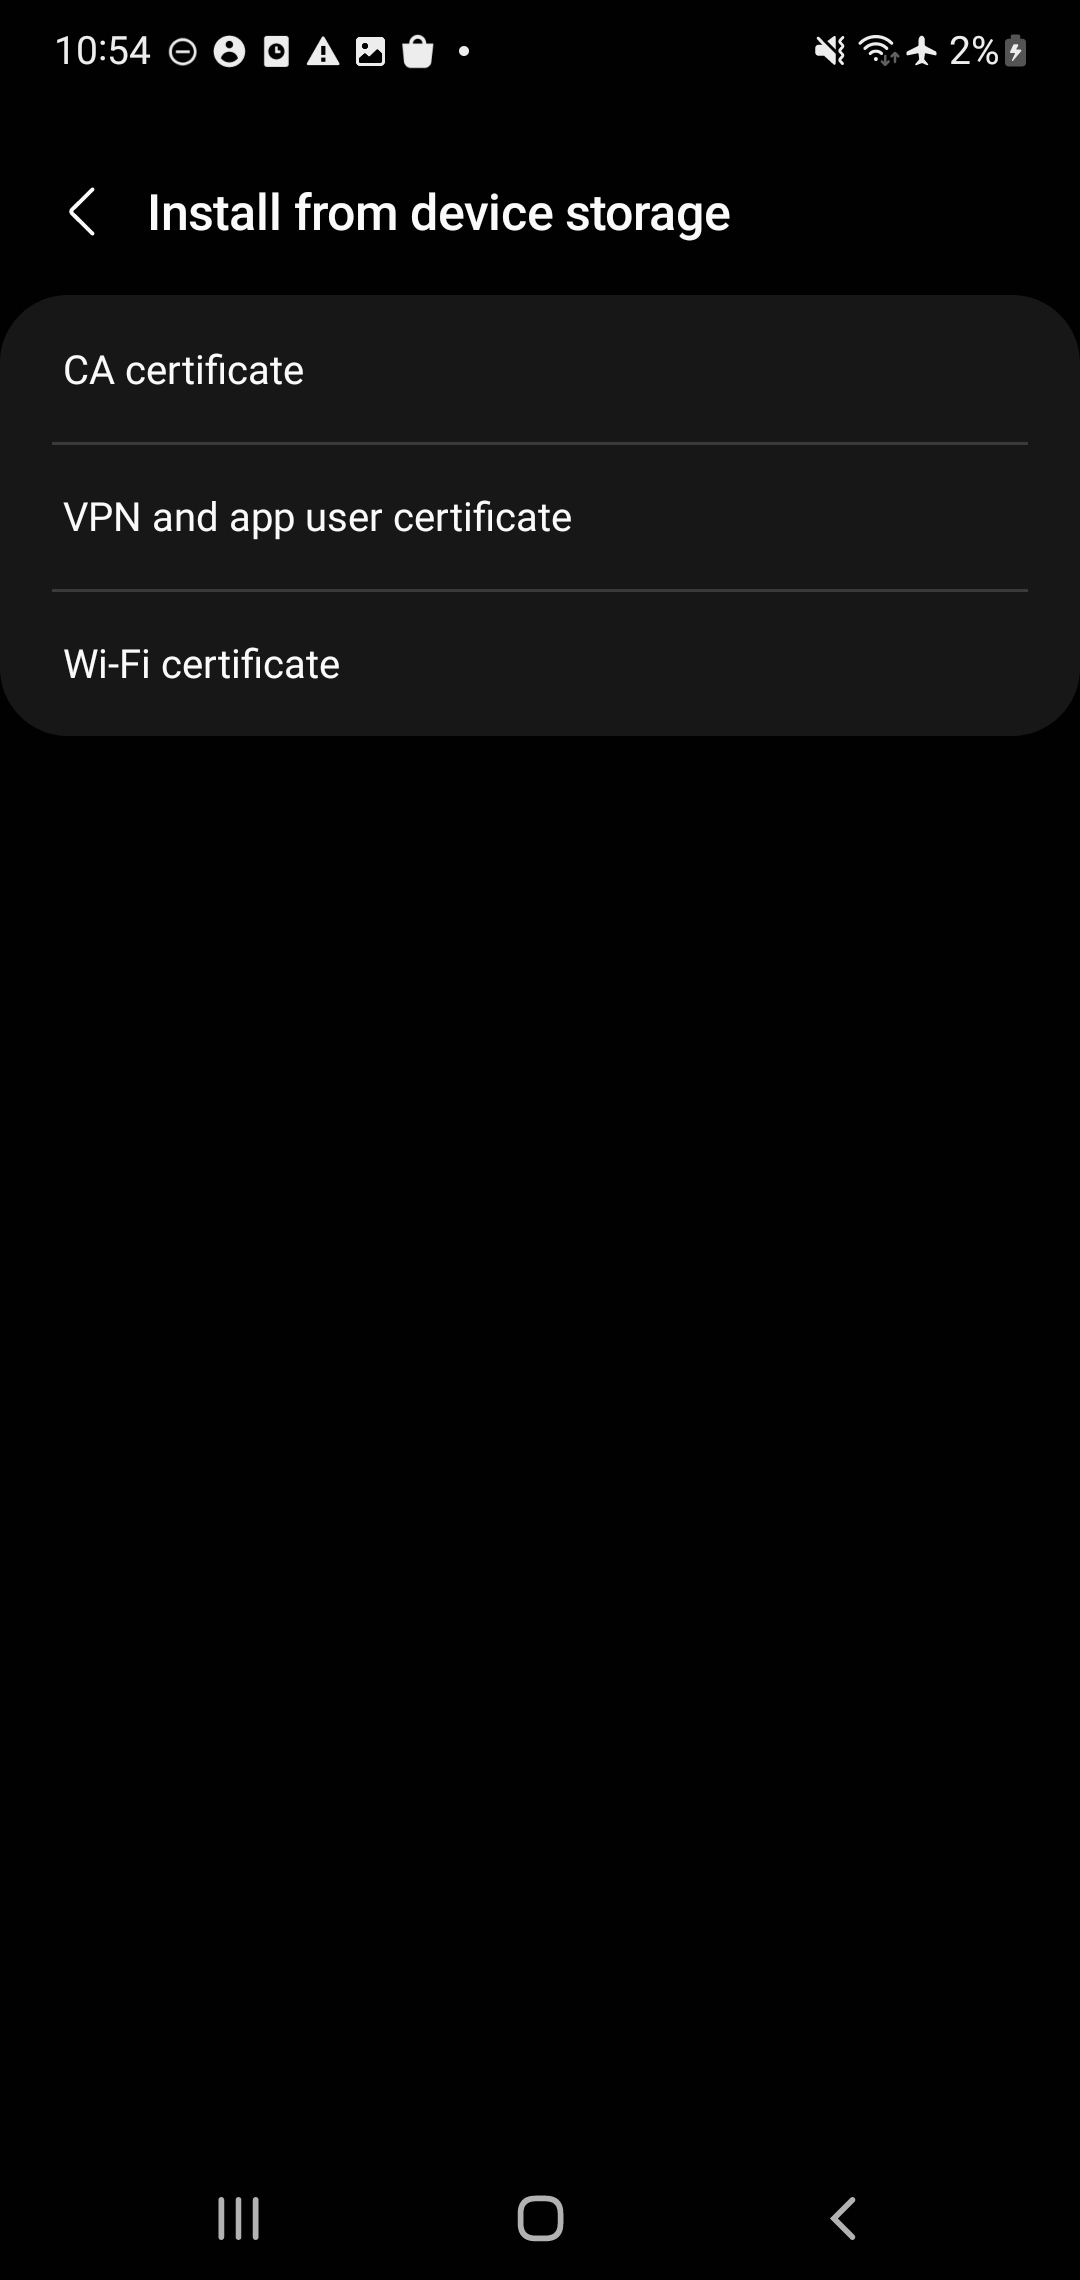
- Select the Install from device storage menu
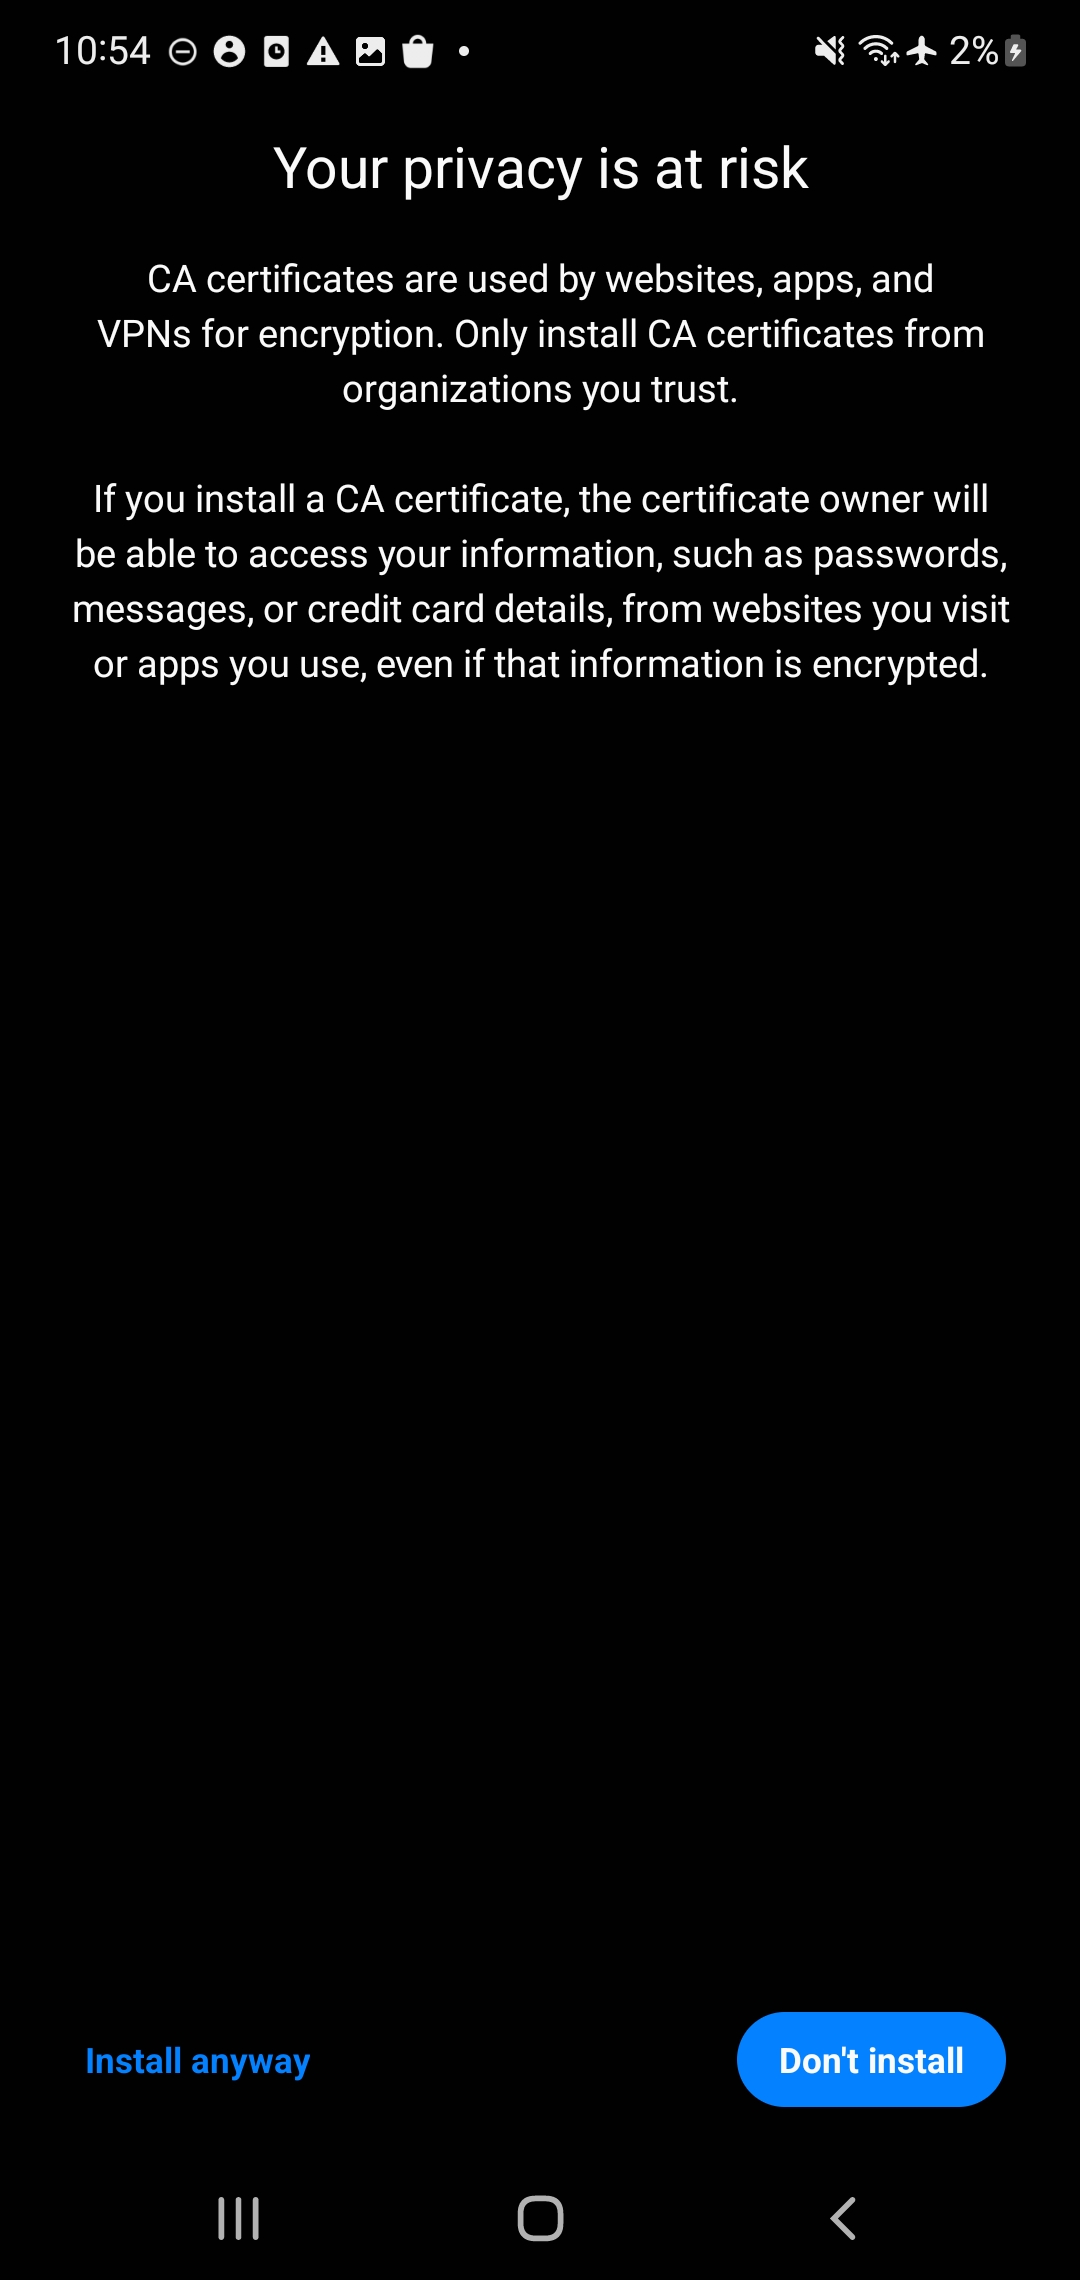
- You’ll be provided another warning message - tap Install anyway
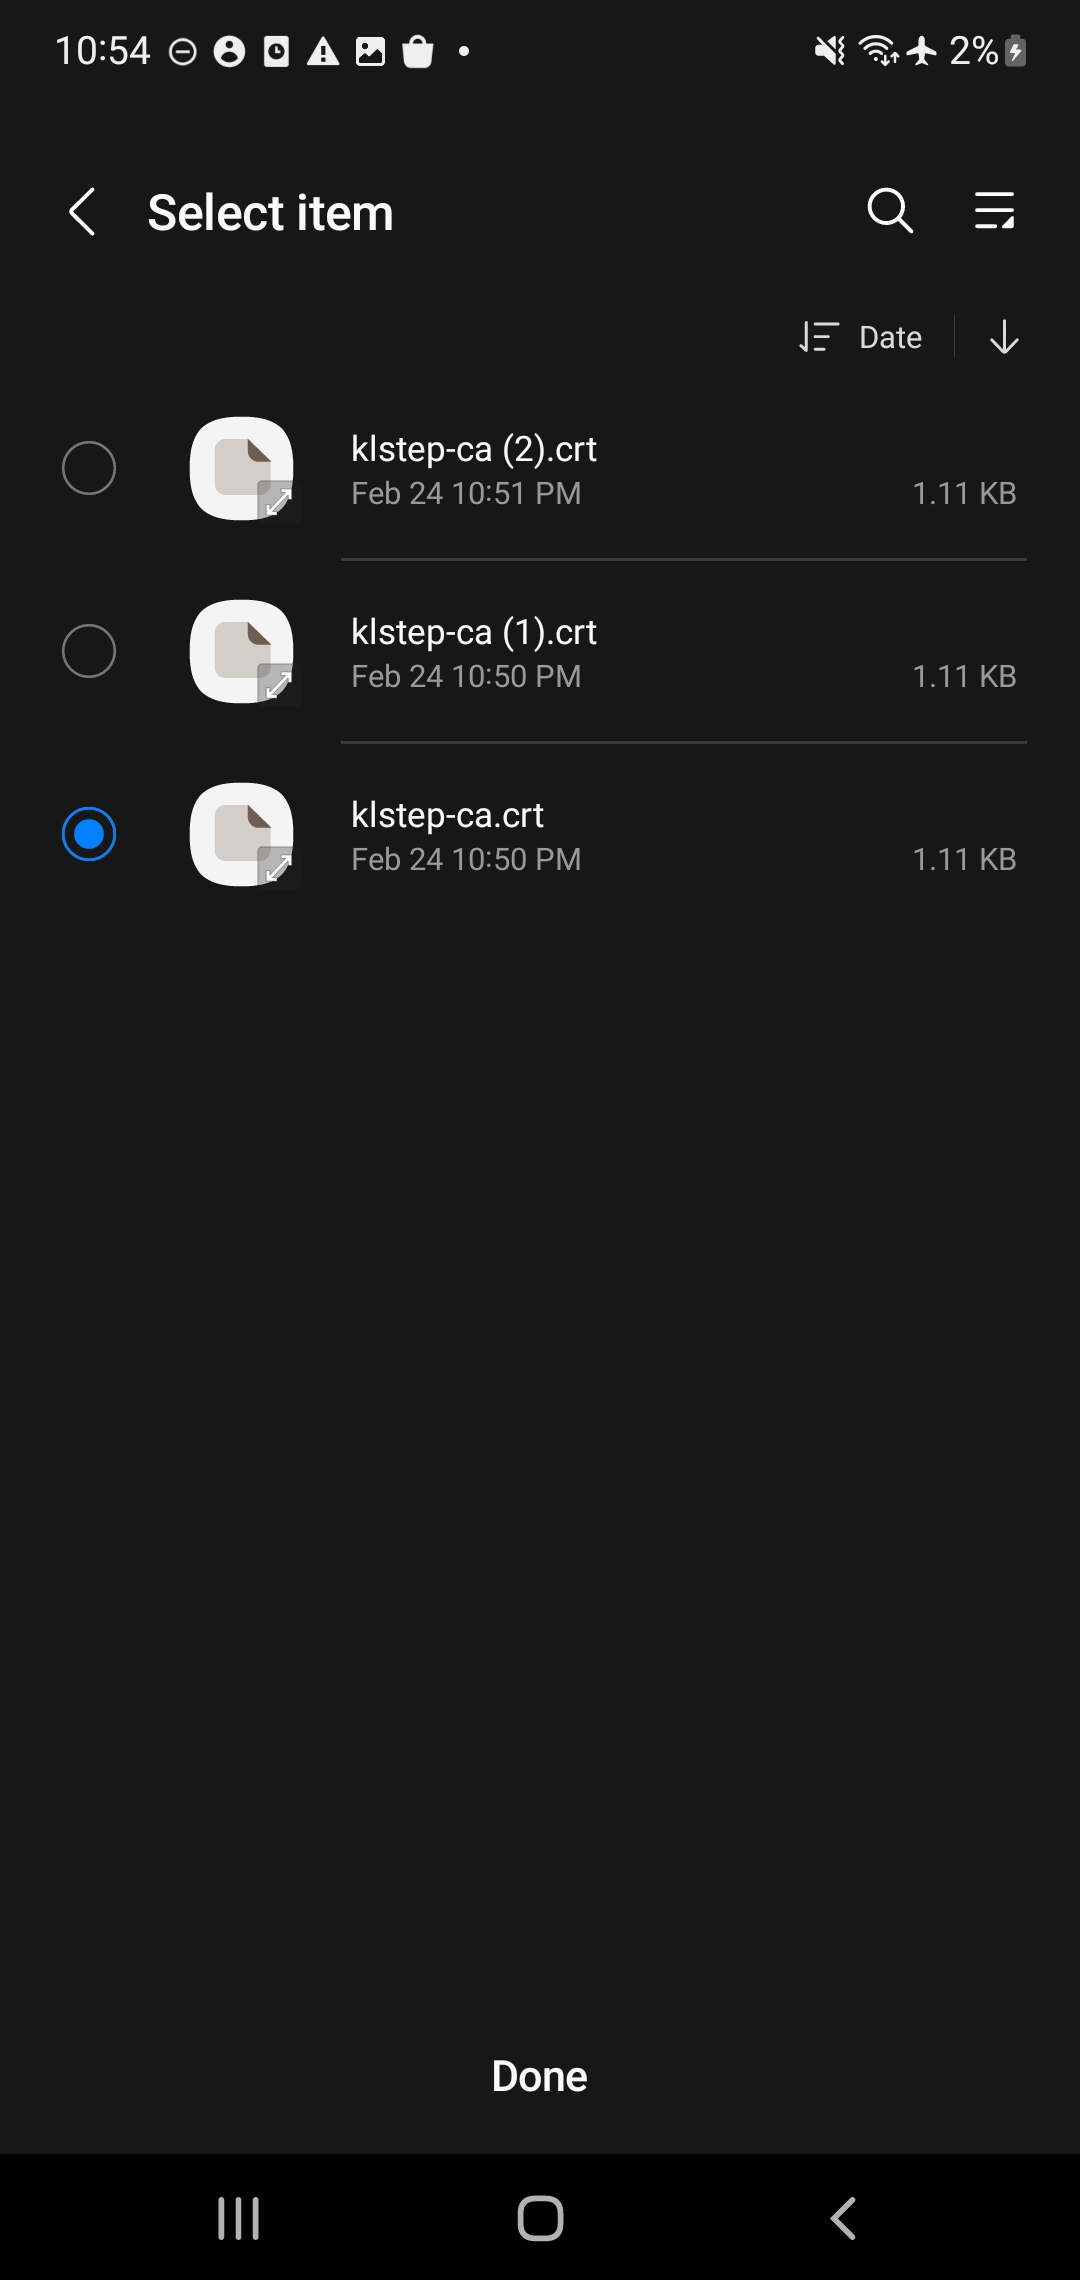
- Select the CA Certificate button - navigate to where you stored the Certificate on the phone’s Internal Storage
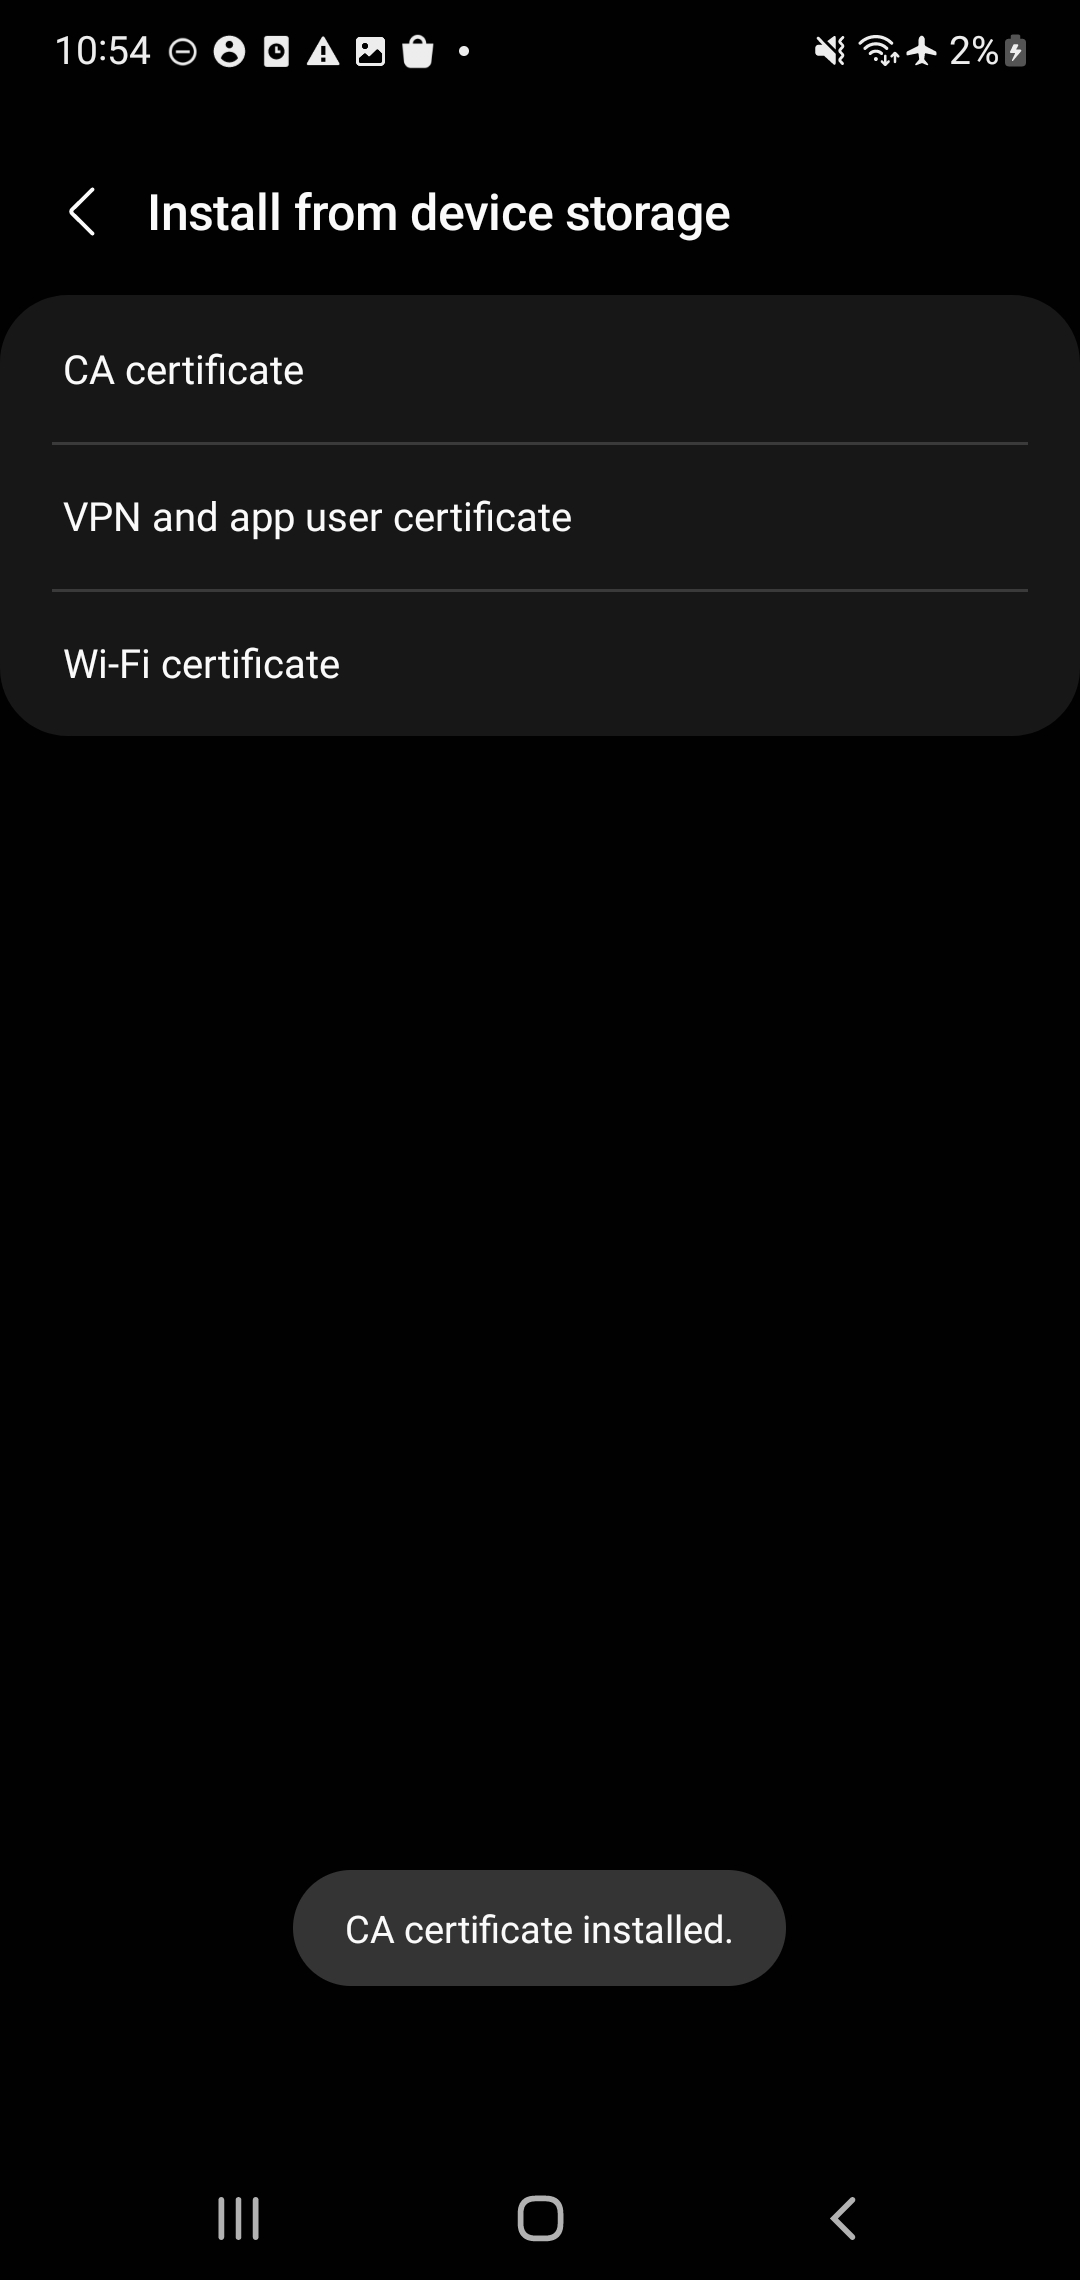
- Once the Certificate is selected, you’ll be given a small message that ‘CA Certificate installed’
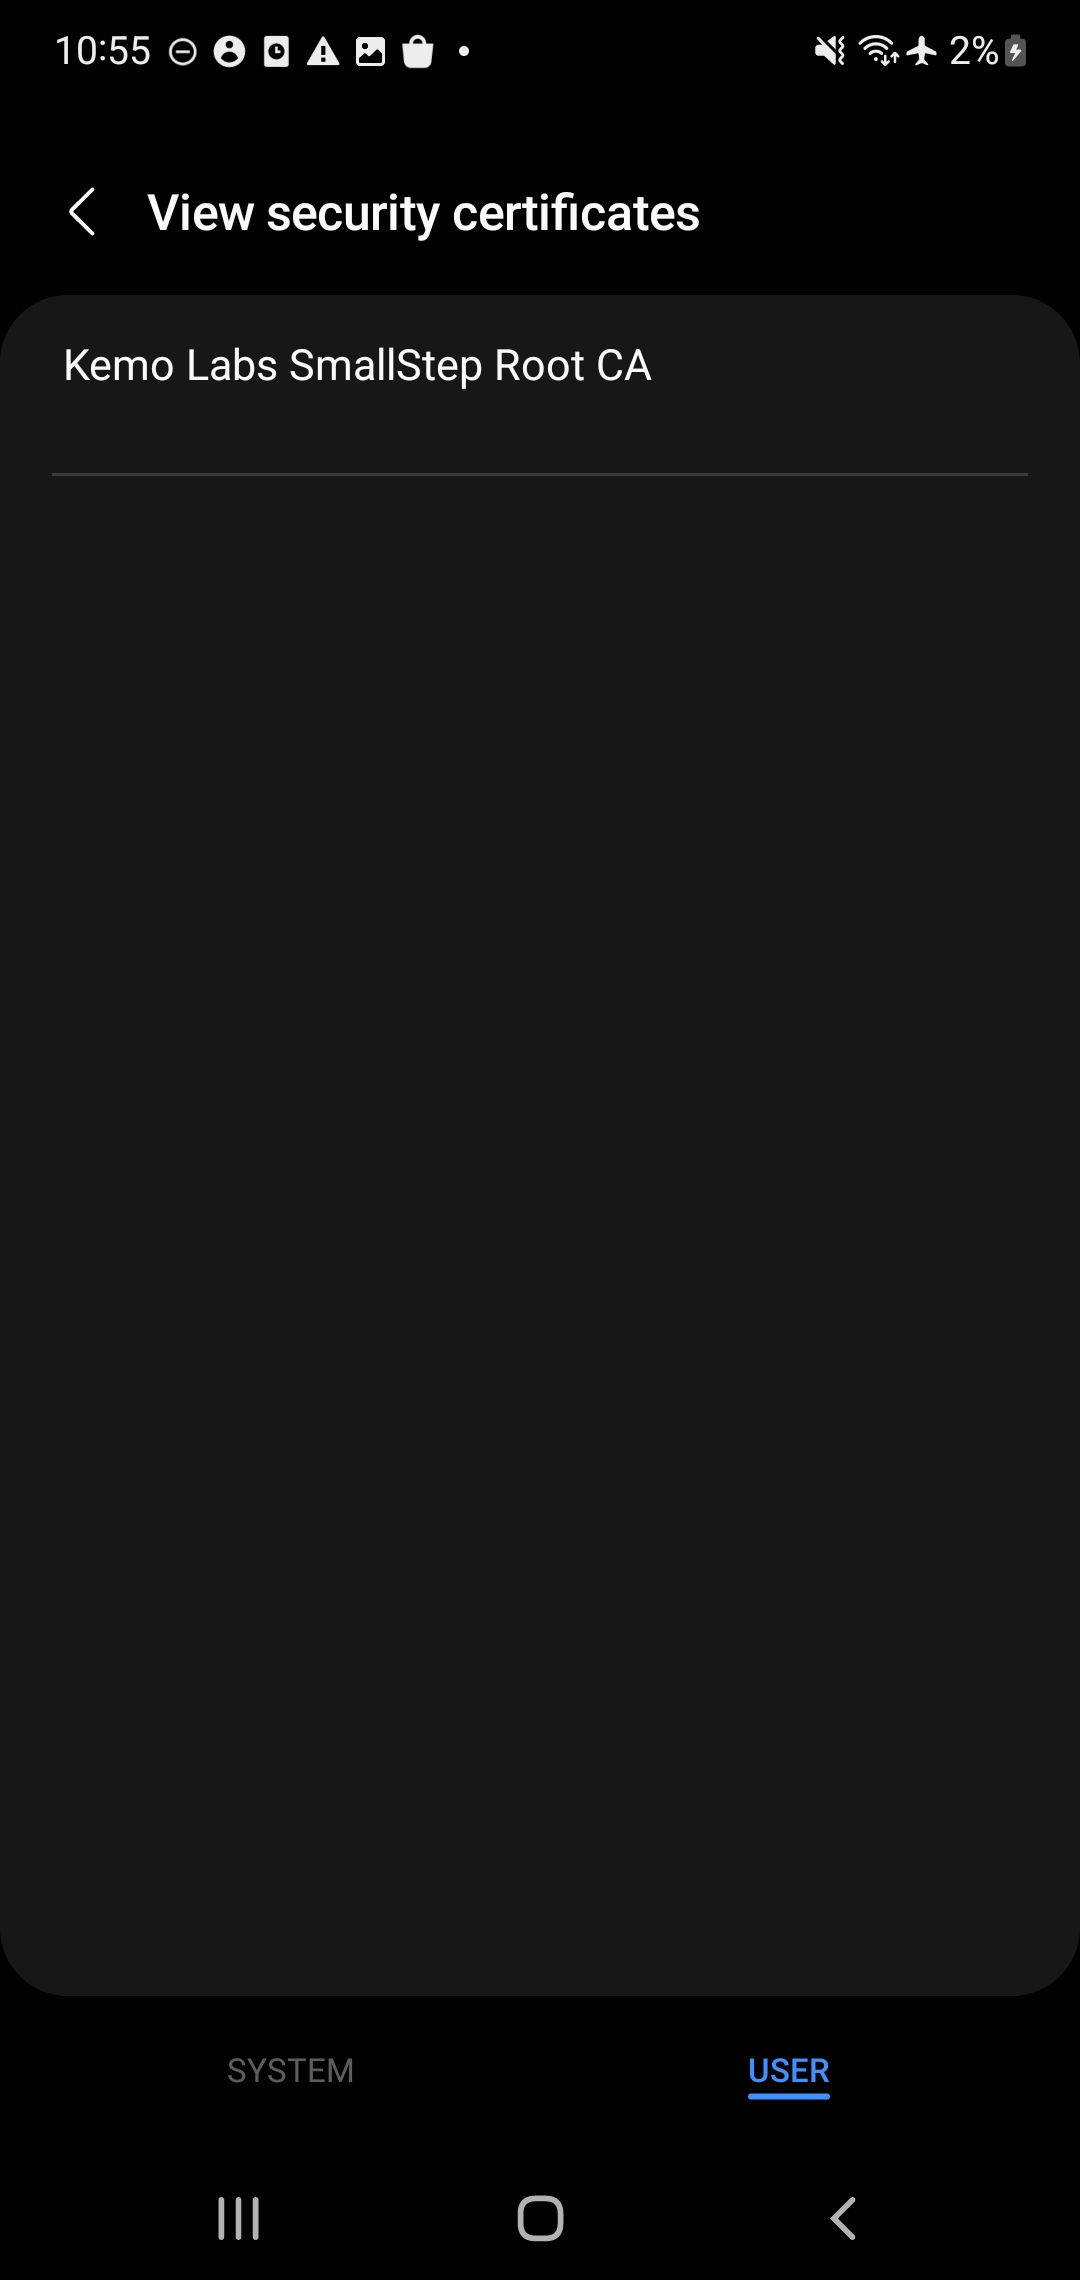
- You can also view the installed Certificate by navigating back to Biometrics and Security > Other security and tapping View security certificates

And with that you should be able to install custom Root CA Certificates in any system’s trusted store!
Ok, ok, most systems…
Yes, there are some systems missing, maybe like Arch Linux and vanilla Google Android/Pixel phones. However I don’t use those systems, this list covers 100% of my needs, and 98% of most other people’s needs.
I do accept PRs

