

Another Electron-based application to devour all your tasty DIMMz
On the heels of my last post around rolling Red Hat UBI on Windows Subsystem for Linux 2 with Rootless Podman, this article kind of builds upon another part of the ecosystem, a young and burgeoning project called Podman Desktop.
Podman Desktop is meant to support developers and their local developmental loops just as Docker Desktop does - all without the licensing stipulations that Docker has imposed.
Getting up and running with Podman and Podman Desktop on Linux is pretty simple, Mac OS X is also not difficult since the workflow is pretty similar - Windows on the other hand, not as easy…mostly because the processes are poorly documented, if at all. Let’s fix that, shall we?
Prerequisites
Before you go about downloading Podman Desktop and running it, there are a few things needed to install and configure on your Windows system.
Windows Subsystem for Linux 2
If you already have WSL installed, you can skip this section, or just do it anyway to be sure that it’s WSL v2 that you’re using.
Podman Desktop still relies on WSL2 to run containers - this operates with the podman machines interfaces, which essentially just creates a WSL2 distro to run Podman remotely.
On your Windows system, via a Powershell terminal with Administrative permissions, run the following:
# Enable WSL2
dism.exe /online /enable-feature /featurename:Microsoft-Windows-Subsystem-Linux /all /norestart

# Enable VM Platform for WSL2
dism.exe /online /enable-feature /featurename:VirtualMachinePlatform /all /norestart
Podman Windows Binary
Podman Desktop also relies on the podman.exe binary being present on your system since it’s not bundled with it for some forsaken reason…
First off, download the latest Podman release for Windows from the GitHub Release page: https://github.com/containers/podman/releases
There are two versions, the podman-remote-release-windows_amd64.zip file, and the Installer MSI, at the time of writing with the Podman 4.1 release called podman-v4.1.0.msi. Grab the MSI, and launch it to install Podman.
You’ll notice nothing about the installer - literally. There’s no wizard, no feedback, no nothin' - pretty garbage if you ask me. The only way to check to see if it installed everything properly is to check in the C:\Program Files\RedHat\Podman folder.
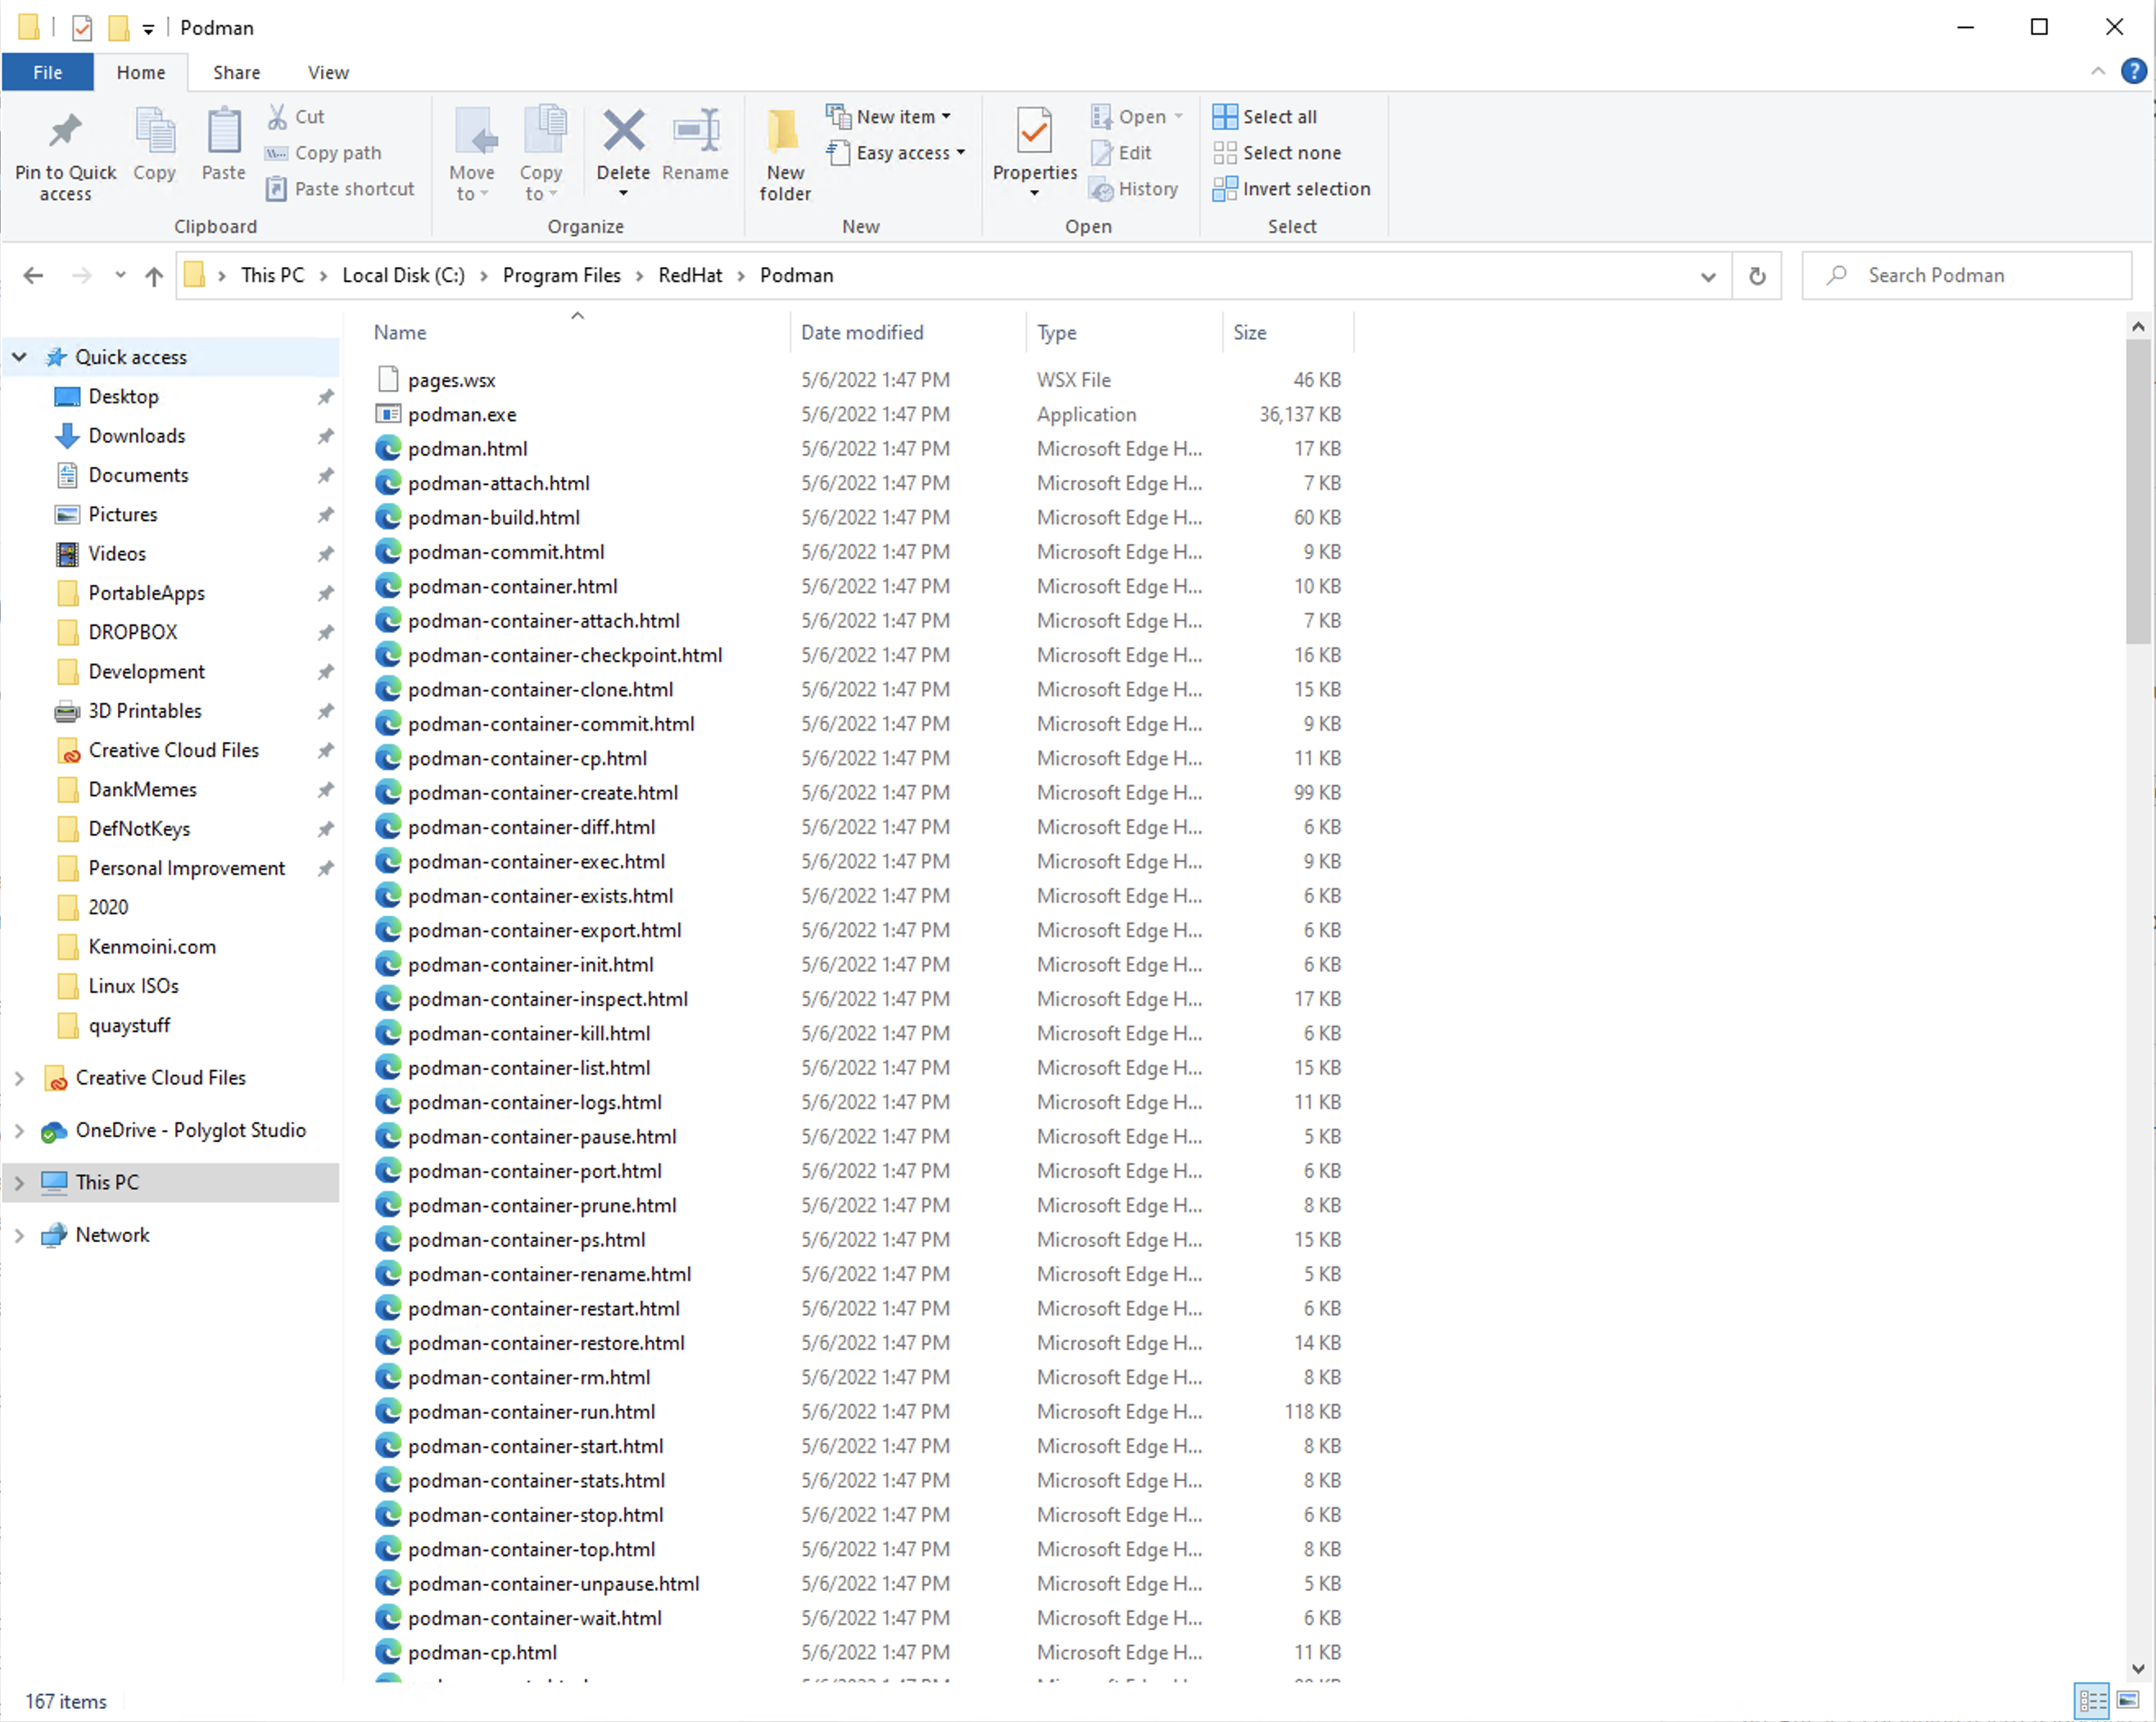
If you see the files listed in that location, you should be set and the installer should ideally have also set that location in your Path Environmental Variable.
To perform a test, you can open up a Powershell terminal and type in podman you should see the basic help information, similar to the image below:
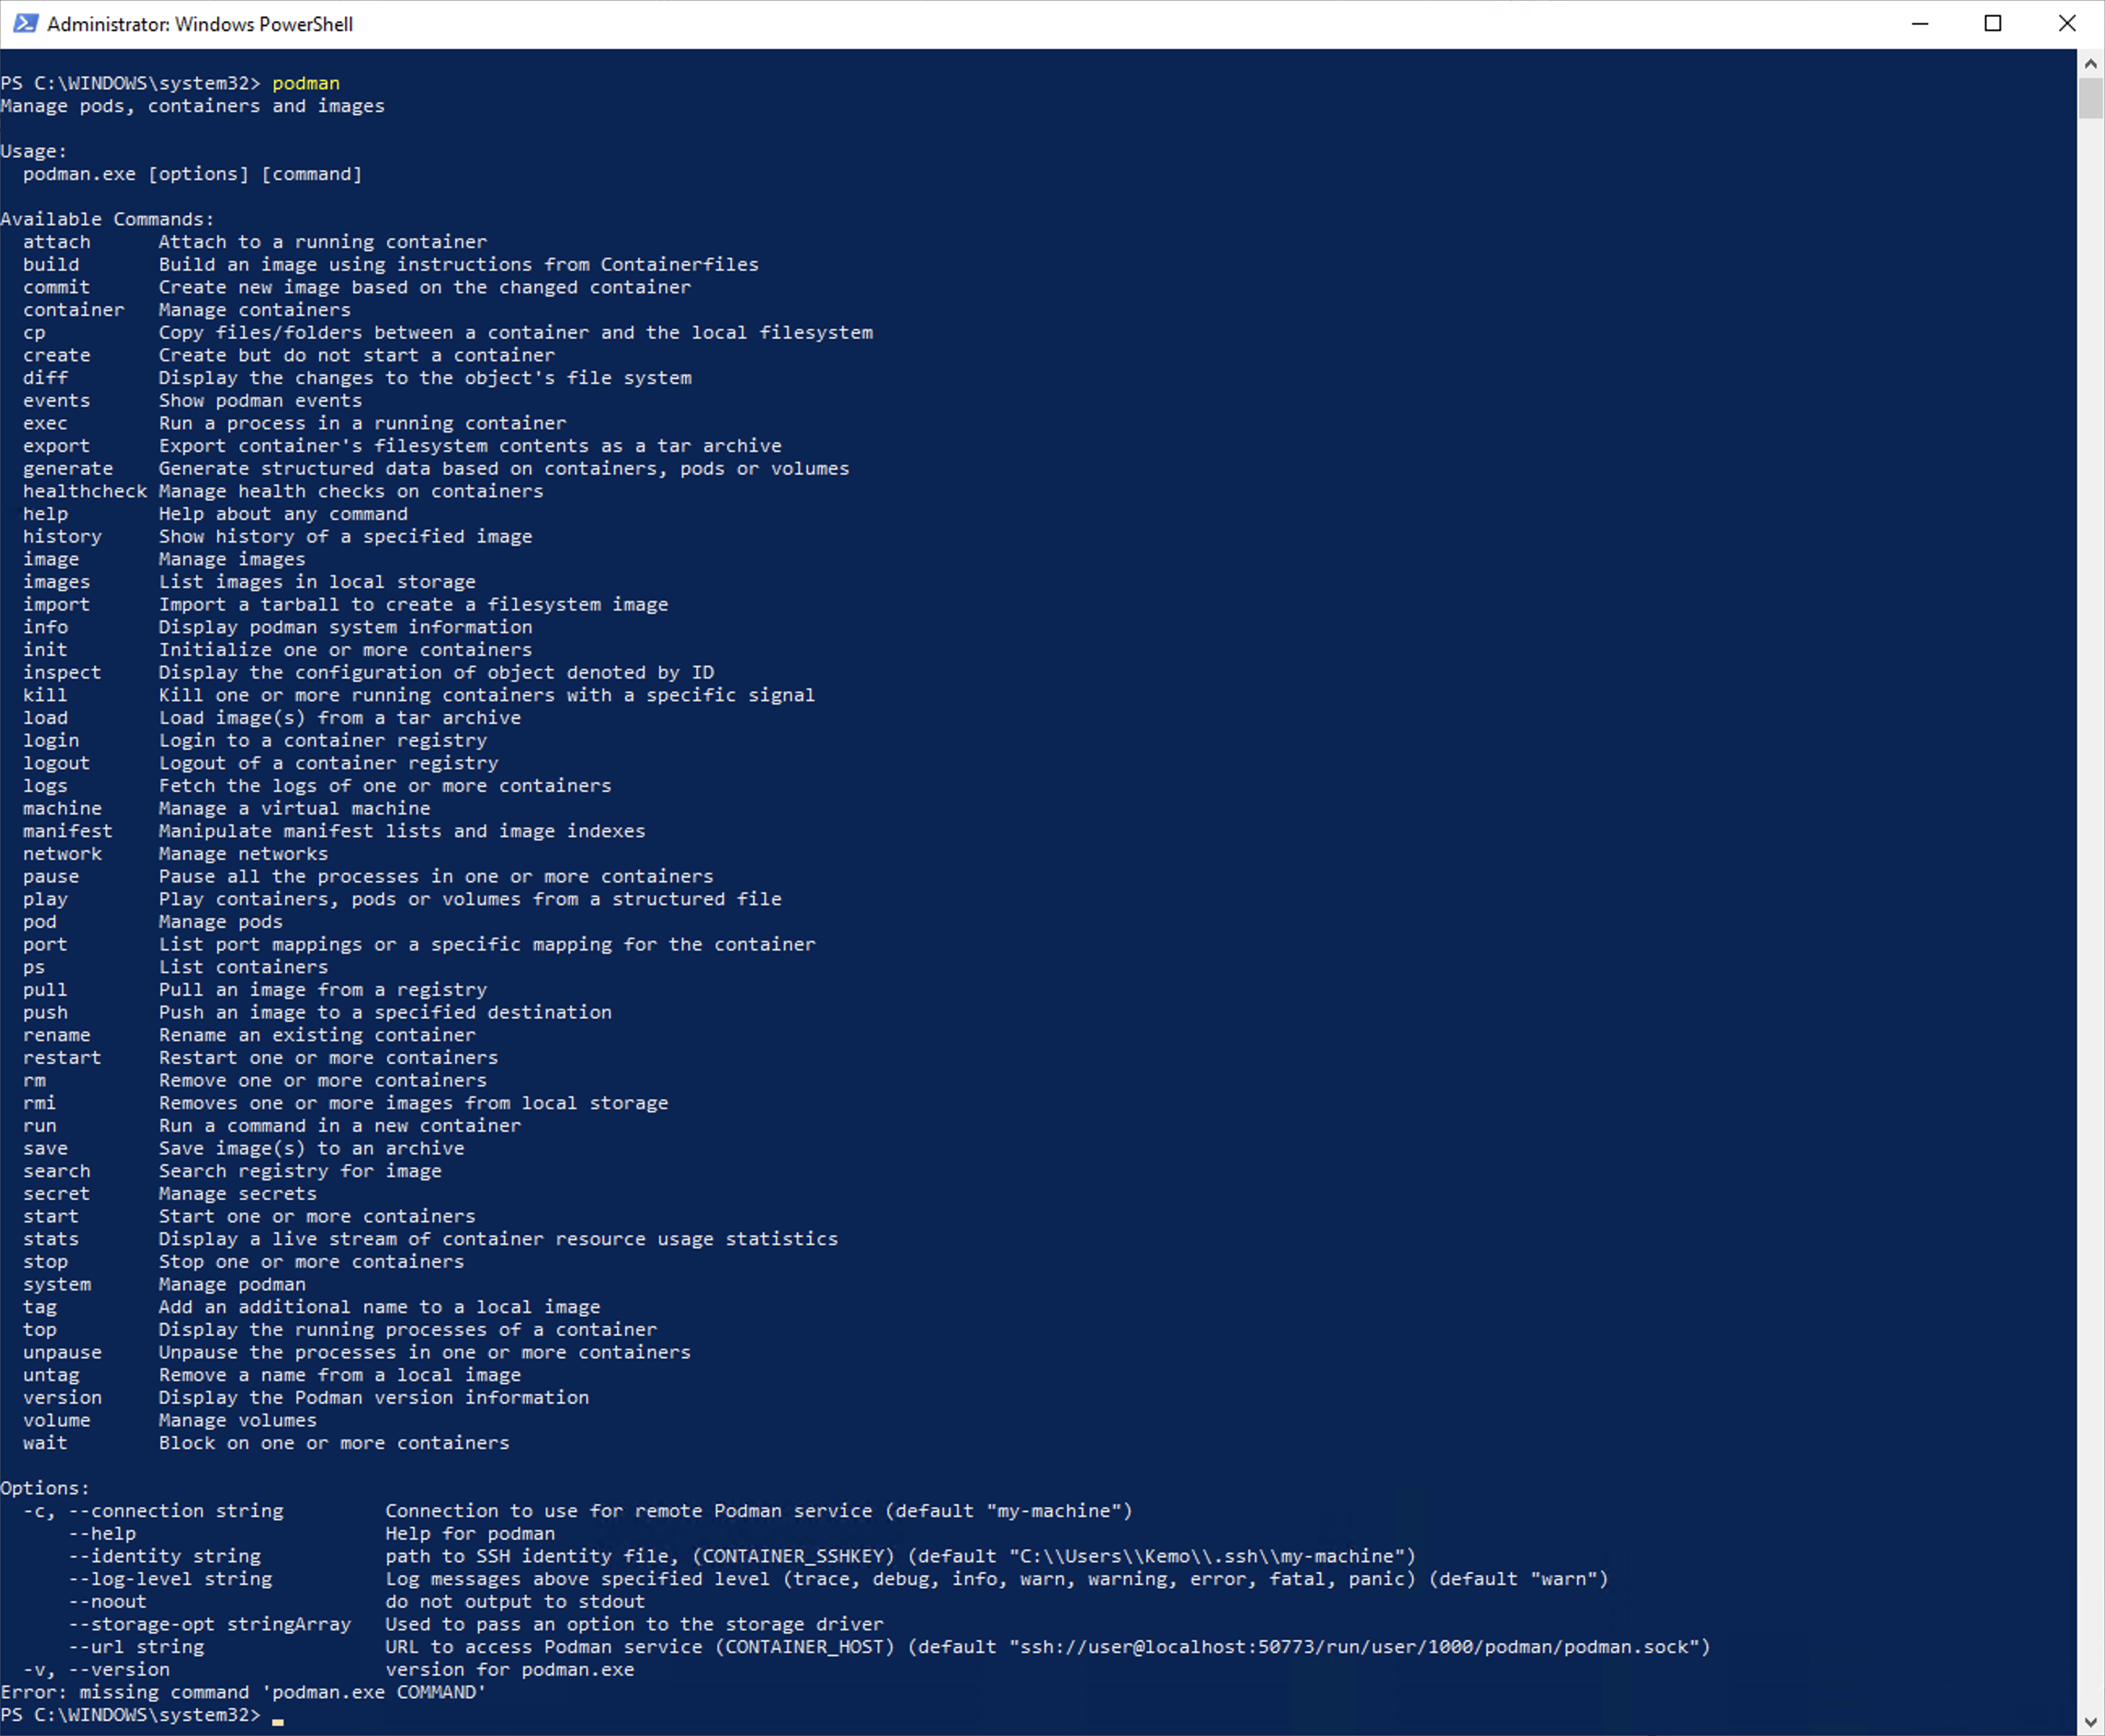
If so, then you have Podman running on Windows! Well, kinda sorta, in a way at least, because this podman.exe binary doesn’t actually run containers natively on Windows, it uses the podman machines interface to create WSL2 distros to run Podman and interact with Podman in the WSL2 distro remotely.
Podman Desktop
Now that we have what we need in place, we can finally go about installing Podman Desktop. To do so, simply download it from https://podman-desktop.io/.
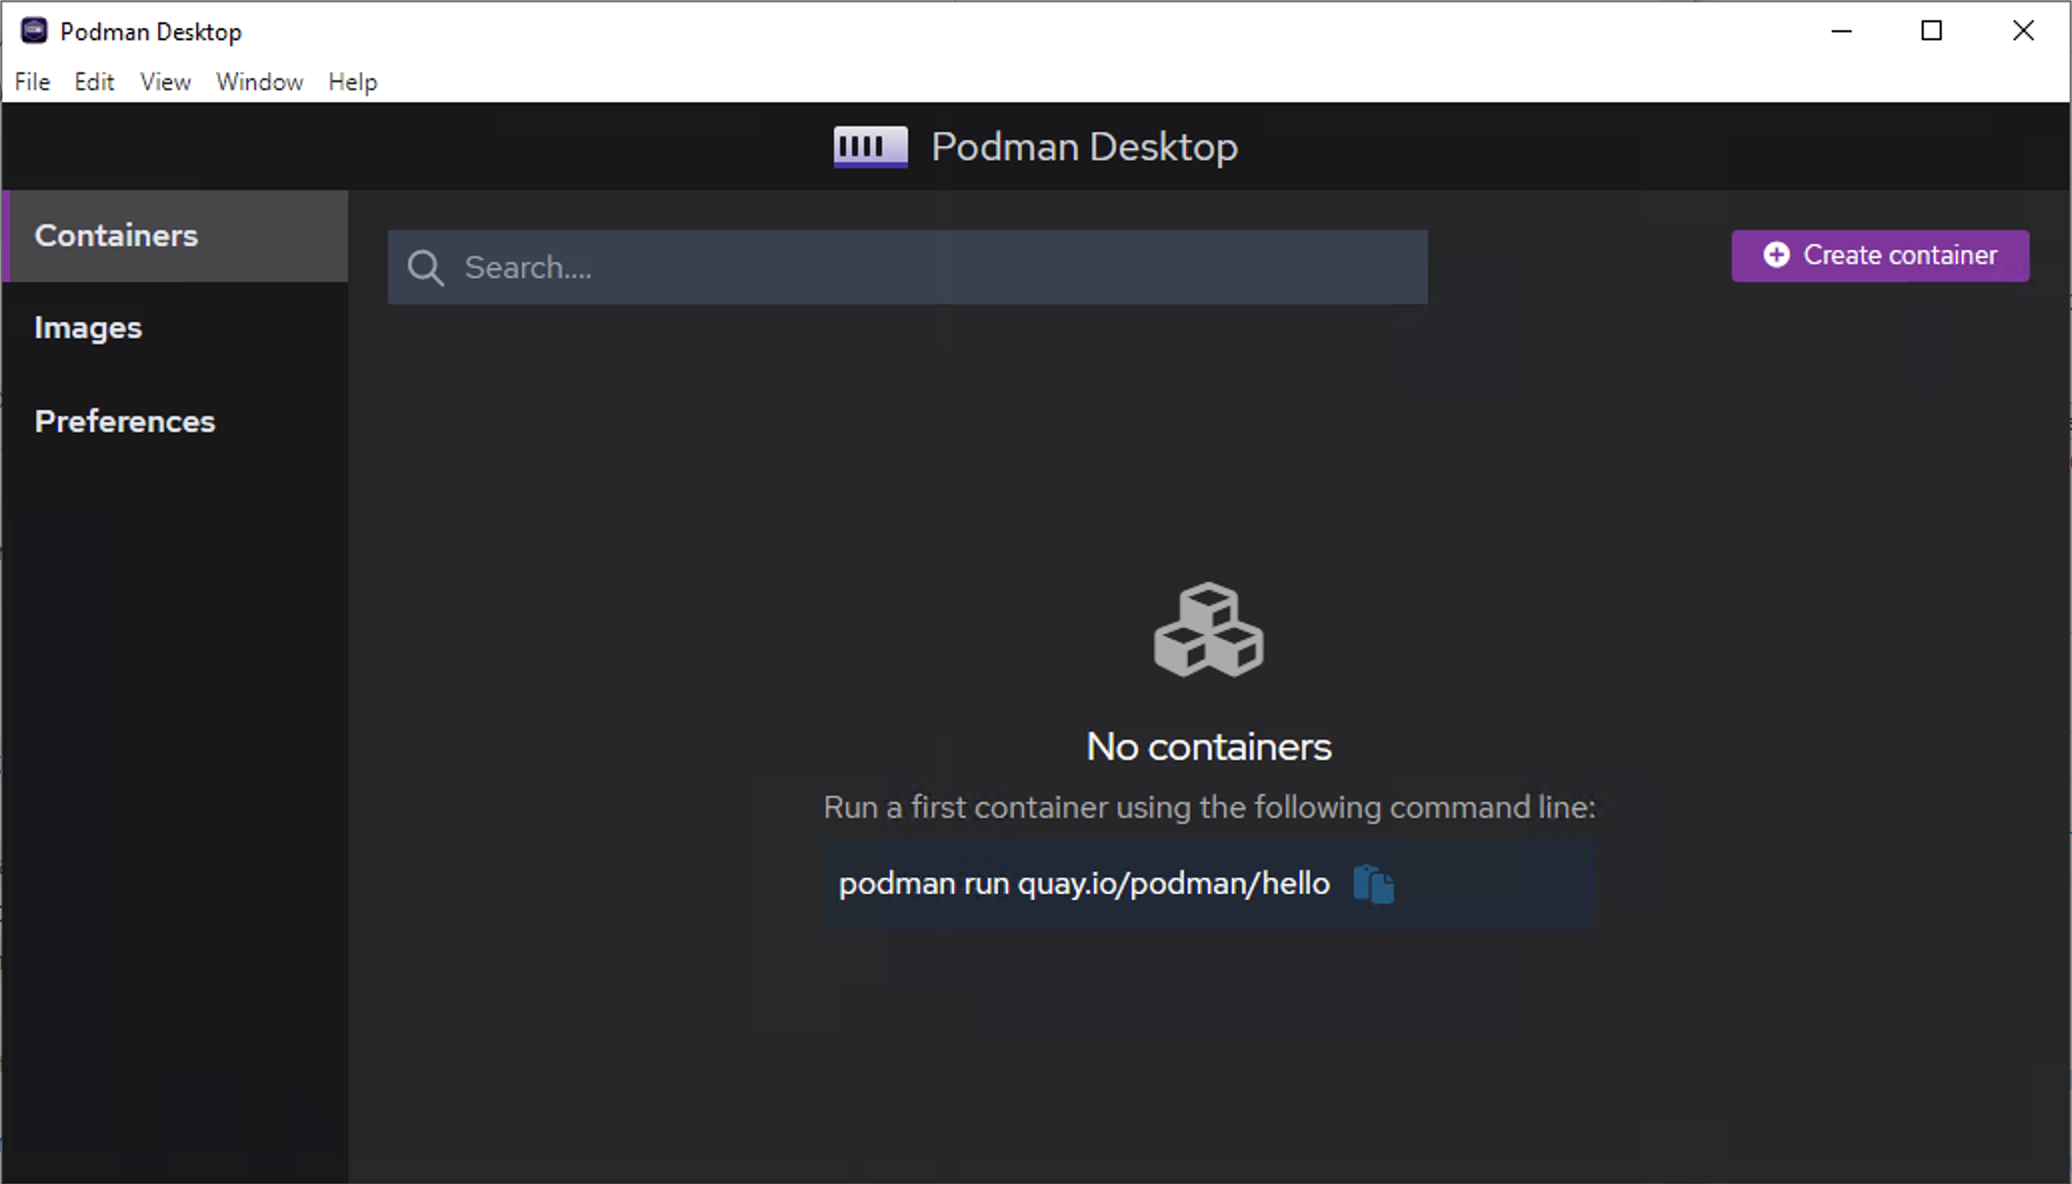
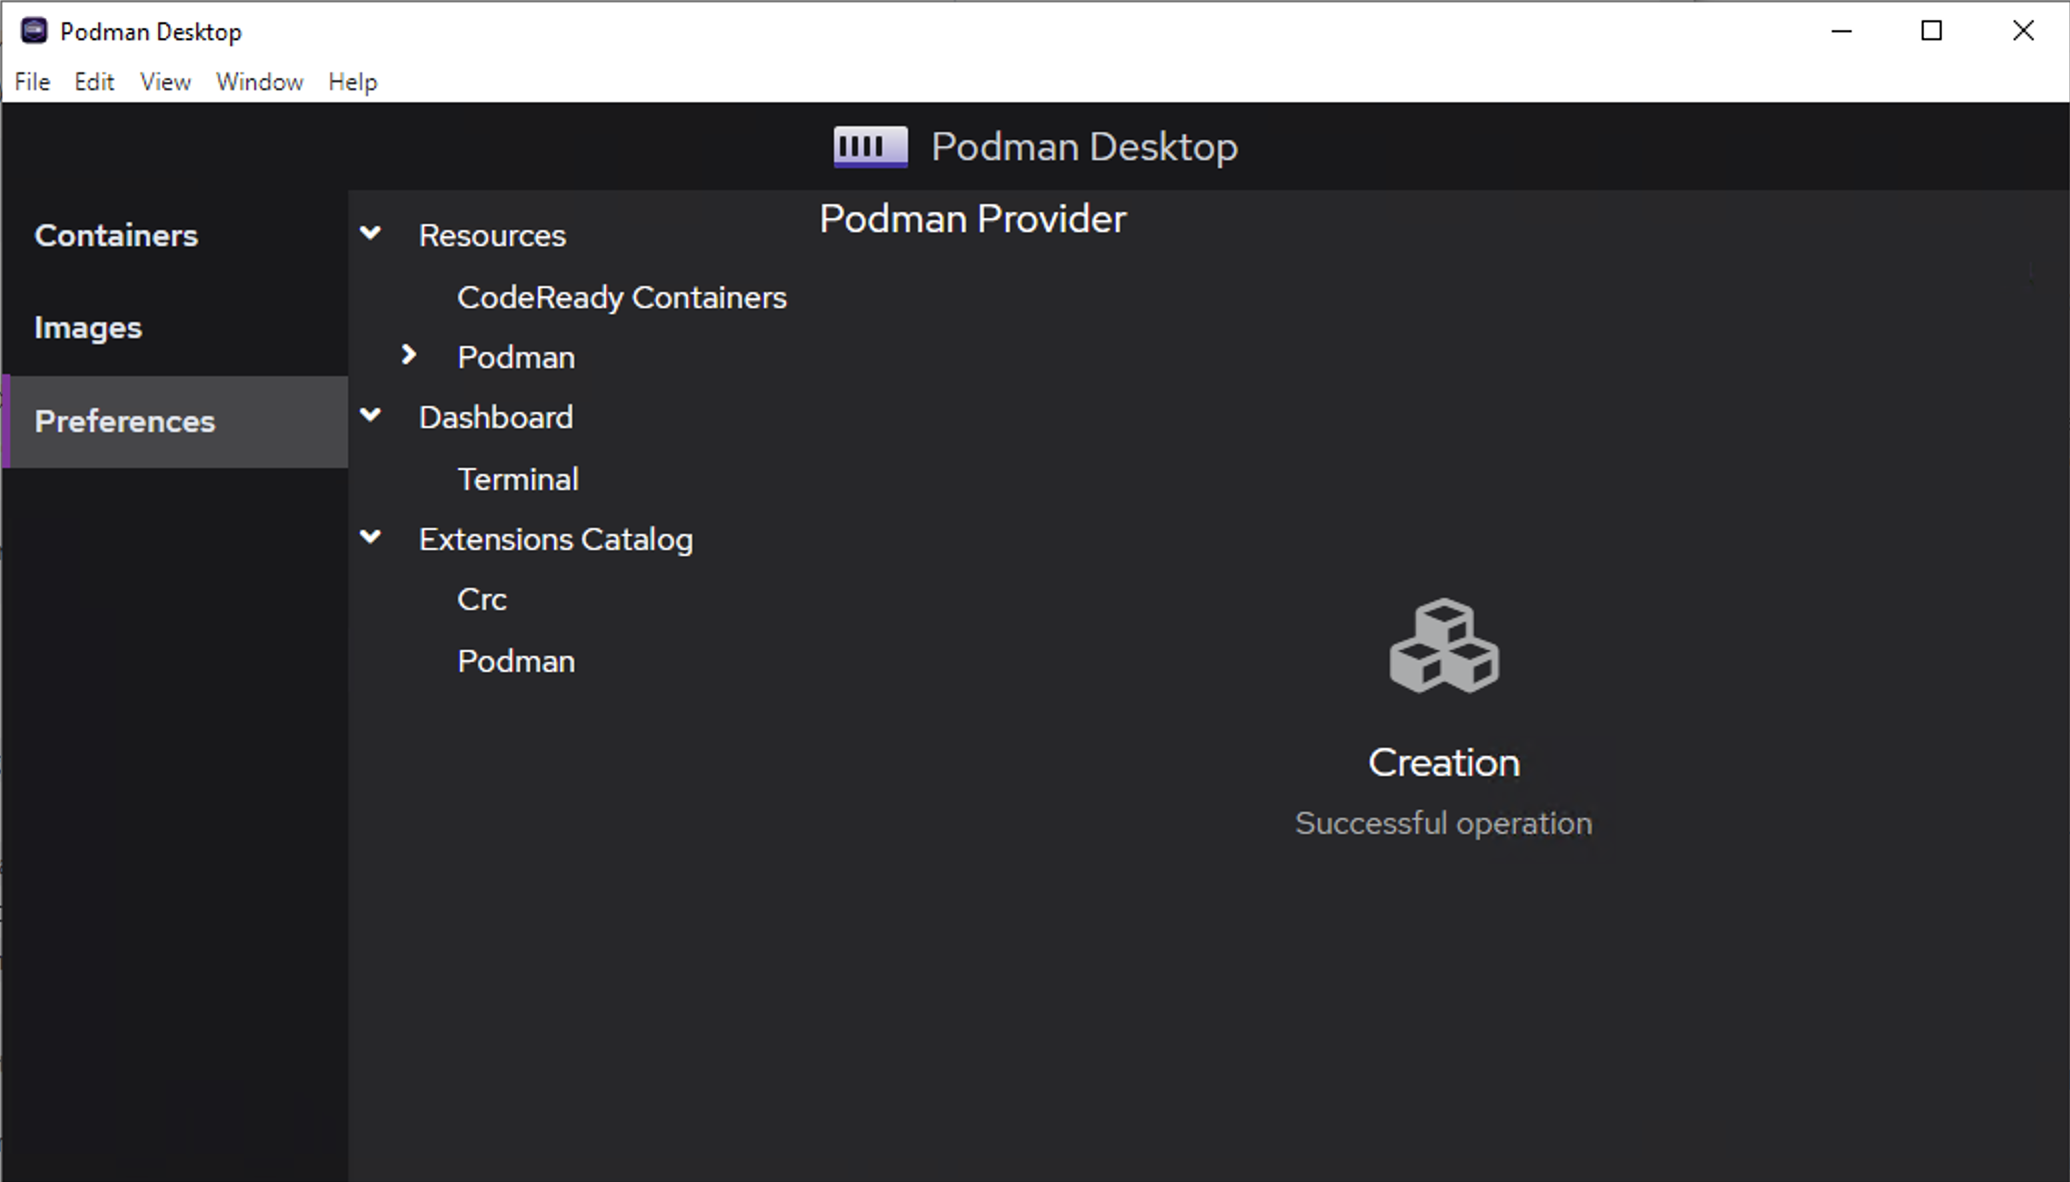
Run the installer, and launch Podman Desktop. By default it should look pretty empty…
Creating a Podman Resource
First thing you’ll want to do is create a Podman Machine - click on the Preferences tab in the left-hand pane, select Podman under Resources, and fill in the form as you’d like:
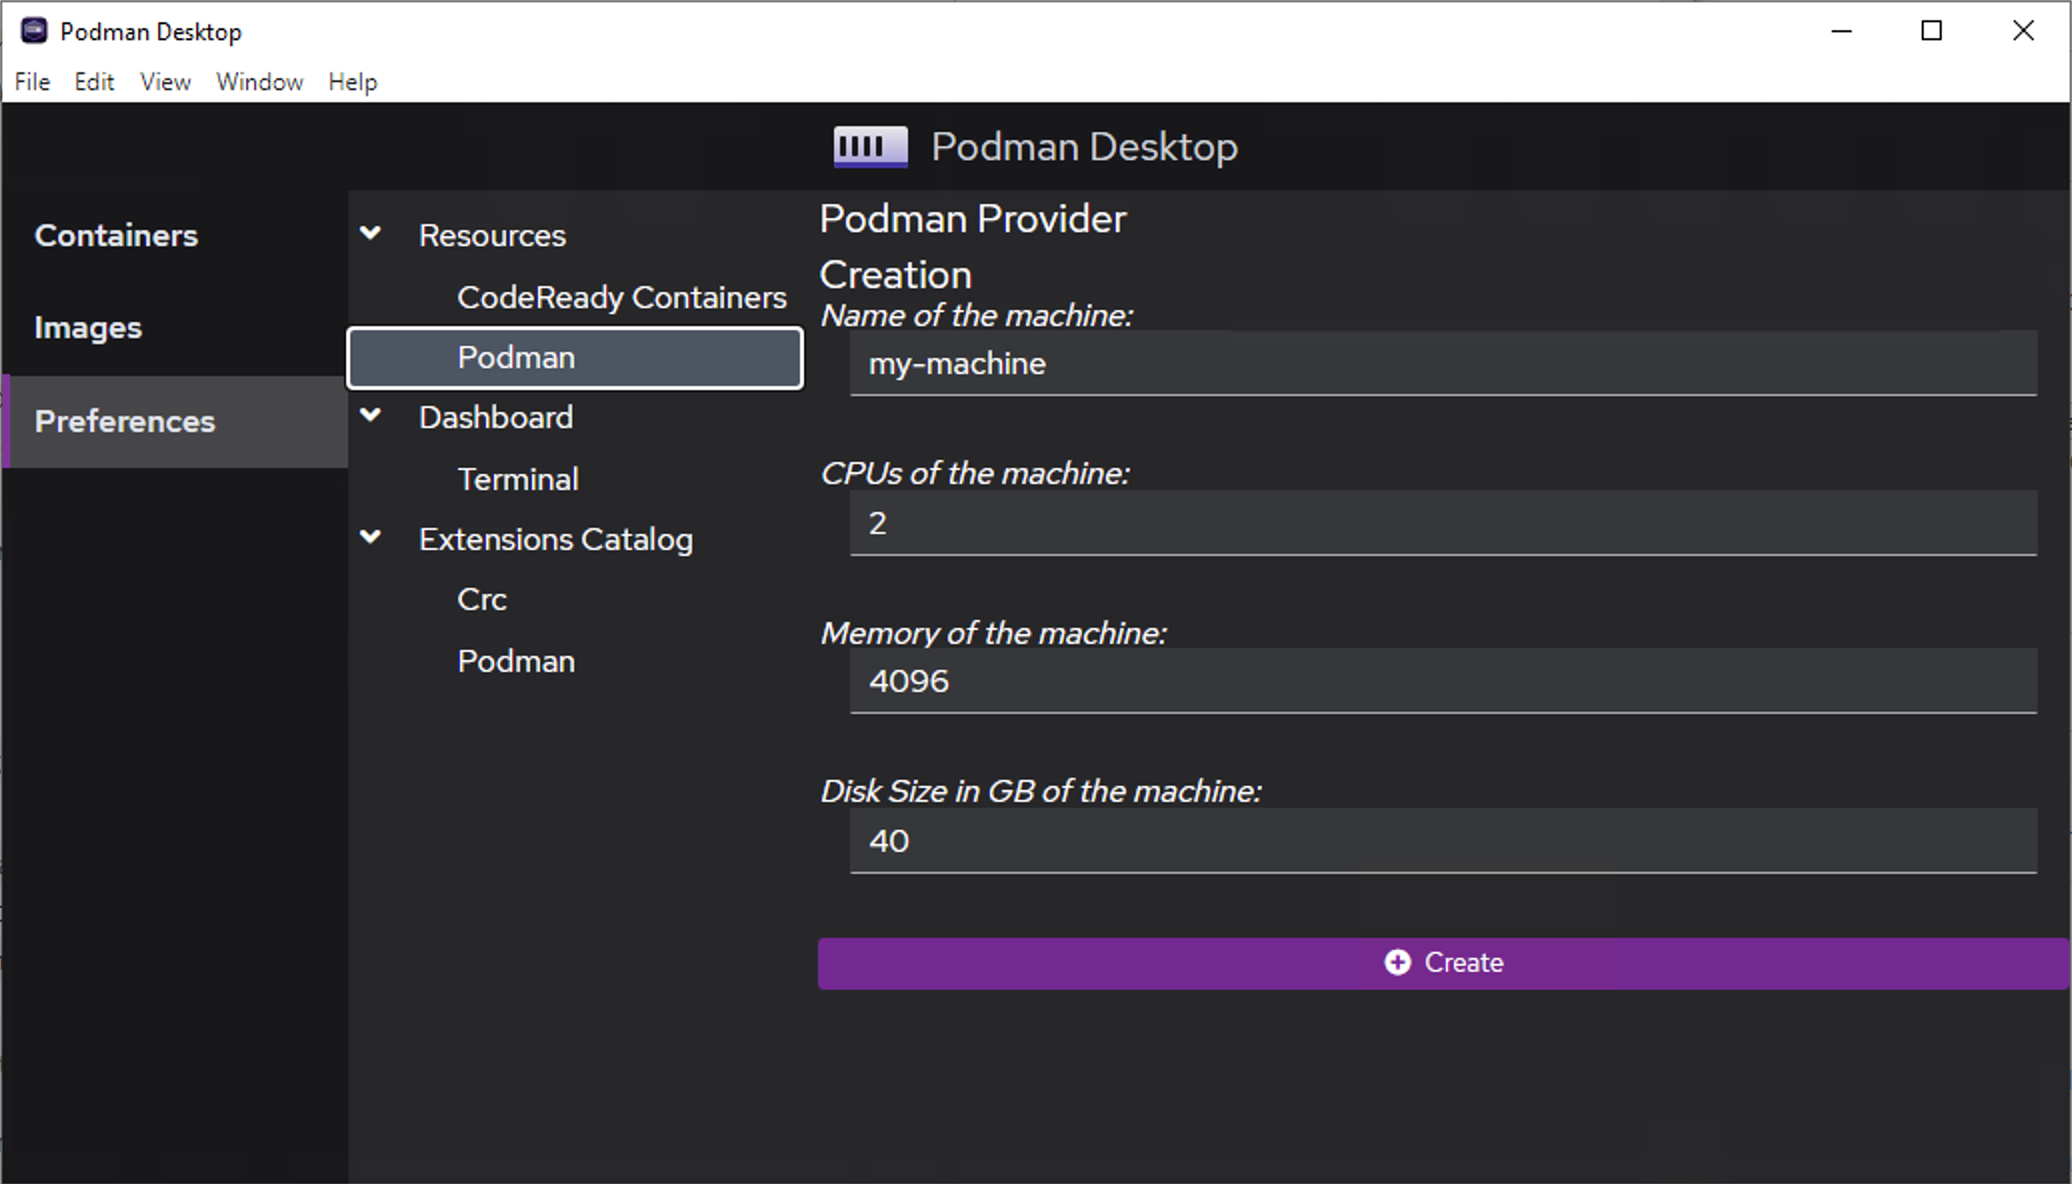
Once the Podman resource has been created, you can even run a wsl --list in a Powershell terminal to see your new WSL2 distro used for the Podman Machine interface - it will have a podman- prefix attached to whatever name you set in the form.
Running the Podman Resource
Once the Podman resource/machine/WSL2 distro has been created, you still need to start it - do so from the same Preferences tab, selecting the Podman resource that is now listed.
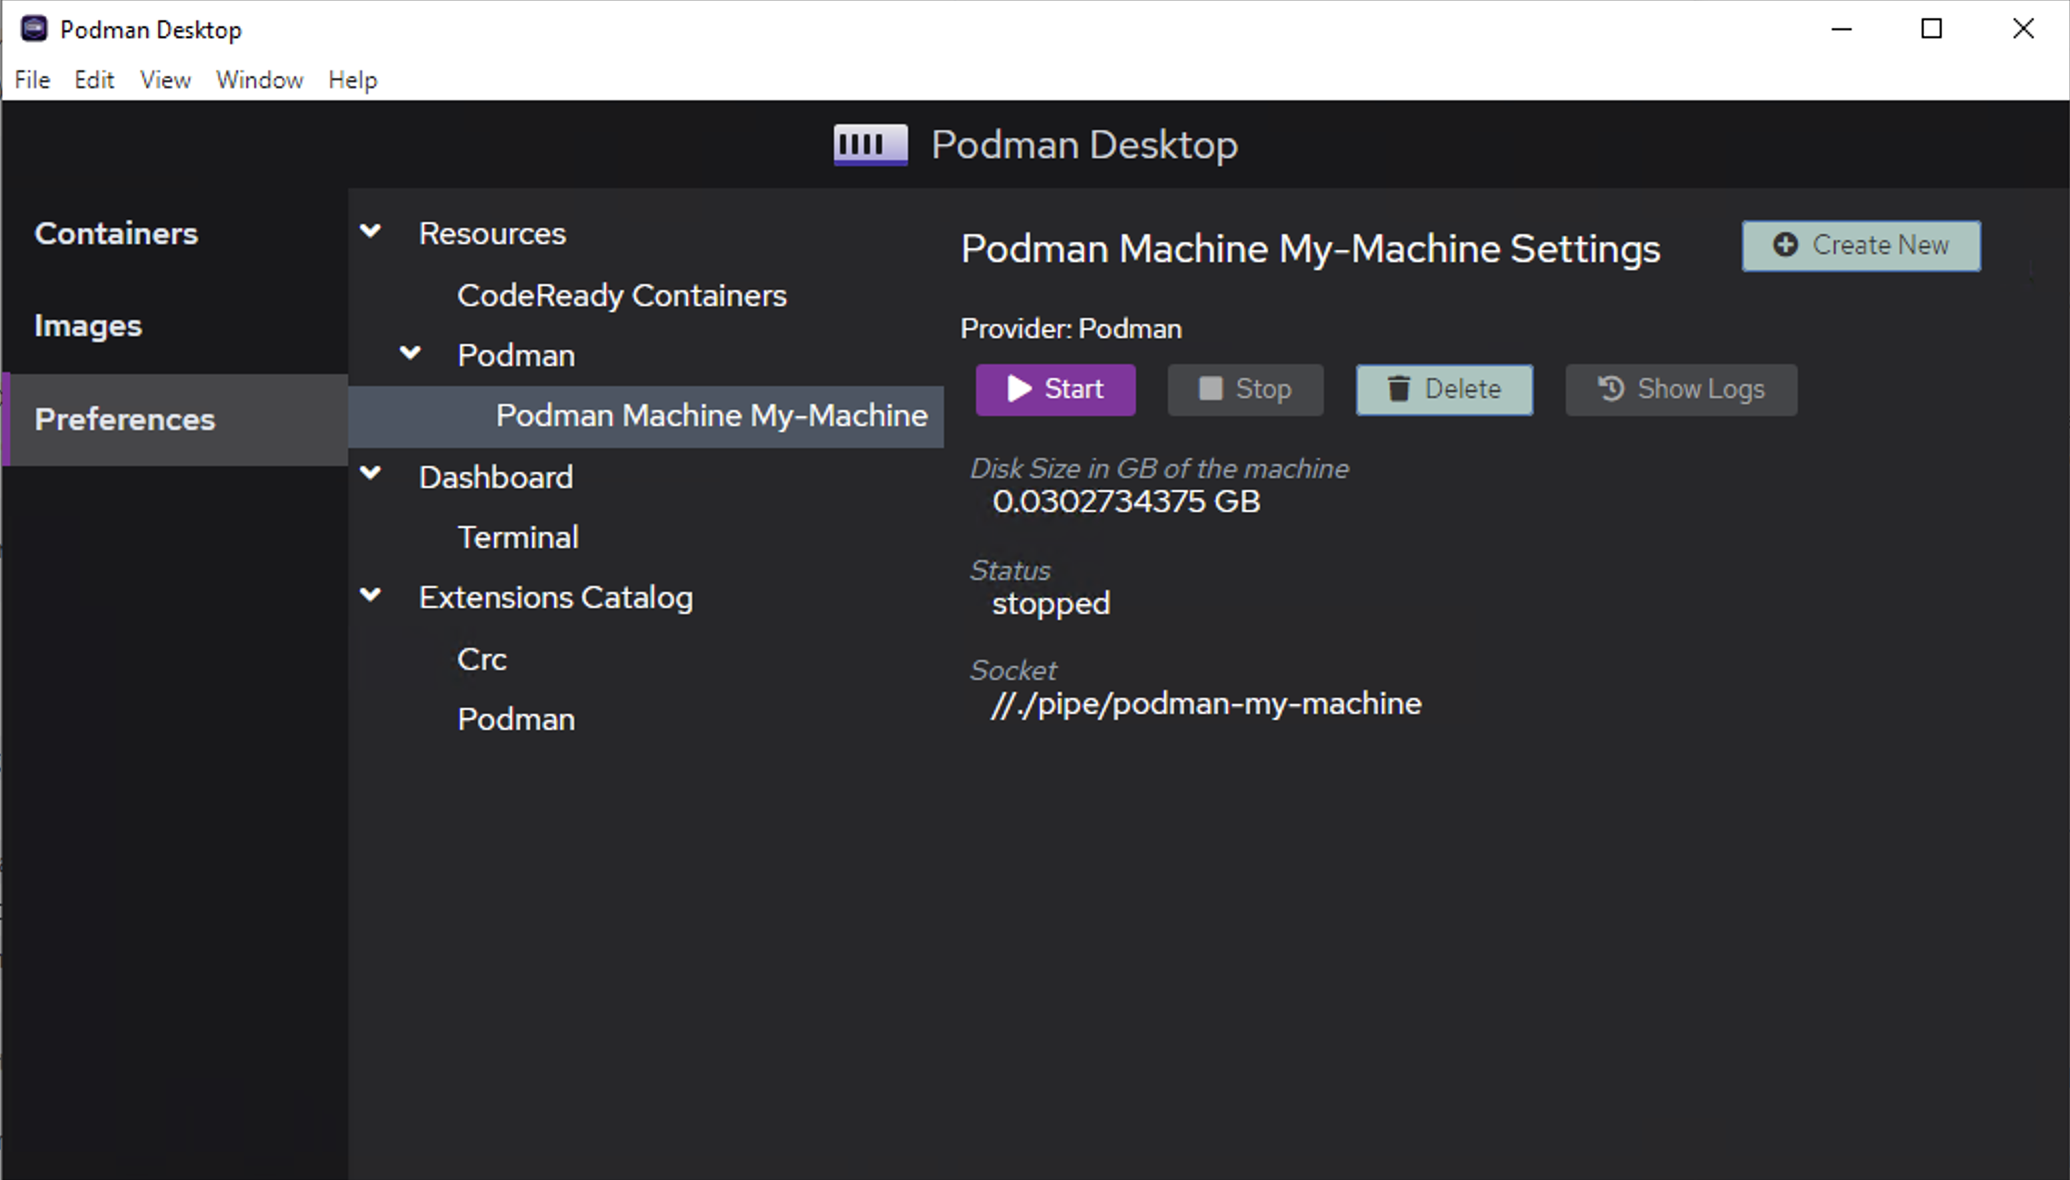
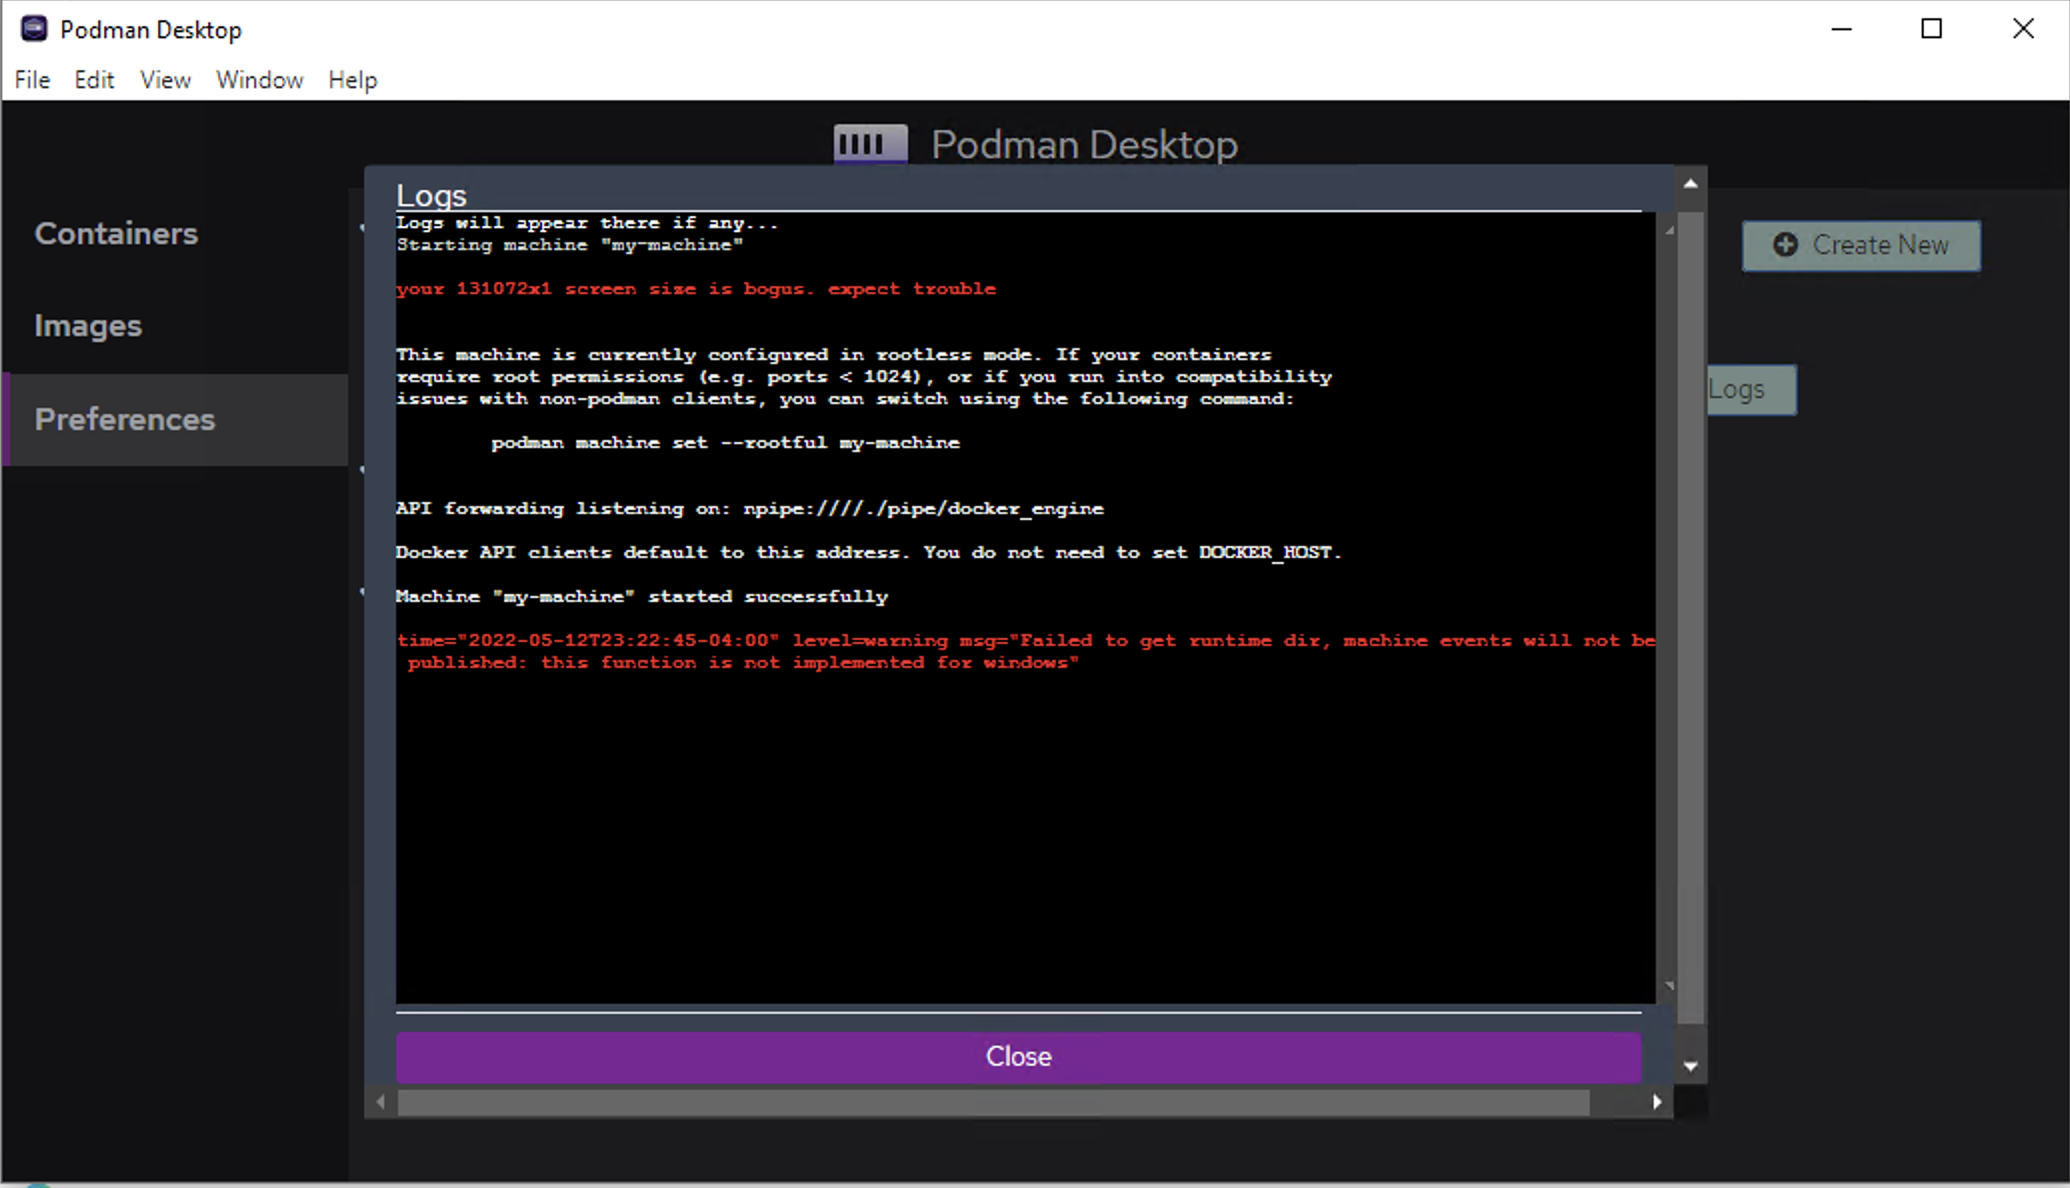
Click the Start button and take a peek at the Logs just to make sure to cover all the bases.
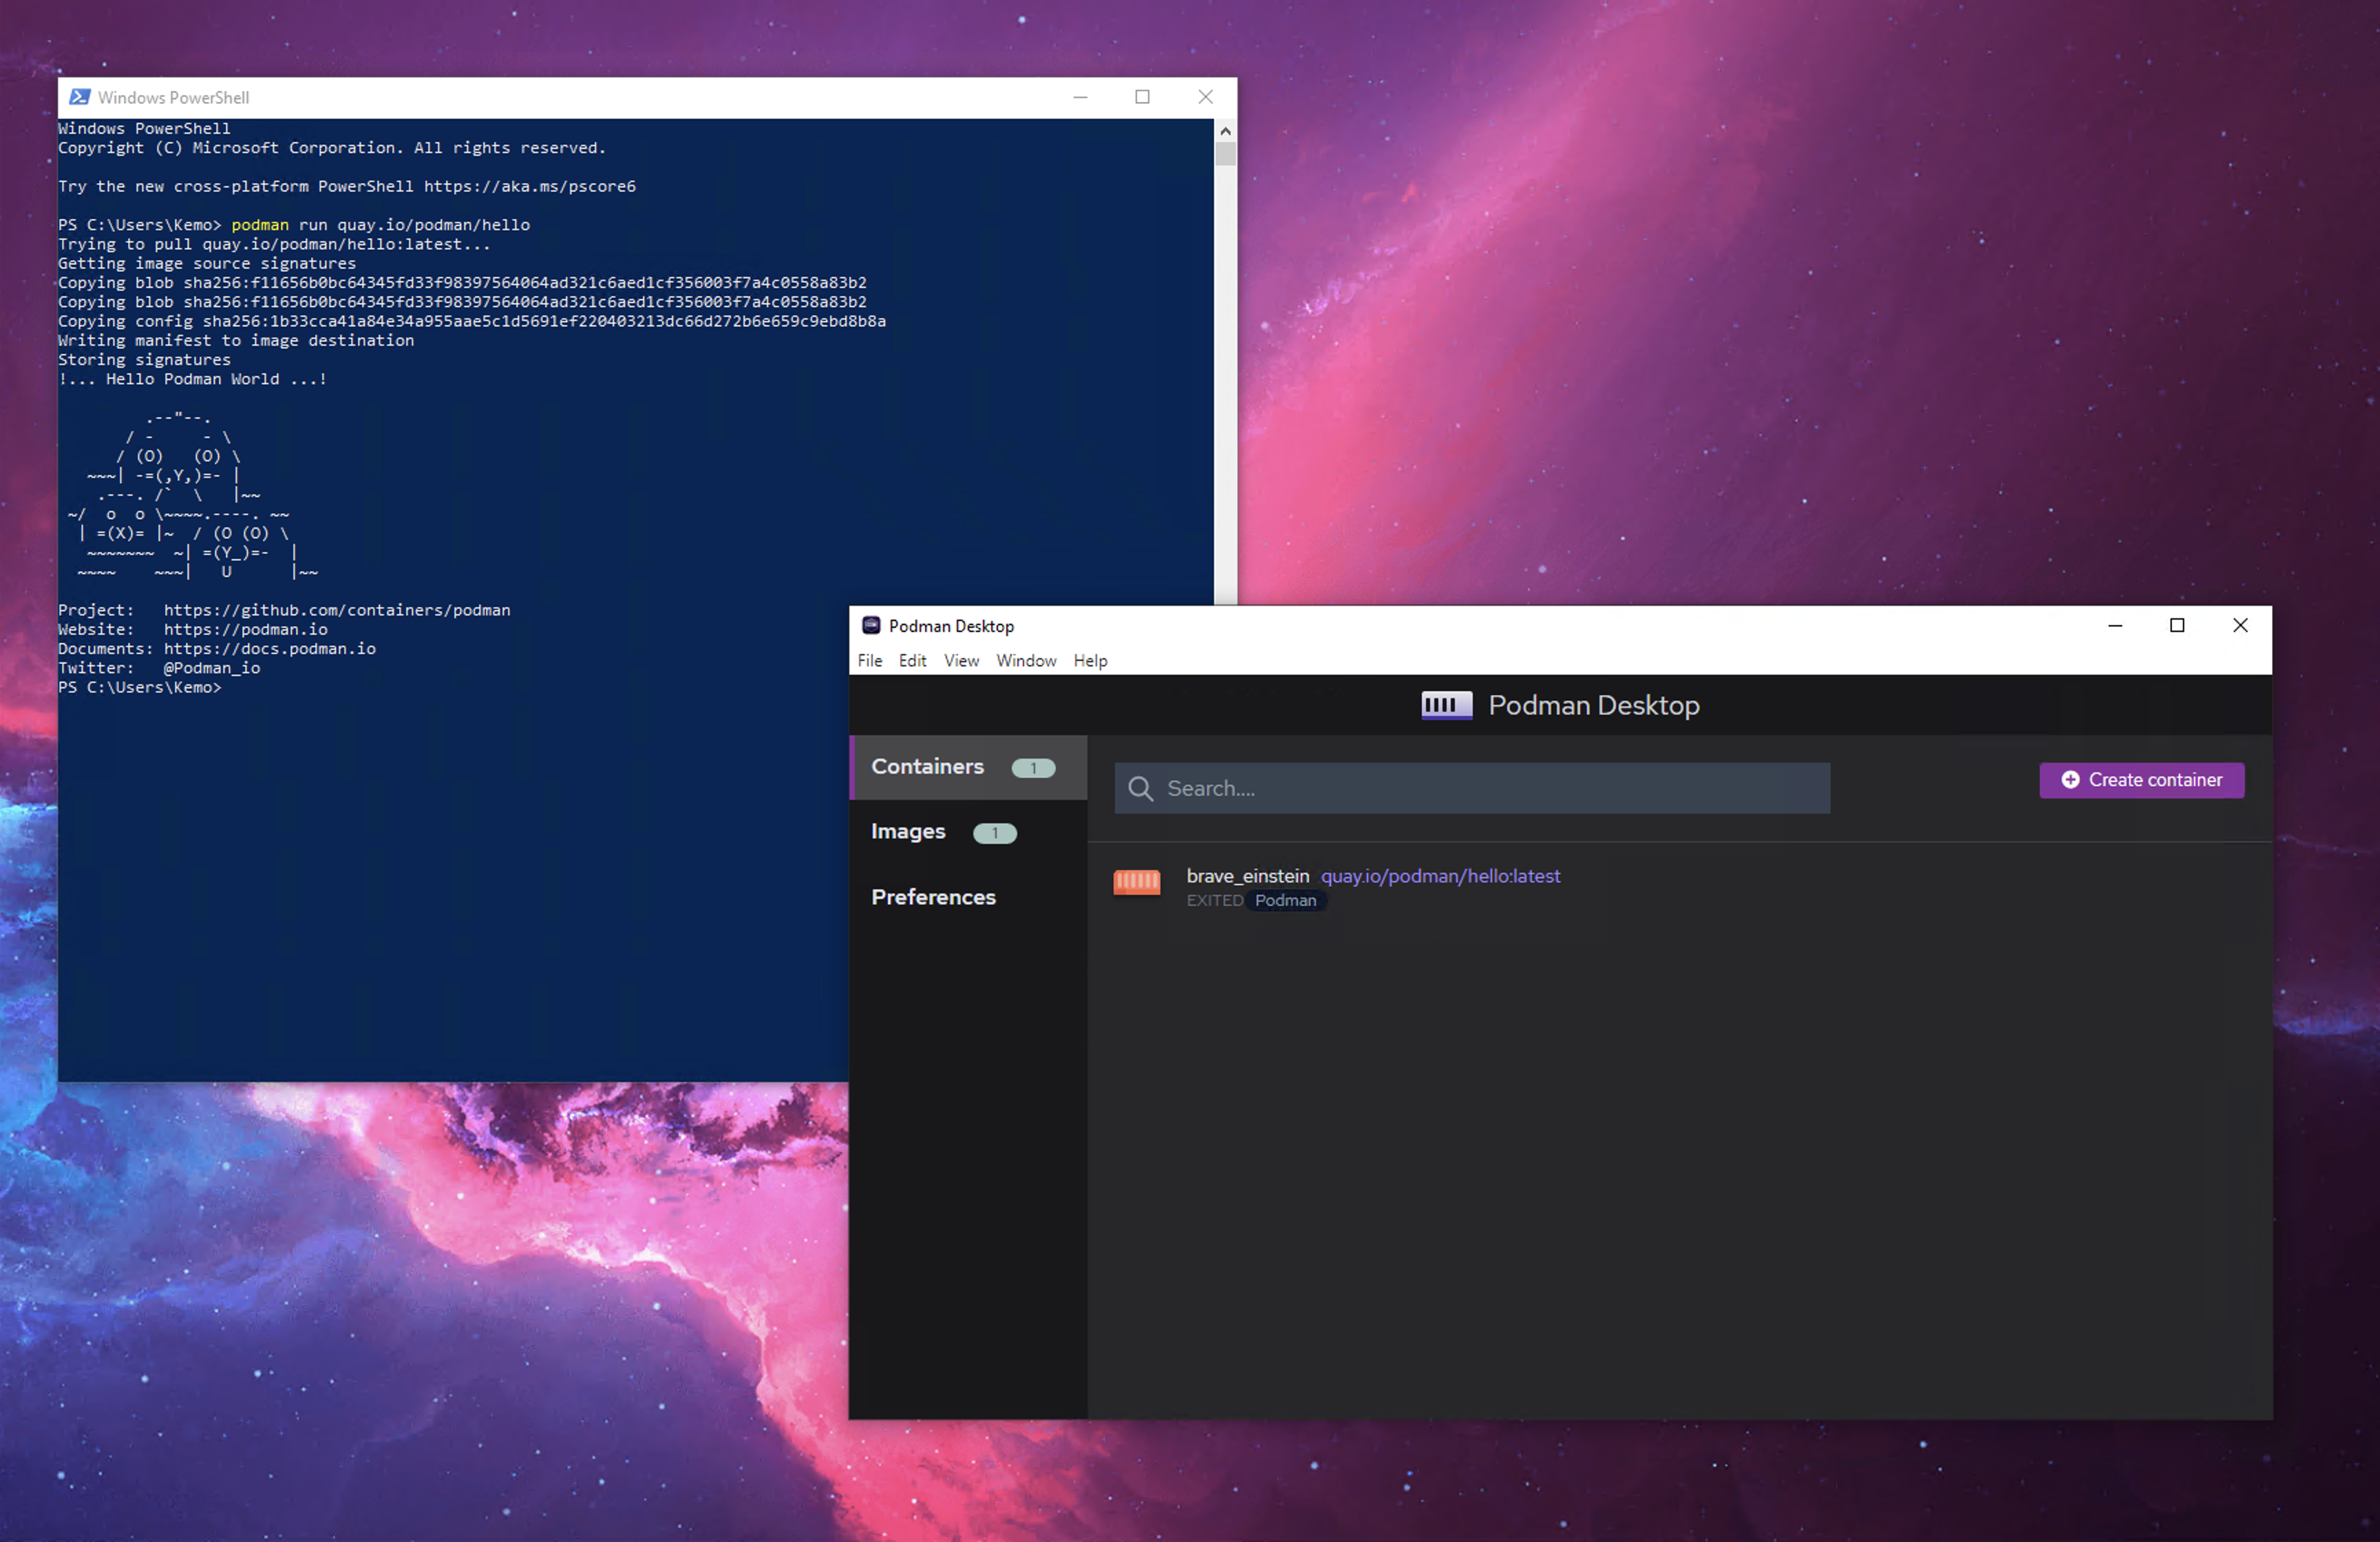
Running Containers
As of this writing, there is no easy way to run containers from the Podman Desktop interface, you’ll need to run them from a Powershell terminal.
Open up a Powershell terminal and run podman run quay.io/podman/hello - you should see something similar to the output below:
Configuring the Podman Desktop WSL2 Distribution
By default, the WSL2 distribution that Podman Desktop creates is based on Fedora, which is great but how do you go about defining a different WSL2 distro, like maybe the RH UBI distro created in my previous article?
You can find the configuration files for the Podman Desktop resources under C:\Users\YOUR_USER_NAME\.config\containers\podman\machine\wsl - once you make some edits make sure to stop the related Podman resource in Podman Desktop, reload Podman Desktop, then come back and start it again to assume any modifications you may have made. You could even modify the base image and distribute it at scale to developer laptops with normal Windows administration tools.

Alternatively you could simply use the Fedora WSL2 distribution that Podman Desktop sets up and add your runtimes, needed configuration, etc to it, and then configure VS Code to use that WSL2 distribution.
There are a number of different workflow possibilities, and things should only get better as Podman Desktop matures!

