

Everyone’s favorite worst part: picking a theme
This is honestly where some people end up quitting due to a combination of analysis paralysis and the paradox of choice - rest assured, you can swap themes in and out, just in case you find that you start with one and end up not liking it or finding one that you like better.
However, keep in mind that some themes may have capabilities or views that others do not. There’s also nothing limiting you from developing the logic for your own custom features - for instance, I have a capability where I can set the visiblity type of my posts that I quickly added.
Otherwise it’s pretty straight forward - find one you like, give it a test drive, add it to your hugo site, set a bit of config, and you’re on your way.
Hugo Themes and Where to Find Them
Easy - just go here: https://themes.gohugo.io/
Find a theme you like. They’re free. It’s where I found my last 3 themes and will probably find my next theme. I’ve used these themes for other sites too, not just blogs - documentation sites, interactive workshop interfaces, all sorts.
Even if it doesn’t fit exactly with everything you want to ever do with your blog - iterate, don’t try to fit into an ideal of perfection from inception.
So for the purposes of this series, we’ll choose the ever-popular terminal theme! I’m sure a 1337 h4x0rz as yourself will find it agreeable. If not, you can probably just use a different theme and follow along anyway with little modification.
There are other sources for Hugo themes as well, such as other indie developers/groups, on places such as ThemeForest for paid options, and of course you could always develop your own!
The Theme Sniff Test
Before you commit to a theme, you probably want to check it out first, right?
When you get to a theme, like our wonderful terminal theme, you’ll want to check it out for a few things, namely:
- A source link, like to a GitHub repo
- A live demo link
- Documentation quality - list of features, shortcodes, config options, etc
If you click the Download link on the terminal theme page, you’ll be taken to the GitHub repo.
Scroll down a bit and you can find a Demo Link as well.
Just a bit further you’ll find a lot of great documentation that can probably do you better than reading the rest of this.
The terminal theme checks pretty much all of those boxes and gives you a few extra goodies!
Adding the Theme
Now that we have a theme in mind, if you looked at the documention, you’ll see a few commands that look similar to what we’ve been doing, and some of what we’ll be doing next.
In the root of your repo, you’ll want to run a couple commands to clone down the theme repo - there are other options to include the theme, however this is the easiest and once you’ve got this licked you can go back and figure out Git Submodules or Hugo Modules.
## Add the theme to your site
git clone https://github.com/panr/hugo-theme-terminal.git src/themes/hugo-theme-terminal

## Remove the theme's upstream .git folder
rm -rf src/themes/hugo-theme-terminal/.git/

## Add the theme to your repo
git add src/themes/hugo-theme-terminal/

## Commit the changes to the local repo
git commit -m "add terminal theme base"
Notice that we didn’t do a git push here - you still can, nothing stopping you, but this is a great chance to see how you can commit multiple times and then push.
Site, Meet Theme
Now that you have the theme files available to Hugo, you can just set a bit of configuration in your site’s config file.
One of the nice features a mature theme like terminal has is that it has example site content to quickly see the theme as intended - and to adapt to your own content easily:
## Copy over the example content from the theme
cp -r src/themes/hugo-theme-terminal/exampleSite/* src/

## Ugly hack due to theme bug
sed -i 's|cover = "hello.jpg"|cover = "img/hello.jpg"|' src/content/posts/hello.md

## Read out the default theme configuration
cat src/config.toml

## Add it to our git commit log
git add src/
git commit -m "add exampleSite data from theme to site"
Notice how we didn’t push that time either!
Hugo Configuration
Your Hugo site can be configured with either a TOML or YAML configuration file - because I don’t like TOML, I’ve gone ahead and converted it to YAML for you:
baseurl: https://example.com/
languageCode: en-us
theme: hugo-theme-terminal
paginate: 5

params:
  contentTypeName: posts
  themeColor: orange
  showMenuItems: 2
  fullWidthTheme: false
  centerTheme: false

languages:
  en:
    title: Terminal
    subtitle: A simple, retro theme for Hugo
    keywords: ""
    copyright: ""
    menuMore: Show more
    readMore: Read more
    readOtherPosts: Read other posts

    params:
      logo:
        logoText: Terminal
        logoHomeLink: /

    menu:
      main:
        - identifier: about
          name: About
          url: /about

        - identifier: showcase
          name: Showcase
          url: /showcase
You can save that in src/config.yml. Don’t forget to add it to your git commmit log too - an all-in-one copy/paste bit would look like this:
## Create the config.yml file

cat > src/config.yml <<EOF
baseurl: https://example.com/
languageCode: en-us
theme: hugo-theme-terminal
paginate: 5

params:
  contentTypeName: posts
  themeColor: orange
  showMenuItems: 2
  fullWidthTheme: false
  centerTheme: false

languages:
  en:
    title: Terminal
    subtitle: A simple, retro theme for Hugo
    keywords: ""
    copyright: ""
    menuMore: Show more
    readMore: Read more
    readOtherPosts: Read other posts

    params:
      logo:
        logoText: Terminal
        logoHomeLink: /

    menu:
      main:
        - identifier: about
          name: About
          url: /about

        - identifier: showcase
          name: Showcase
          url: /showcase
EOF

## Add it to your git commit log
git add src/config.yml

## Remove the old TOML config
git rm src/config.toml

## Commit both those changes
git commit -m "convert config to yaml format from toml"
Notice how we didn’t push that time either - and we removed something from the previous commit!
Hacks and Helpers
Short diversion.
Ok, so I try to keep DRY as often as possible, not a big fan of the beach. Now we’ll be redoing a few things that we can just render into scripts to make repeatable and most importantly - look nicer and shorter in blog-format.
Architecture Detection
If you’re running things in GitHub Actions or on your Macbook, you need the right binaries - to make that easy we just detect architecture:
## Create a hack directory
mkdir hack

## Create an arch detection helper script - the slashes are intentional
cat > ./hack/partial-arch.sh <<EOF
# Get the platform type
PLATFORM_TYPE=\$(uname | tr '[:upper:]' '[:lower:]')
echo "Platform type: \$PLATFORM_TYPE"

# Get the platform architecture
PLATFORM_ARCH=\$(uname -m | sed 's/x86_64/amd64/')
echo "Platform architecture: \$PLATFORM_ARCH"

# Some weird hacky glue stuff
TARGET_ARCH=\$PLATFORM_ARCH
if [[ "\$PLATFORM_TYPE" == "darwin" ]] && [[ "\$PLATFORM_ARCH" == "arm64" ]]; then TARGET_ARCH="universal"; fi
echo "Target architecture: \$TARGET_ARCH"
EOF
Download Binary Script
We’ve done this in the last article, it’s just nice to have in a script to quickly run in new environments:
## Create a Hugo downloader, building on the arch detection helper script
cat > ./hack/download-hugo.sh <<EOF
#!/bin/bash

## Get the directory this script lives in
SCRIPT_DIR=\$(dirname \${BASH_SOURCE[0]})
SCRIPT_DIR=\$(cd \$SCRIPT_DIR && pwd)

## Load the partial-arch.sh helper
cd \$SCRIPT_DIR
source partial-arch.sh

# Get the latest Hugo Extended Edition Release URL
LATEST_HUGO_VERSION_URL=\$(curl -sSL https://api.github.com/repos/gohugoio/hugo/releases/latest | jq -r '.assets[] | select(.browser_download_url | contains("'\${PLATFORM_TYPE}'")) | .browser_download_url' | grep 'extended' | grep 'tar' | grep "\$TARGET_ARCH")

## Make/Enter a temp directory
mkdir /tmp/hugobin
cd /tmp/hugobin

# Download the latest version
wget -O hugo.tar.gz "\${LATEST_HUGO_VERSION_URL}"

# Extract the release package
tar zxvf hugo.tar.gz

# Move the Hugo binary so it can build on different system types
# ie, one for Ubuntu GitHub Action Runners and one for your Mac
mv hugo \${SCRIPT_DIR}/../bin/hugo-\${PLATFORM_TYPE}-\${TARGET_ARCH}

# Clean up
cd \$SCRIPT_DIR
rm -rf /tmp/hugobin
EOF
Local Server Helper
There are a number of flags to pass to the server when running it locally - we can make this common task much easier:
## Create a simple local dev server script
cat > ./hack/run-dev.sh <<EOF
#!/bin/bash

## Get the directory this script lives in
SCRIPT_DIR=\$(dirname \${BASH_SOURCE[0]})
SCRIPT_DIR=\$(cd \$SCRIPT_DIR && pwd)

## Load the partial-arch.sh helper
source \${SCRIPT_DIR}/partial-arch.sh

## Run the Dev Server with:
## -s provides a relative path to the root of the hugo site
## -p specifies port
## --bind tells it to listen on any connection/interface
## --baseURL optionally tells it what URL to use instead of localhost
\${SCRIPT_DIR}/../bin/hugo-\${PLATFORM_TYPE}-\${TARGET_ARCH} server -s src/ -p 1313 --bind 0.0.0.0 --config config.yml
EOF
Push Git Real Good
Now that we have some simple scripts in place, we can make them executable, add them to git, commit them, and now we’ll push all the commits in one go!
## Set the executable bits
chmod a+x ./hack/*

## Git add/commit/push
git add ./hack/

git commit -m "add helper scripts"

git push
Now our repo should look something like this:

Say Yes to the Dress
Ok, so now we get to see it in action, right?!
In your terminal, you can run the following command to start a local dev server:
# Start the local development server
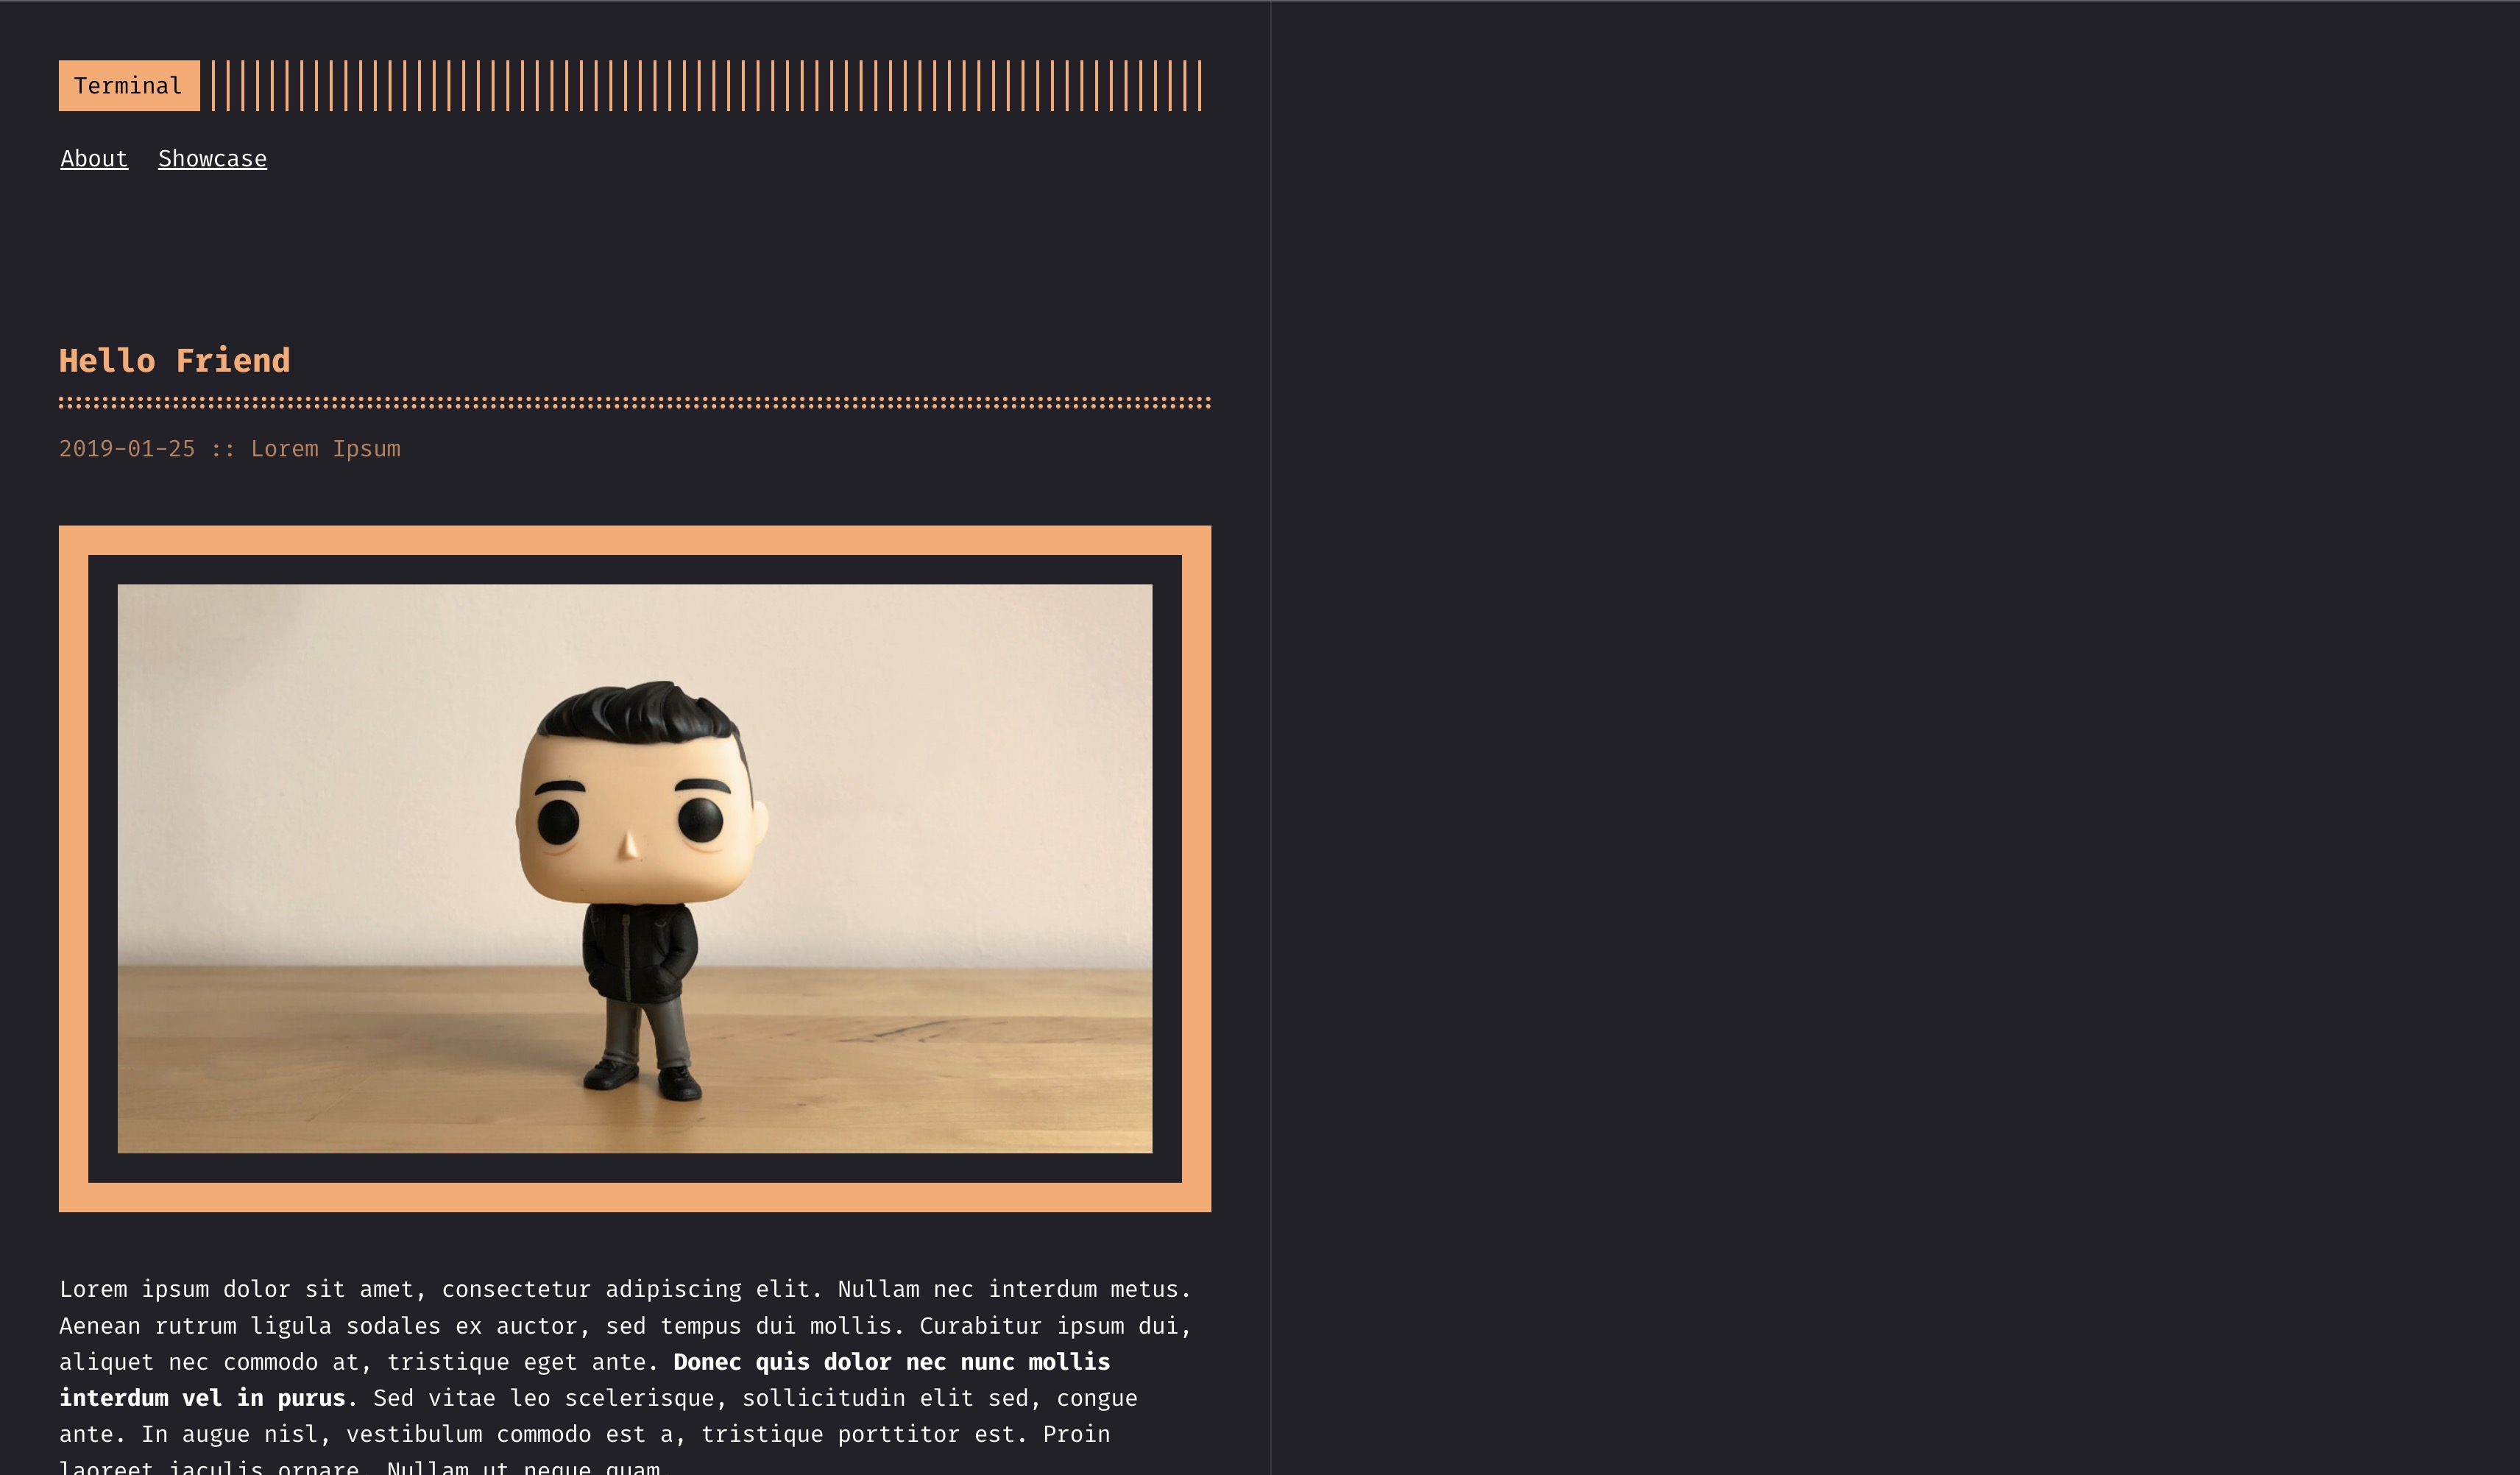
./hack/run-dev.shStarting a local server is now just a short script invocation thanks to those helper scripts - load your browser and point it to http://localhost:1313/ and you should see something like this:
Next Steps
We’ve got the basics of a site but now we need substance - our next article in the series goes over adding your own content, making some small tweaks to the layout, setting some configuration to make it your own, and so on.
Links
- Example Repository: github.com/kenmoini/my-awesome-blog
- Previous Article: Hugo-a-go-go
- Hugo Theme Gallery
- terminal theme

