

If this feels like a crash course, it’s cause it is
I’m sure you’re tired of reading all these not-fun words and want to get to building your blog - so without much further delay, and certianly not much fanfare, or other sudden surprise spectacles…barring bits of tardiness and…ok, I’ll stop…
First-Time Setup
If you already have your local terminal set up to authenticate to GitHub and whatnot then you can skip this part
If this is your first time doing something with Git on your local terminal there are a few things you’ll need to do:
- Maybe install Git
- Configure the local Git user
- Create an SSH Key Pair
- Adding the PUBLIC Key to GitHub
Installing Packages & Configuring Git
The following should work for most Linux/Mac terminals - let’s start by installing Git and jq cause we’ll need that later:
## Install git and jq - Mac
brew install git jq

## Install git and jq - Fedora/RHEL
dnf install -y git jq

## Install git and jq - Debian/Ubuntu
apt install -y git jq

## Configure the local git user
git config --global user.name "YOUR NAME"
git config --global user.email "YOU@hotmail.com"
Creating an SSH Keypair
That should take care of installing the Git client and configuring your local user - next let’s make an SSH keypair to use to authenticate to Git services like GitHub:
## Create the SSH folders if you don't already have them created (safe to re-run)
mkdir -p $HOME/.ssh
chmod 700 $HOME/.ssh

## Create a new SSH key:
## - RSA type (-t rsa)
## - 4096 bit length (-b 4096)
## - As a specific file (-f ~/.ssh/git_id_rsa)
## - Without a password (-N '')
ssh-keygen -t rsa -b 4096 -f ~/.ssh/git_id_rsa -N ''
That will create an SSH Private Key at ~/.ssh/git_id_rsa and a SSH Public Key at ~/.ssh/git_id.rsa.pub - notice the .pub at the end of the Public Key. This Public key is safe to share - your Private key must be kept safe and private.
Configuring SSH for Git Auth
Next, let’s make sure SSH and thus Git uses the key when authenticating to GitHub:
## Configure OpenSSH to use the key when connecting to github.com
cat >> ~/.ssh/config <<EOF
Host github.com
  User git
  Hostname github.com
  PreferredAuthentications publickey
  IdentityFile /home/YOUR_USERNAME/.ssh/git_id_rsa
EOF

## Read out the SSH Public Key
cat ~/.ssh/git_id_rsa.pub
The SSH Public Key ~/.ssh/git_id_rsa.pub is safe to share - the Private Key ~/.ssh/git_id_rsa needs to be kept safe guarded.
Adding the SSH Public Key to your GitHub Account
Take the contents of that SSH Public Key - should start with ssh-rsa and end with yourUser@your.computer.host - and add it to your GitHub account under Settings so you can authenticate.
Click the New SSH Key button on the SSH and GPG Keys page - the Key Type should be Authentication Key, and you can just paste in the contents of the SSH PUBLIC KEY - not the PRIVATE KEY - into the box…it should look a little like this:
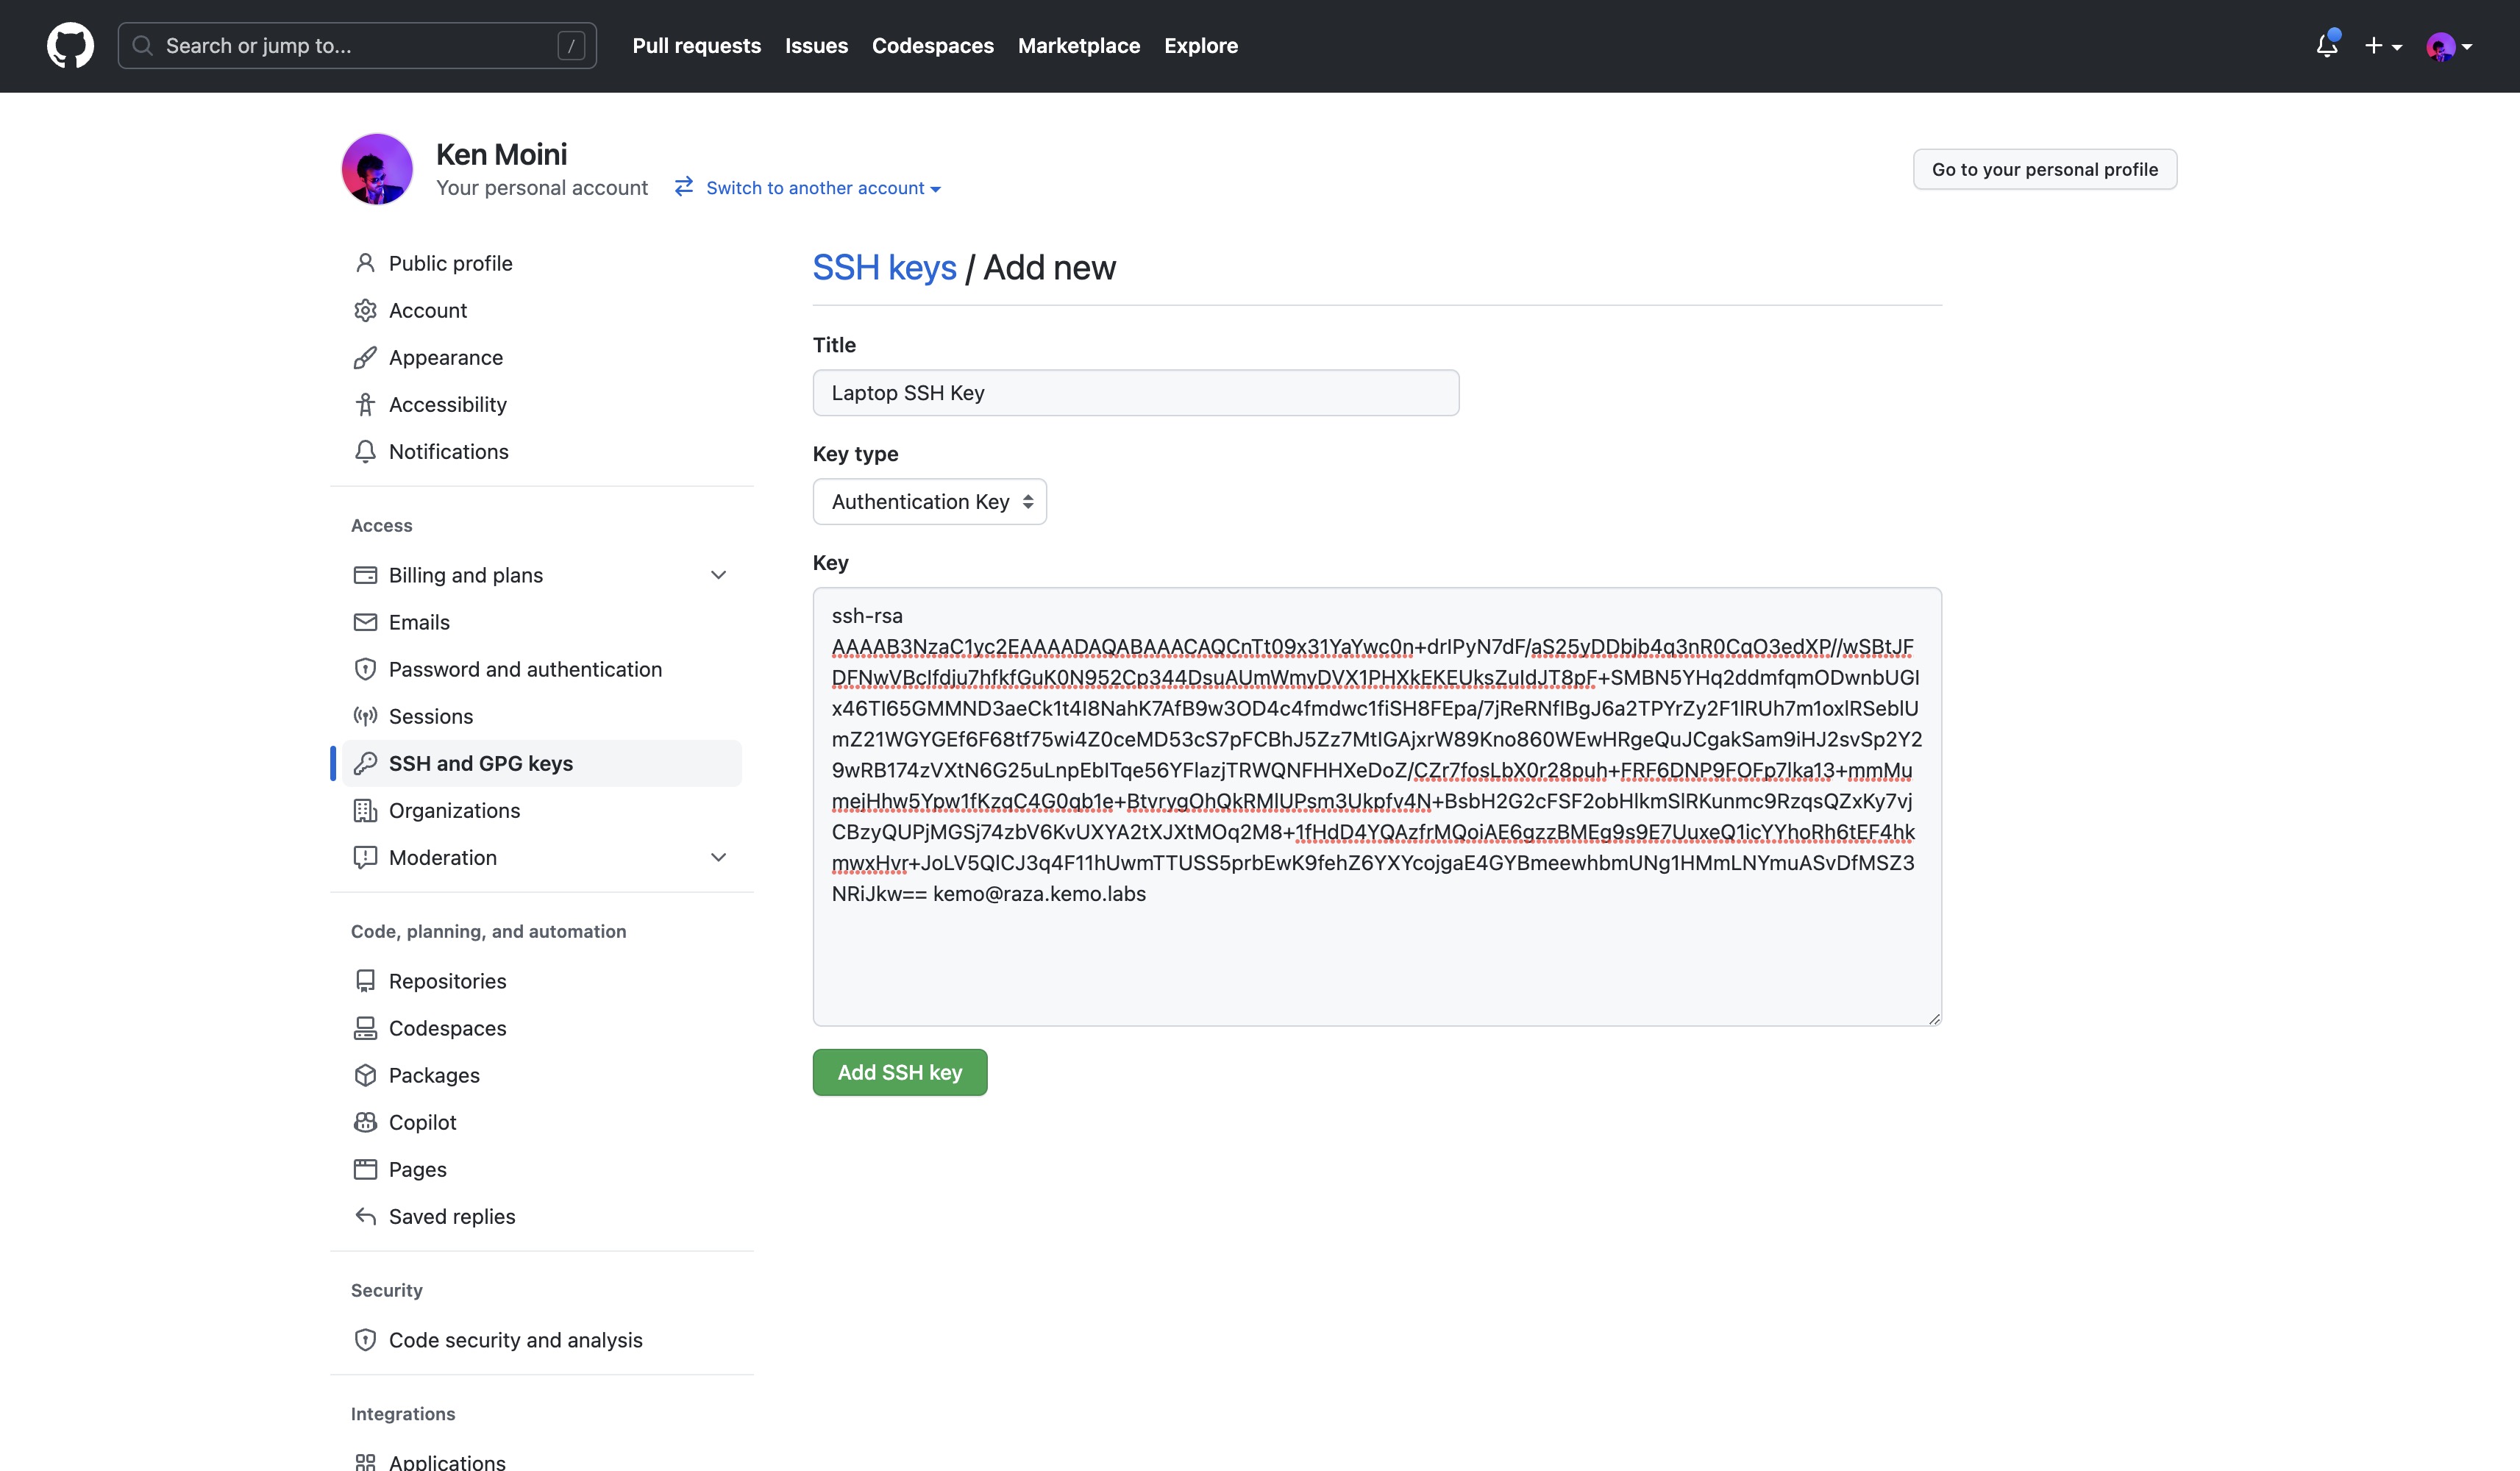
Click the Add SSH Key button and you should now be ready to Clone/Pull/Push from/to GitHub!
Now to never do that again
Before Hugo, There Was Git
You would think that downloading Hugo and making the blog would be the first step - but actually, what we want to do is start with the directory structure and repository.
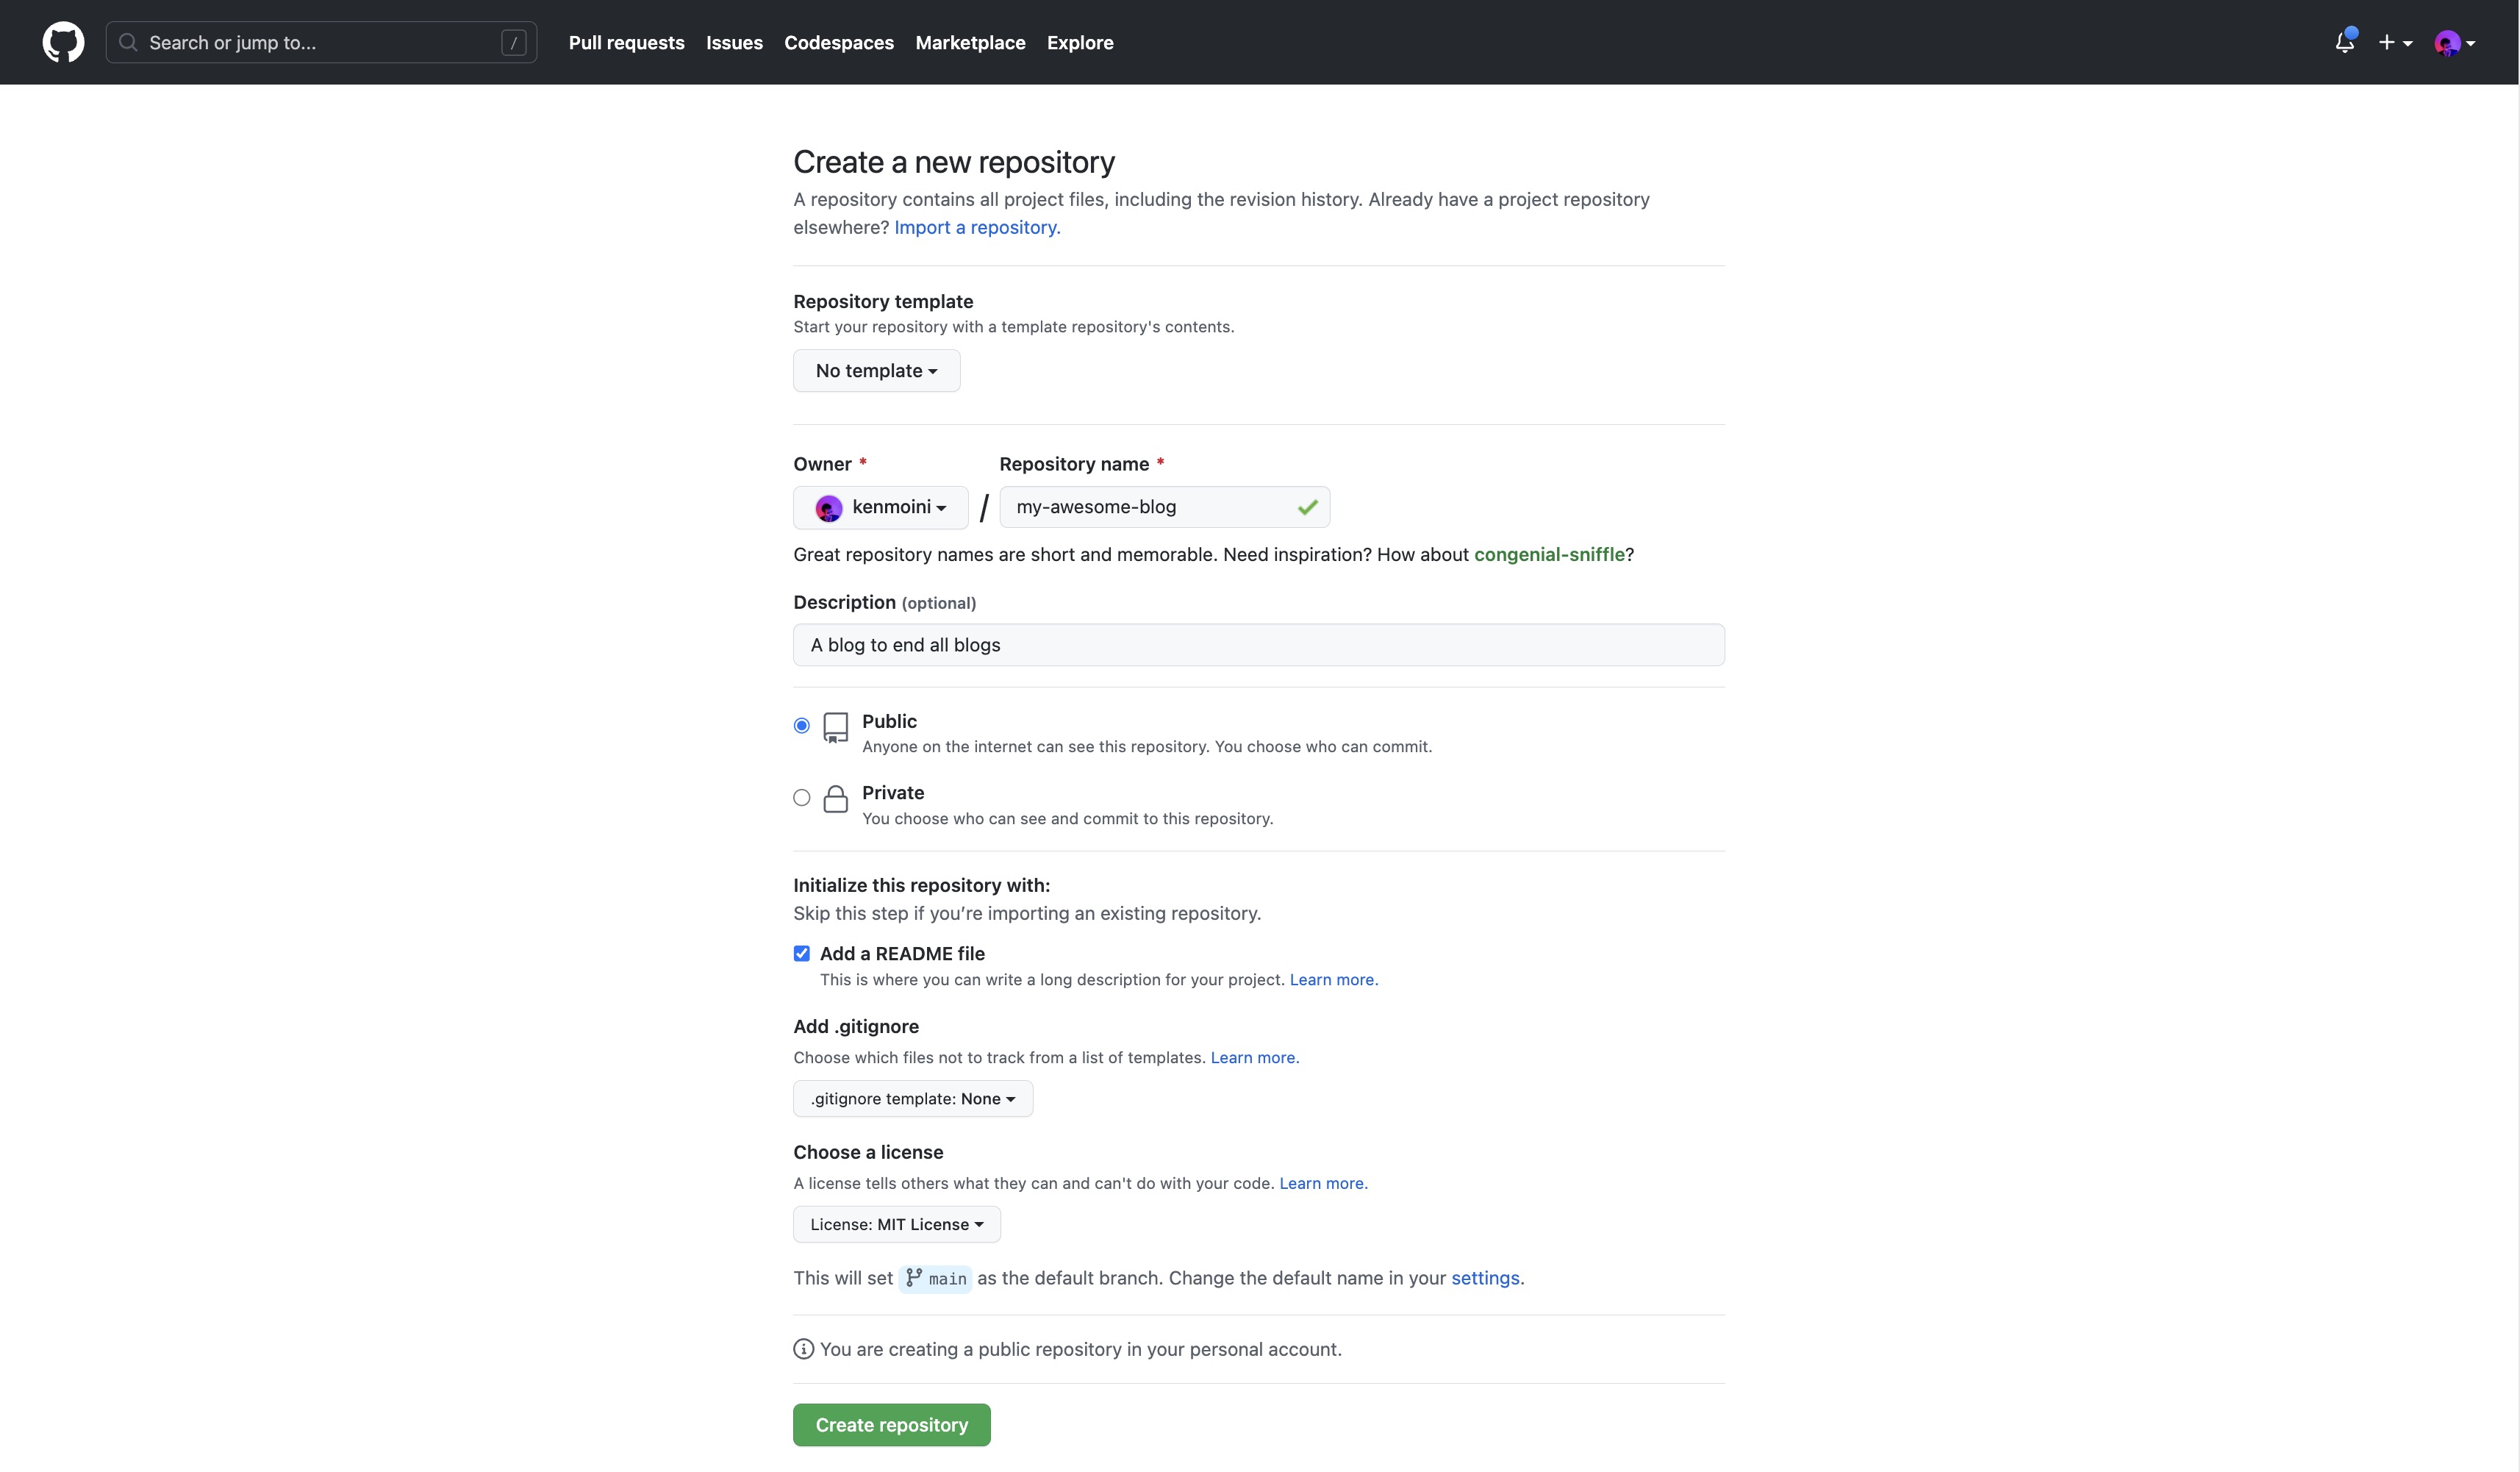
First start by creating a new GitHub Repository - name it whatever you’d like, mine is simply called kenmoini.com. Optionally give it a Description, and whether the Visibility is set to Public or Private is really up to you.
Something I would suggest though is going ahead and selecting a License and seeding the repo with a README. The license choice is up to you, I like the MIT license personally - the README file will be pretty bare but you can add to it later. The form should look something like this:
Cloning, Sans Sheep
With your repo created, you now have a “source of truth” for your blog - now we need to Clone it down to your local terminal.
In your newly created repository, you should see a green Code button - click on that, and make sure the SSH tab is selected, then click the Clipboard button to copy the URL to your clipboard.
You’ll now clone down that repo to your local system via the Terminal:
# Change into your home directory
cd ~

# Optionally, make a Development directory and enter it
mkdir Development
cd Development

# Clone the Git repo to your local terminal
git clone git@github.com:YOUR_USER_NAME/YOUR_REPO_NAME.git

# Enter the cloned repository directory
cd YOUR_REPO_NAME
Getting Hugo
Now that we have the repo cloned locally what we want to do next is create a directory to store binaries like Hugo. The reason why we’ll keep a copy of the Hugo binary in our repository is that the updates with Hugo can sometimes break things, and it’s handy to have when building in different environments with consistency.
# Make a bin directory
mkdir bin
# Enter the bin directory
cd bin
# Get the platform type
PLATFORM_TYPE=$(uname | tr '[:upper:]' '[:lower:]')
# Get the platform architecture
PLATFORM_ARCH=$(uname -m | sed 's/x86_64/amd64/')
# Some weird hacky glue stuff
TARGET_ARCH=$PLATFORM_ARCH
if [[ "$PLATFORM_TYPE" == "darwin" ]] && [[ "$PLATFORM_ARCH" == "arm64" ]]; then TARGET_ARCH="universal"; fi
# Get the latest Hugo Extended Edition Release URL
LATEST_HUGO_VERSION_URL=$(curl -sSL https://api.github.com/repos/gohugoio/hugo/releases/latest | jq -r '.assets[] | select(.browser_download_url | contains("'${PLATFORM_TYPE}'")) | .browser_download_url' | grep 'extended' | grep 'tar' | grep "$TARGET_ARCH")
# Download the latest version
wget -O hugo.tar.gz "$LATEST_HUGO_VERSION_URL"
# Extract the release package
tar zxvf hugo.tar.gz
# Clean things up
rm LICENSE README.md hugo.tar.gz
# Move the Hugo binary so it can build on different system types
# ie, one for Ubuntu GitHub Action Runners and one for your Mac
mv hugo hugo-${PLATFORM_TYPE}-${TARGET_ARCH}
# Check the hugo binary
./hugo-${PLATFORM_TYPE}-${TARGET_ARCH} version
# Return to the parent directory and the root of the cloned repository
cd ..
# Add, commit, and push the binary to your GitHub repo
git add bin/
git commit -m "add hugo binary"
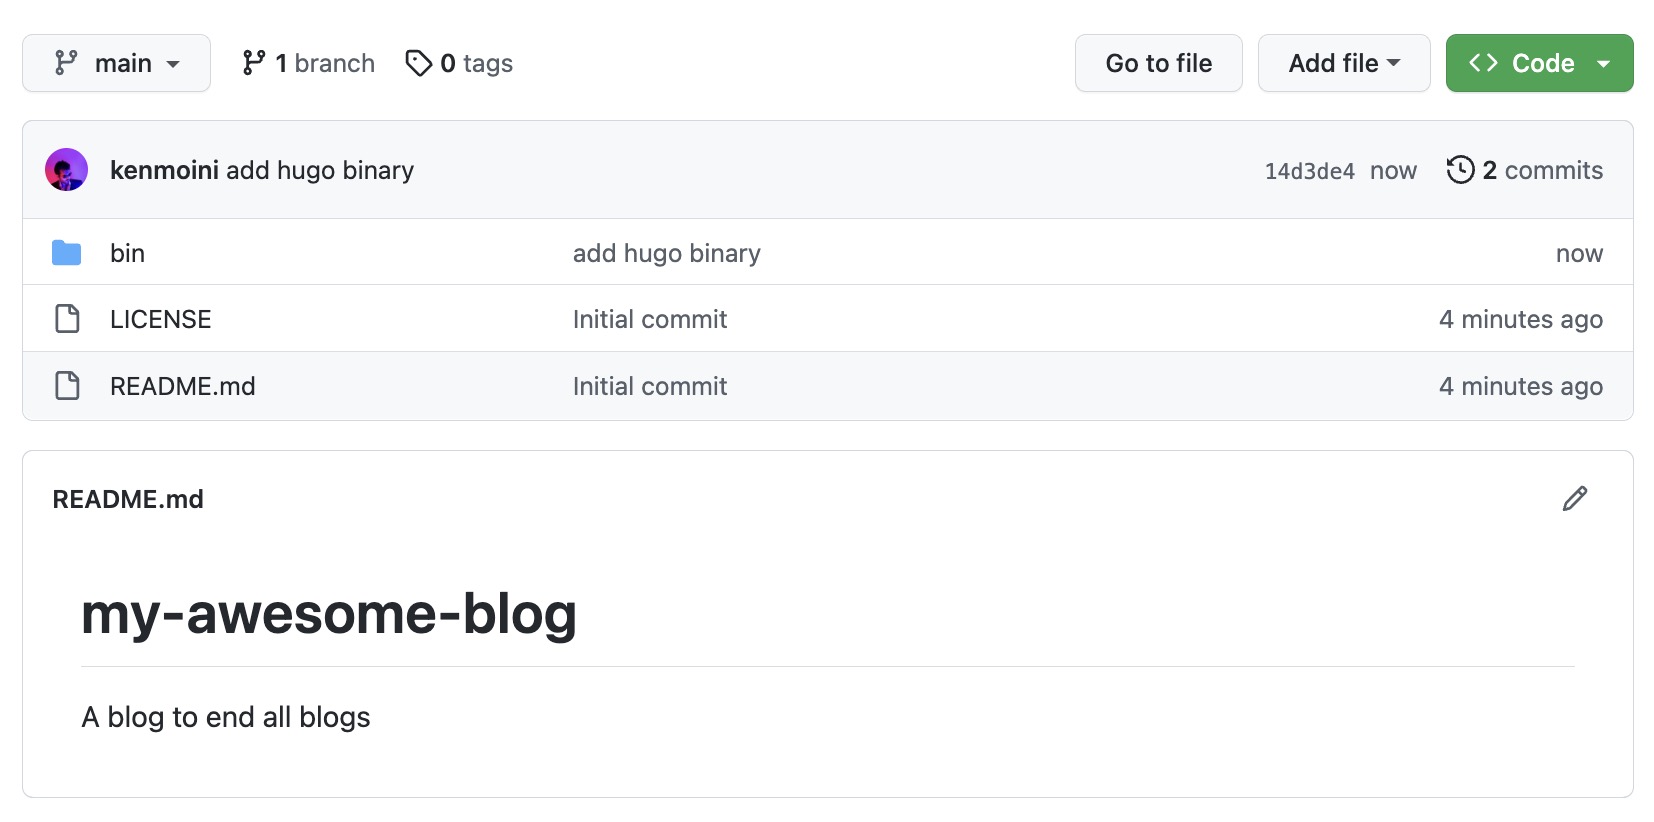
git push -u origin mainWith that you should now have the Hugo binary added to your GitHub repository - navigate to it and it should now look a little like this:
Genesis
Now that Hugo is available, let’s create the boilerplate structure. We’ll segment this into a src subdirectory in our repository.
# Create the Hugo site in the src directory
./bin/hugo new site src
# Add, commit, and push the newly created src directory
git add src
git commit -m "add base blog boilerplate files"
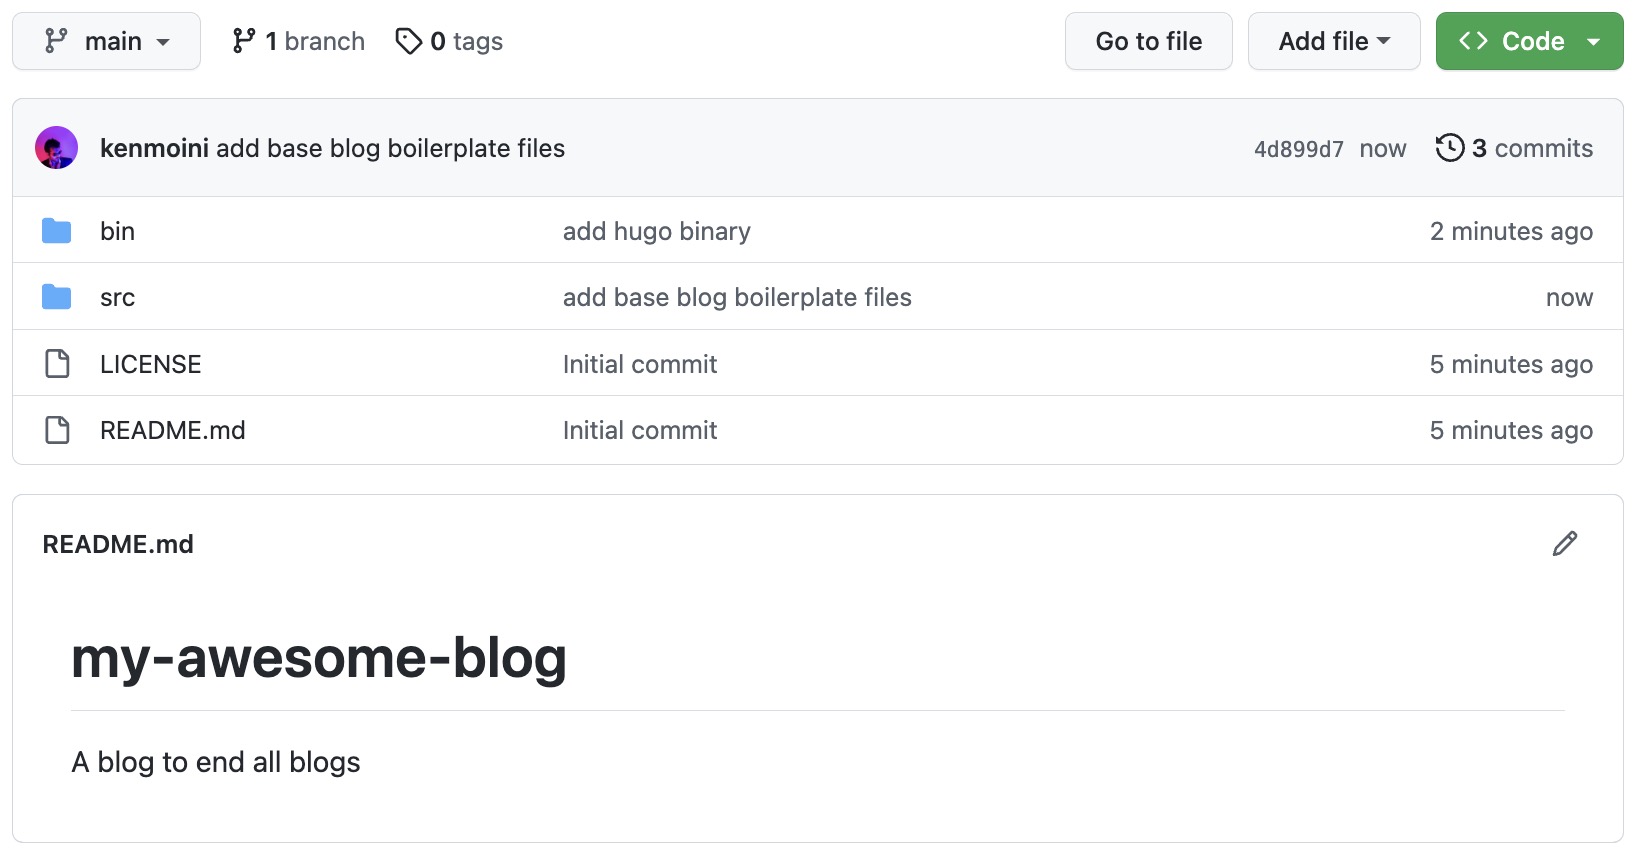
git pushPoint your browser back to your repository on GitHub, or hit the refresh/reload button, and you should now see the new src subdirectory added and it should look something like this:
Recap
This is where we’ll close this article - we created a repository on GitHub, cloned it down to our terminal, downloaded Hugo, added it to the repo - then created the boilerplate files for the site and added them to the repository as well, pushing them to GitHub from the local terminal. That git add/commit/push process should be something that you get very comfortable with.
Next Steps
With just nothing more than a basic set of folders, we now need to give it some personality. In the next article of this series, we’ll look for some themes and add a splash of color to our newly created site.
Links
- Example Repository: github.com/kenmoini/my-awesome-blog
- Next Article: Paint It Black
- Previous Article: Rhymes and Reasons
- The Hugo Website

