

Well, this is a big mood…

It seems only natural that after I detail how to remove and replace Google Analytics with Plausible Analytics that I would bring Google back into the fold in another capacity - this time by converting my images to the WebP format.
Why WebP?
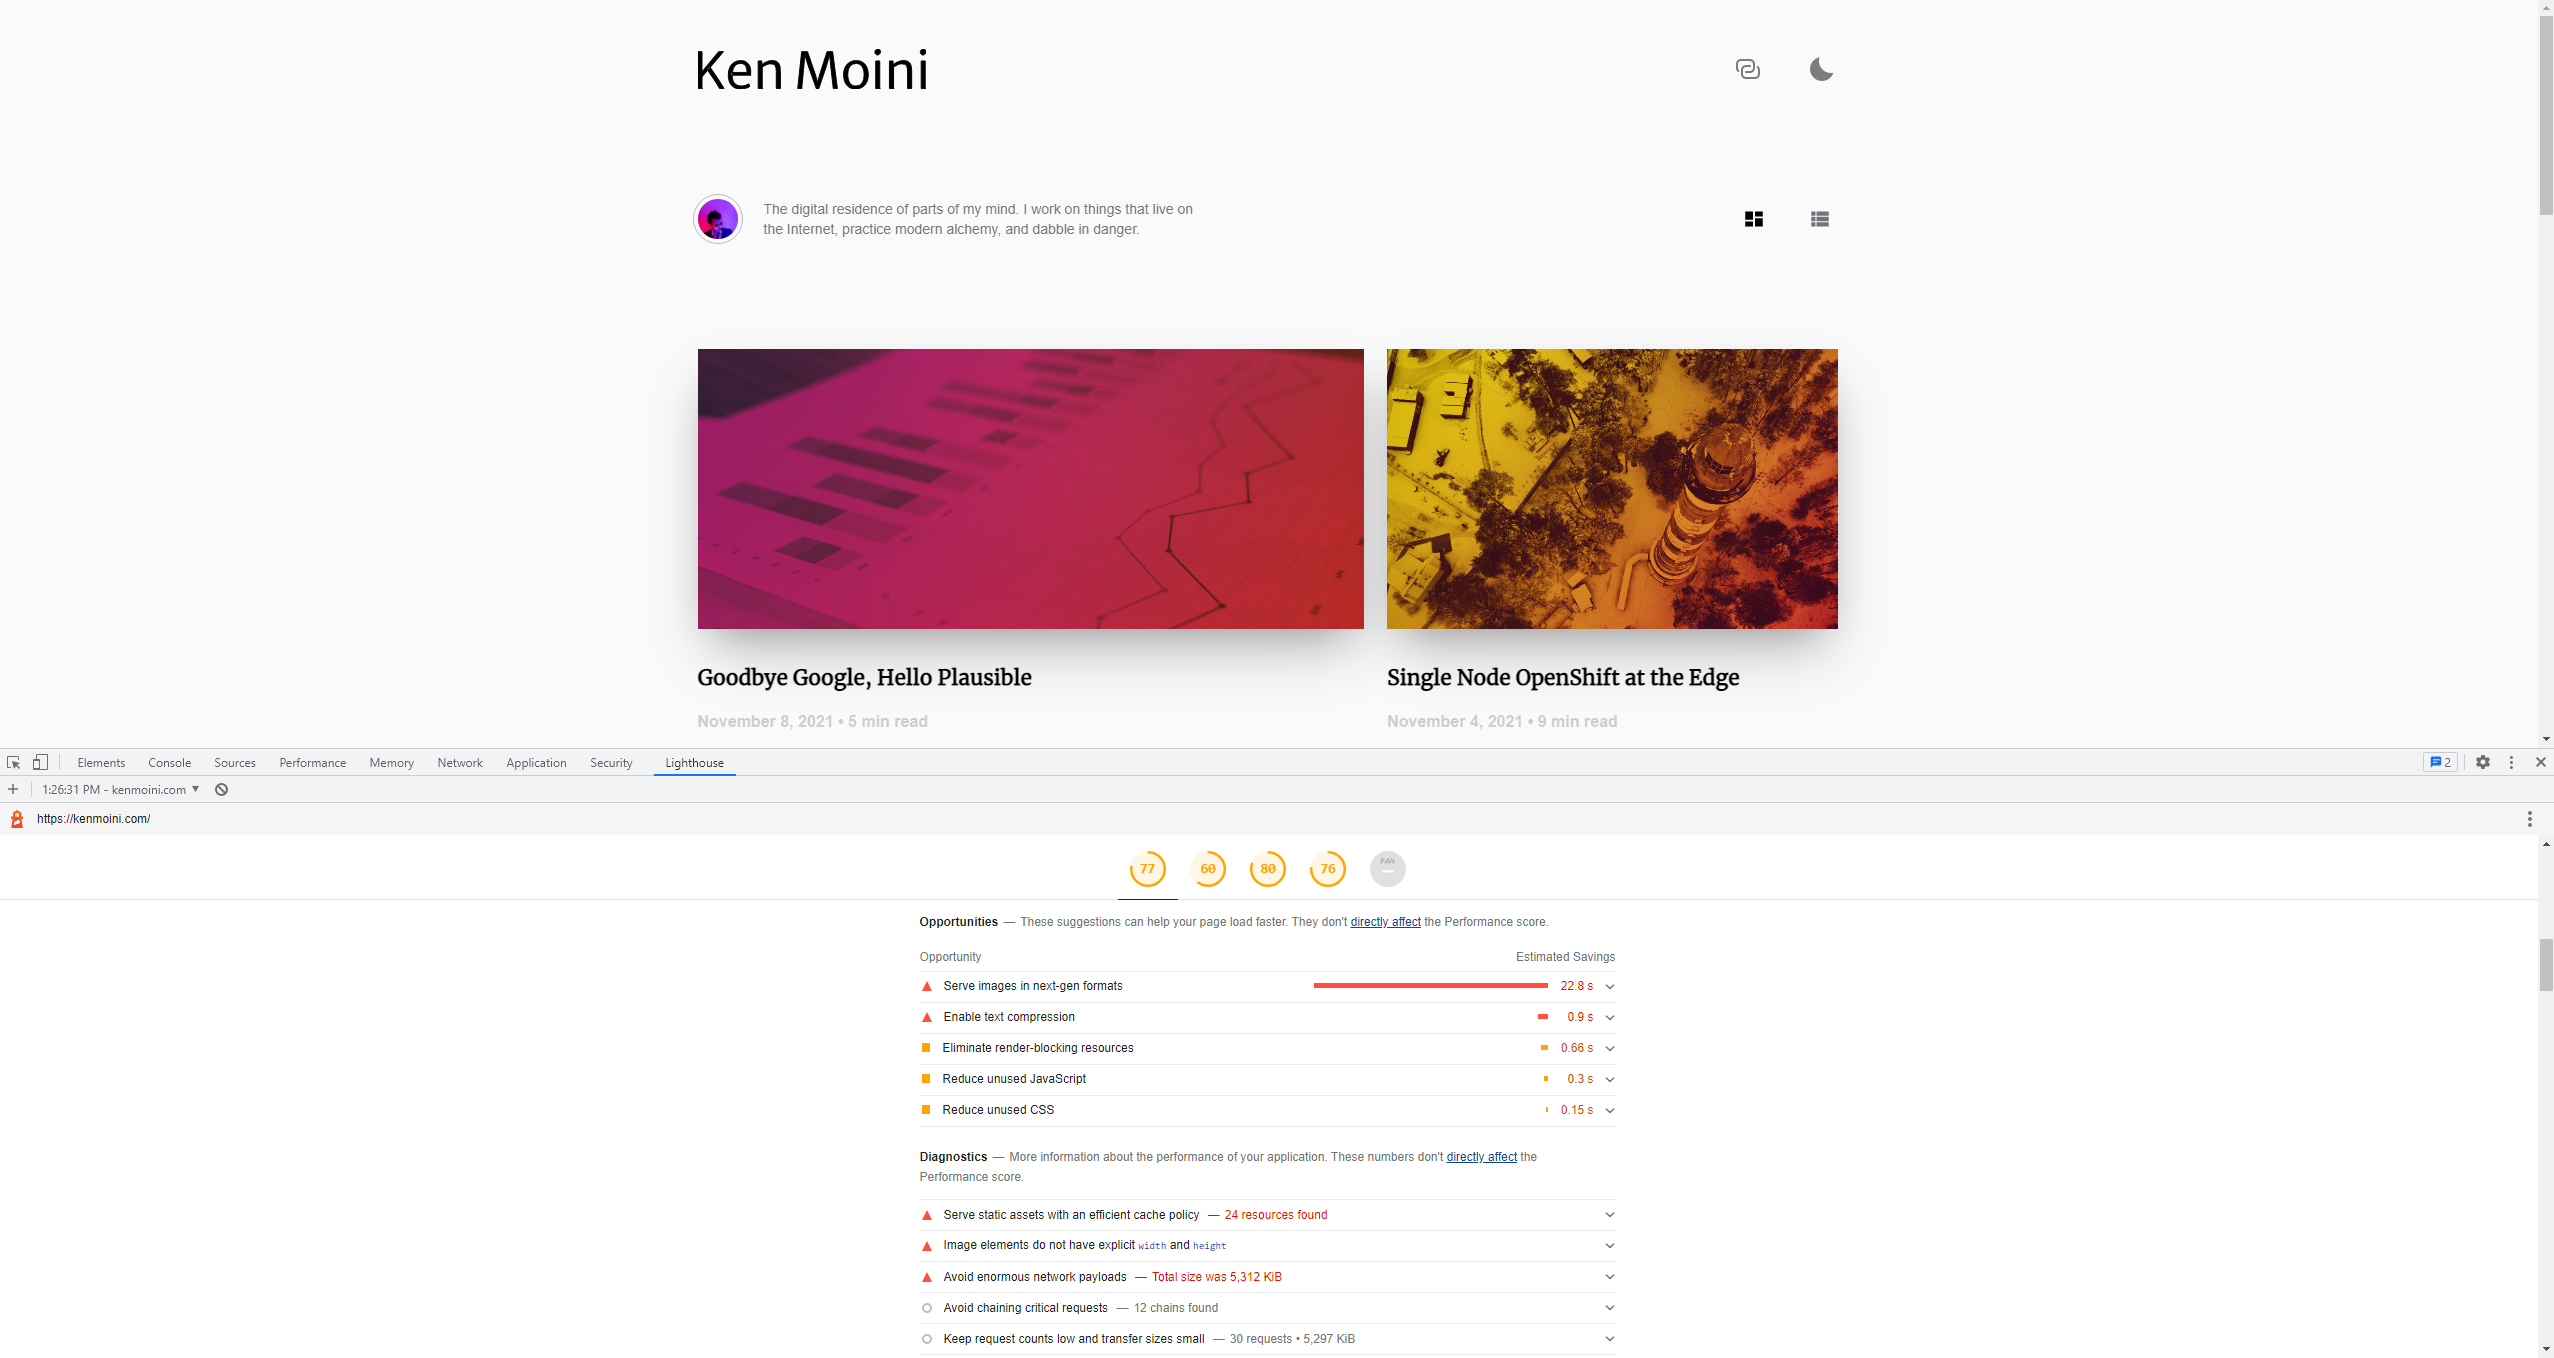
Simply put, I want a higher score on Lighthouse and the biggest issue is the massive image file sizes that are being served as high quality PNGs.
WebP provides similar quality at a fraction of the file size - and we can load it in addition to a backup PNG, just in case the browser doesn’t support WebP yet.
Getting the WebP Binaries
The WebP libraries are open-source and you can compile them yourself - Google’s trustable enough to where we can also just grab the precompiled binaries.
Grab the latest version of the binaries and libraries and extract it - I store these binary packages in a ./bin/ directory in my site project folder:
## Switch to project root
cd $YOUR_PROJECT_ROOT_PATH

## Create a binary directory
mkdir bin
cd bin

## Download the tar package
wget https://storage.googleapis.com/downloads.webmproject.org/releases/webp/libwebp-1.2.1-linux-x86-64.tar.gz

## Extract it
tar zxvf libwebp-1.2.1-linux-x86-64.tar.gz

## Clean up
rm libwebp-1.2.1-linux-x86-64.tar.gz
A few of the notable binaries are:
libwebp-1.2.1-linux-x86-64/bin/cwebp- Converts JPEG, PNG, and TIFF images to WebPlibwebp-1.2.1-linux-x86-64/bin/dwebp- Decodes WebP back to original JPEG, PNG, and TIFF formatslibwebp-1.2.1-linux-x86-64/bin/gif2webp- Converts GIFs to WebP
Bonus: Erase EXIF Data
When converting from JPG/PNG to WebP you may notice that some EXIF encoded data such as camera orientation doesn’t quite make it to the other side - you can erase this information from the original image which will provide the same resulting image in the original and converted files.
## Switch to project binary path
cd $YOUR_PROJECT_ROOT_PATH/bin

## Download ExifTool for Linux
wget https://exiftool.org/Image-ExifTool-12.36.tar.gz

## Extract it
tar zxvf Image-ExifTool-12.36.tar.gz

## Clean up
rm Image-ExifTool-12.36.tar.gz
The pre-built binary will be located at ./Image-ExifTool-12.36/exiftool with the sources and libraries available in other subdirectories as well.
Automate WebP Conversions
Now that we have the binaries available it’s about as easy as just running them to convert files - we can batch that out to add to our automated build processes.
#!/bin/bash

# Remove EXIF data from images
echo "Removing EXIF data from images..."
./Image-ExifTool-12.35/exiftool -overwrite_original -recurse -all= $1

# converting JPEG images
find $1 -type f -and \( -iname "*.jpg" -o -iname "*.jpeg" \) -exec bash -c '
webp_path=$(sed 's/\.[^.]*$/.webp/' <<< "$0");
if [ ! -f "$webp_path" ]; then
  echo "Converting $0 to $webp_path";
  ./libwebp-1.2.1-linux-x86-64/bin/cwebp -metadata none -quiet -q 75 "$0" -o "$webp_path";
fi;' {} \;

# converting PNG images
find $1 -type f -and -iname "*.png" -exec bash -c '
webp_path=$(sed 's/\.[^.]*$/.webp/' <<< "$0");
if [ ! -f "$webp_path" ]; then
  echo "Converting $0 to $webp_path";
  ./libwebp-1.2.1-linux-x86-64/bin/cwebp -metadata none -quiet -q 75 "$0" -o "$webp_path";
fi;' {} \;
With that script saved, make sure to set the executable bit with chmod a+x.
Use it by calling the script with a directory parameter where all the JP{EG,G}s and PNGs located in it and the subdirectories will be converted to WebP format, eg ./bin/convert_to_webp.sh site/static/images/
Bonus - Wiring up a Hugo Site
Say your website uses Hugo and you deploy to a container - how do you include this in your build processes and then Hugo content?
Add to a Containerfile
This step is pretty easy - just drop it into your Containerfile before you build the Hugo static site content.
FROM quay.io/polyglotsystems/golang-ubi AS builder

WORKDIR /workspace

COPY . /workspace

RUN cd /workspace/site \
 && /workspace/bin/convert_images_to_webp.sh /workspace/site/static/images/ \
 && /workspace/bin/hugo-linux-amd64
Modify Hugo Templates
Now that we have images cleaned and converted during the build process, we can wire them into our Hugo site in a few places.
Hugo General Functions
First we’ll define a partial to be used as a general function - this will convert <img> elements to <picture> elements, store it in your Hugo site under layouts/partials/func/ImageToPicture.html:
{{/*
  ImageToPicture
  Converts a what would have been an <img> tag to a <picture> tag.

  @example - Go Template
    {{ $image := partialCached "func/ImageToPicture" "path/to/image.jpg" }}
*/}}
<div class="centeredPictureHolder">
  <picture>
  {{- $imgPath := .src | printf "/%s%s" "static" | printf "%s" -}}
  {{- $destImgPath := .src -}}
  {{- $fileExt := (path.Ext $imgPath) -}}
  {{- $isJPG := eq $fileExt ".jpg" -}}
  {{- $isPNG := eq $fileExt ".png" -}}
  {{- $ext := replace $fileExt "." "" -1 -}}
  {{- if or ($isJPG) ($isPNG) -}}
    {{- $avifPath:= replace $destImgPath (path.Ext $imgPath) ".avif" -}}
    {{- $avifPathStatic:= printf "static/%s" $avifPath -}}
    {{- if (fileExists $avifPathStatic) -}}
    <source srcset="{{ $avifPath | safeURL }}" type="image/avif" />
    {{- end -}}
    {{- $webpPath:= replace $destImgPath (path.Ext $imgPath) ".webp" -}}
    {{- $webpPathStatic:= printf "static/%s" $webpPath -}}
    {{- if (fileExists $webpPathStatic) }}
    <source srcset="{{ $webpPath | safeURL }}" type="image/webp" />
    {{- end }}
    <source srcset="{{ $destImgPath | safeURL }}" type="image/{{ $ext }}" />
  {{- end }}
    <img srcset="{{ $destImgPath | safeURL }}" alt="{{ .alt }}" loading="lazy" decoding="async" />
  </picture>
</div>
Hugo Markdown Render Hooks
Something that is decently new in Hugo are Render Hooks - basically a way to override the rendering of a few basic Markdown elements, such as Images.
Create a new file in your Hugo site under layouts/_default/_markup/render-image.html:
{{- $m := (dict "src" .Destination "alt" .Text) -}}
{{ partial "func/ImageToPicture" $m }}
<!-- Adapted from https://pawelgrzybek.com/webp-and-avif-images-on-a-hugo-website/ -->
This Image Markdown Render Hook will convert what would have been a generated <img> tag from a  into the relevent <picture> tag.
Hugo Template Modifications
With the function partial and render hook in place, your rendered Markdown site Content will in large be properly updated to use the <picture> image markup if generated from the standard image Markdown 
What about other places that are using just <img> tags in the HTML, like in the template?
Well, override the template files that use <img> tags to use the same function that the render hook is using!
Say you have header images for your blog content - mayb you’d need to create a layouts/partials/page/hero.html to override the default one provided by your theme with something like this:
<!--  ...  -->

    {{ with .Params.hero }}
    <div class="article-hero-image" id="ArticleImage__Hero">
      <!-- Instead of: -->
      <!-- <img src="{{ . }}" alt="{{ $page.Params.title }}" /> -->
      {{- $m := (dict "src" . "alt" $page.Params.title) -}}
      {{ partial "func/ImageToPicture" $m }}
    </div>
    {{ end }}

<!--  ...  -->
Find the other places in your theme’s HTML that use a normal <img> tag and override with something similar.
Wrapping Up
Now with the binaries and scripts in place, Containerfile updated, and Hugo theme adjusted we can create a container which will clean and convert our images and generate the static HTML content needed to render these new optional lightwight image formats!
With that (and honestly a few other tricks such as caching) we can now get a much better score in Lighthouse:
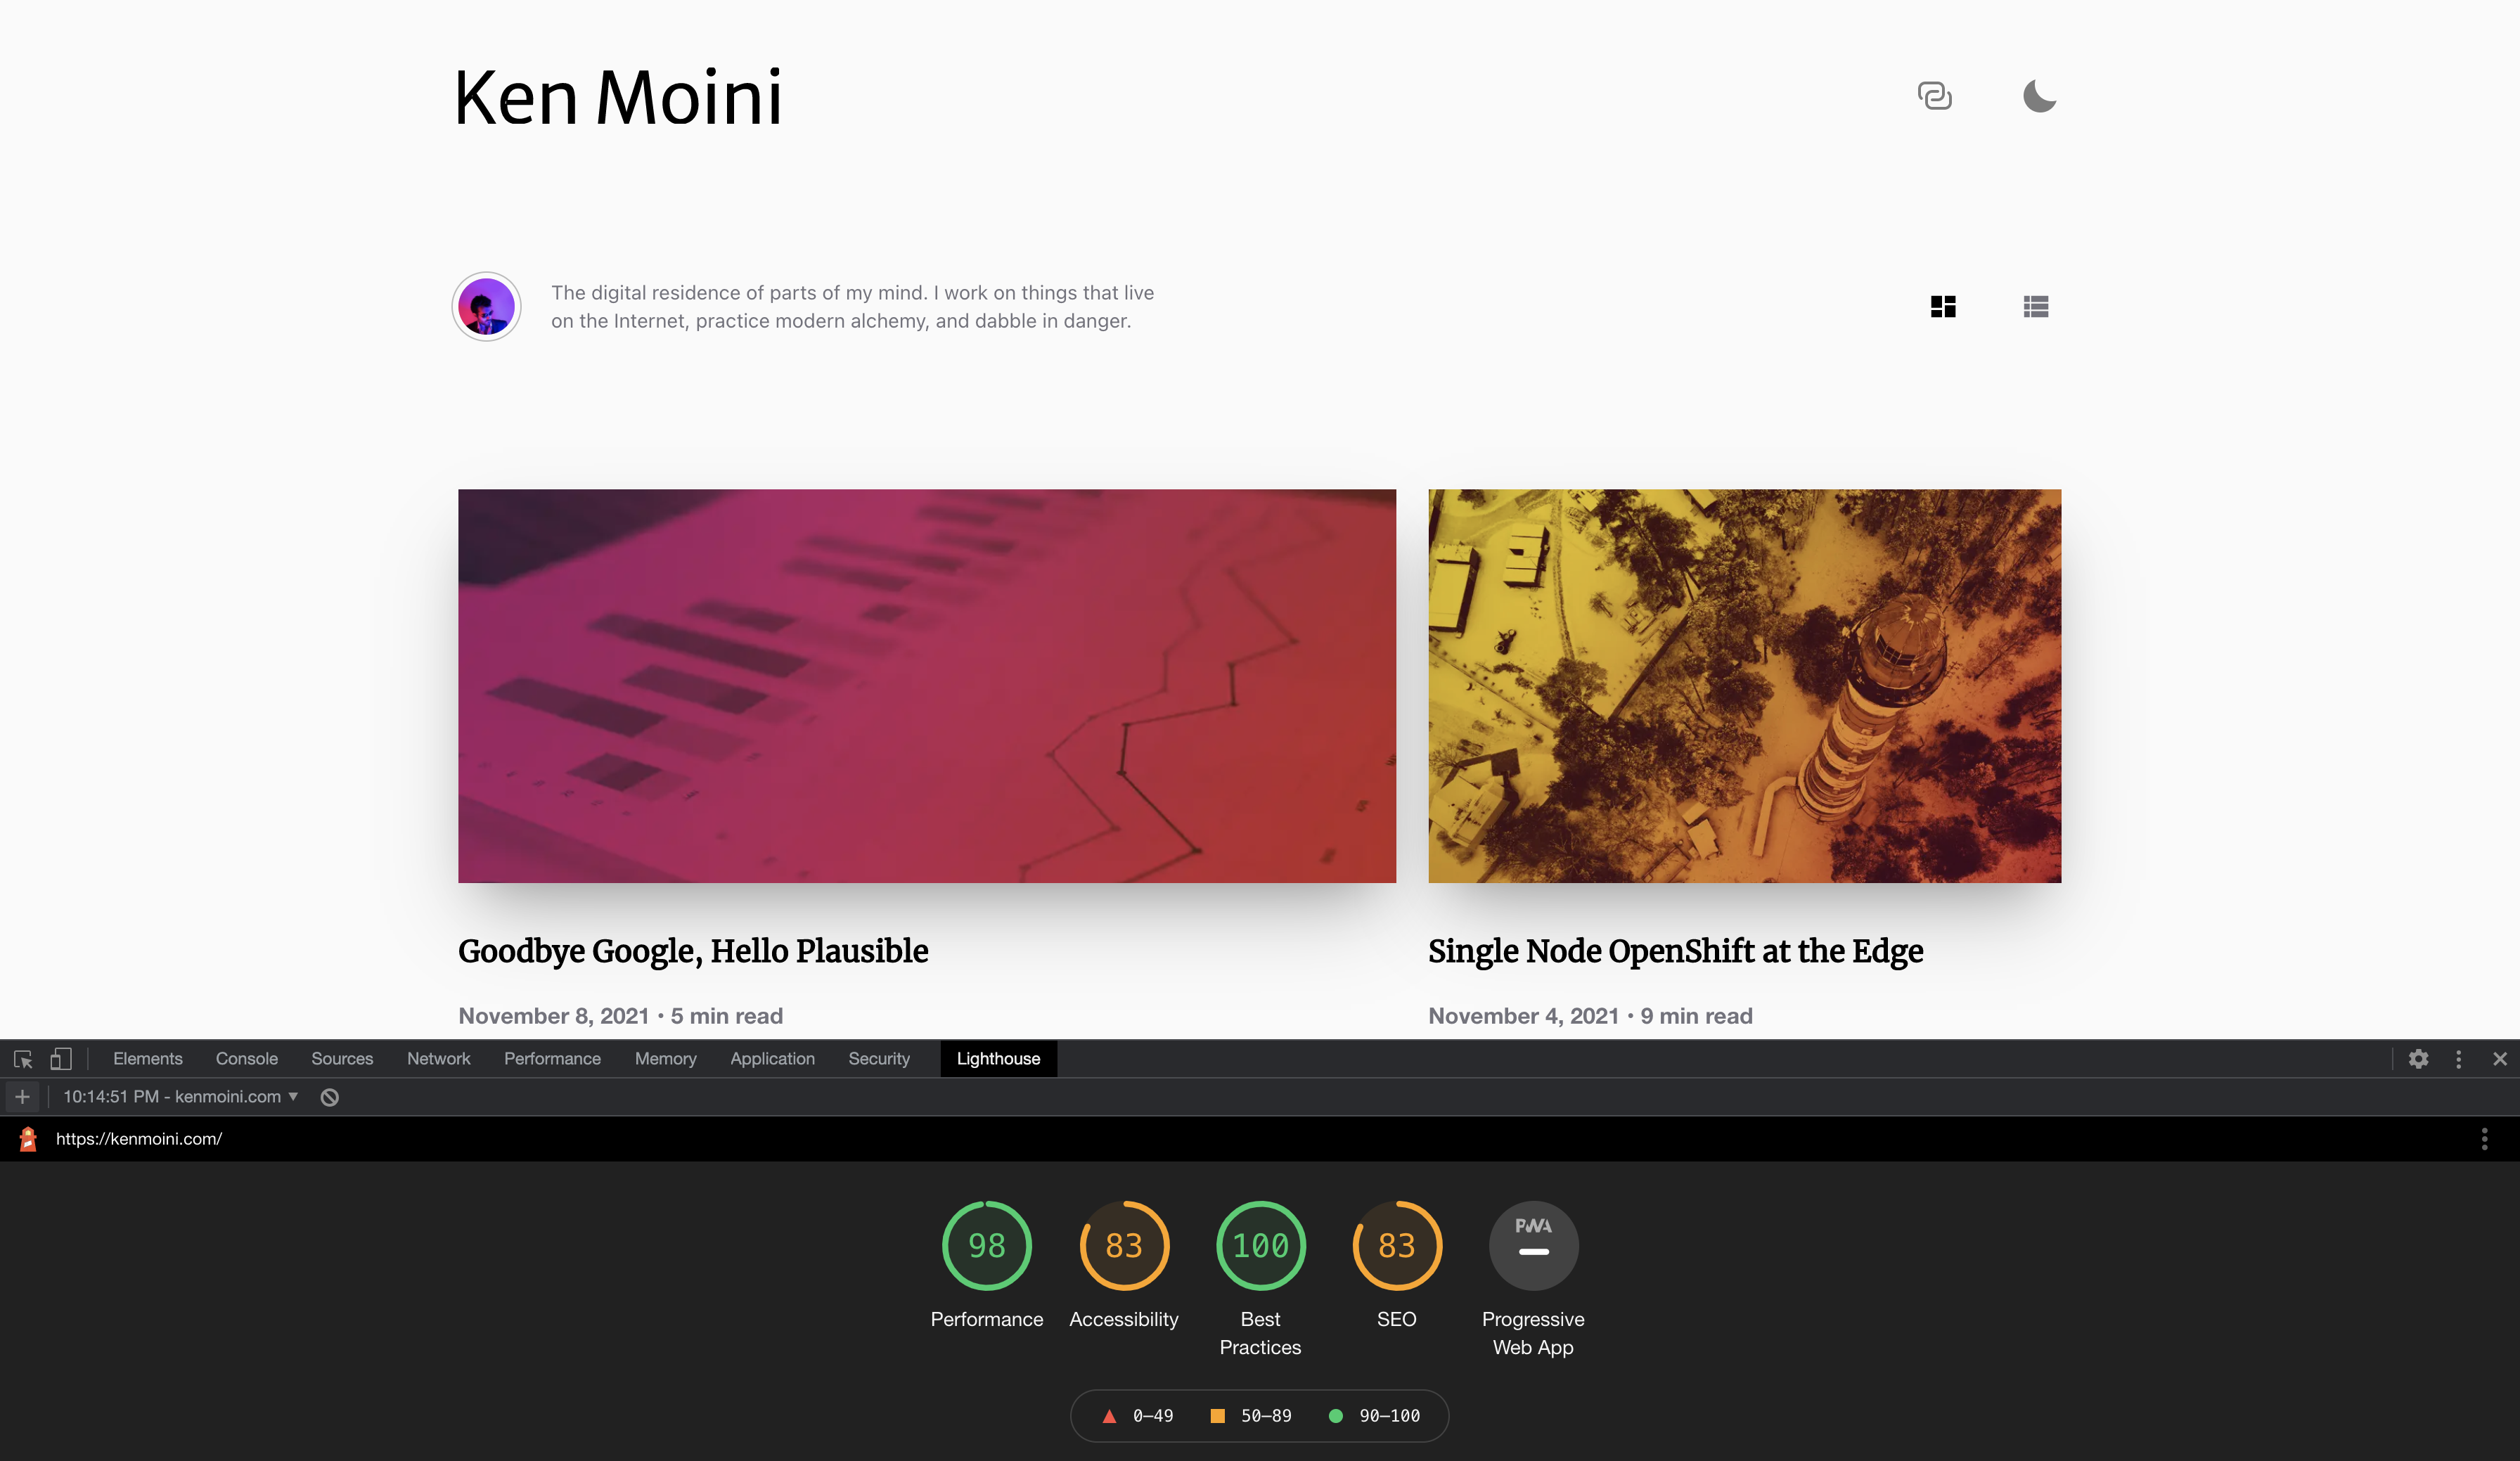
Still needs some work in the Accessibility and SEO departments though…

