

A no-nonsense, fun-free, straight to the point article
Evidently my post last month on deploying Nutanix’s platform in my traditional prose was not well received - it's archived now and available for those with the link, a sense of humor, and looser butt holes.
For this post, there’ll be little entertainment, quips will be held at bay, and edict has been passed making jokes punishable by death…just straight to the nitty gritty of understanding and deploying the Nutanix stack in a lab environment with a workload target being OpenShift, detailed in another article.
Goals
The goal for this experiement is to deploy the full Nutanix Hyperconverged Infrastructure stack in my lab, the Community Edition specifically.
The equipment in question is a Dell R720 Server with a pair of Xeon E5-2620 CPUs, 256 GB of RAM, PERC H710 Mini, an SSD attached via SATA in the ODD bay, a set of SSDs in RAID 1, and a few 900GB HDDs in a RAID 10 array. It’s one generation too old to be on the official Nutanix Hardware Compatability List (HCL) for Dell but it’ll work just fine for this purpose.
This will be a Single-Node deployment, you could easily make this highly available with additional like-configured nodes.
Once the bare metal server has been provisioned with the Hypervisor, we’ll create a new Cluster and deploy the software stack on top of it, that being Prism [Element], Prism Central, and Calm.
What is Nutanix?
Nutanix is a vendor that makes software in the Hyperconverged Infrastructure space. They have a platform that can cluster and pool compute, network, and storage resources into a software-defined fabric across the hosts in which it operates. There are a set of complimentary tools for automation, lifecycle, and management functions in and around the platform. The HCI stack can be deployed to a number of OEMs from SuperMicro, HPE, Dell, and so on. There is also a cloud-based service offering that can be used in AWS and Azure in case running on-premise infrastructure isn’t your cup of tea.
The technology is built on KVM with a lot of proprietary bits. There are a few primary components to the stack:
- AHV, or the Acropolis Hypervisor, the Type 1 KVM-based hypervisor that is installed on each bare metal host. The vSphere equivilent would be ESXi and this would be Libvirt/KVM in the Red Hat world.
- AOS, which is not the Acropolis Operating System, but it is a core part of the Nutanix stack. AOS is the product that is primarily made of the CVM, or Controller VM, as a provider of Data Services via a software defined storage layer - all workload data storage is mounted to the CVM on each AHV host, which then sub-delegates access to the storage fabric. This is similar to vSAN or Red Hat Gluster Storage in a way.
- Prism Element is a Web UI that’s available on every host at port 9440, similar to the Web UI available on every ESXi host, or like the Cockpit Virtual Machines interface - limited for use at scale, but does the basics of what you need at the per-node level. It extends a set of APIs as well - they’re fun.
- Prism Central is another Web UI that is meant to manage nodes and clusters at scale. It introduces additional organizational functions such as folders, tags, so on, that aren’t available in the per-node Prism Element. Prism Central is also the place where you can access and deploy the additional cluster services such as Calm, Files, Karbon, and so on.
Mise en place
Let’s get the files and other resources we’ll need to get things going.
A Nutanix Next Account
In order to get the needed resources and use Nutanix you’ll need a Nutanix Next account. Sign up there, keep those credentials handy.
Nutanix AHV Installer Sources
With your Nutanix Next account, you can now access the stickied forum post where you can download all the needed resources such as the Installer ISO: https://next.nutanix.com/discussion-forum-14/download-community-edition-38417

Make sure to download the following:
- Installer ISO
- Metadata for AOS upgrade and PC deploy/upgrade
- Prism Central Deployment
If you click on the links and nothing happens then copy the link text and paste into a new browser tab in order to download.
Installation Media
You could burn the AHV Installer ISO to a physical optical disc but no one does that anymore. I suggest using a dedicated bootable USB Key, any cheap USB 2.0 thumb drive will work, I have a bunch of SanDisk 32GB USB thumbdrives laying around that I use and suggest Rufus Portable to burn the ISO to the USB thumbdrive.

Note: It’s EXTREMELY important that the installation media (the thumbdrive in this case) be called PHOENIX or else the installation will fail because it searches for a drive with that label.
Deployment Prerequisites
Now that you know what resources are needed and where to get them, let’s explore the bare infrastructure requirements in order to deploy this stack.
Target Installation Disks
There are at least 3 disks needed, one for the Hypervisor boot, one for the CVM, and one for Data - the CVM disk requires an SSD. If you’re using SSDs behind a Dell PERC just know that they might not show up as SSDs so you’ll need an SSD attached directly via SATA or all enterprise SSDs across the PERC without mixing.
Also to note, Nutanix does not support NVMe over PCIe.
Boot Mode
Make sure to boot in BIOS mode. Also, if it’s not obvious, make sure you have Virtualization enabled in the BIOS.

Networking
In order to run this stack you’ll need:
- 5 IPv4 Addresses Per Single-Node cluster, additional nodes needing 2 additional IPv4 Addresses each. There’s 1 for the hypervisor hosts, 1 for each CVM running on every host, and then 1 for the cluster’s VIP, 1 for cluster Data Services, and 1 for Prism Central.
- DNS A Records to match the specifications of the cluster
- Ideally redundant networking interfaces, though we’ll assume a single interface for this deployment
For this purpose, here are my networking resources on my host called Rocinante for the cluster called MyCluster:
| Purpose | Hostname/A Record | IPv4 Address | Subnet Mask | Gateway |
|---|---|---|---|---|
| AHV Host | ahv-rocinante | 192.168.42.56 | 255.255.255.0 | 192.168.42.1 |
| AHV CVM | ahv-rocinante-cvm | 192.168.42.57 | 255.255.255.0 | 192.168.42.1 |
| Cluster VIP | ahv-mycluster | 192.168.42.58 | 255.255.255.0 | 192.168.42.1 |
| Data Services VIP | ahv-mycluster-ds | 192.168.42.59 | 255.255.255.0 | 192.168.42.1 |
| Prism Central | ahv-mycluster-pc | 192.168.42.60 | 255.255.255.0 | 192.168.42.1 |
Of course, your IP addresses and configuration will likely be different.
With all that in order we can now start the deployment process
Host Installation
Preparation
Probably a good time to set up your RAID arrays. With those configured, pop in your Installation Media (the USB thumbdrive in this case), and boot into it - you’ll see Phoenix start to boot and the installation start.
AHV Installation
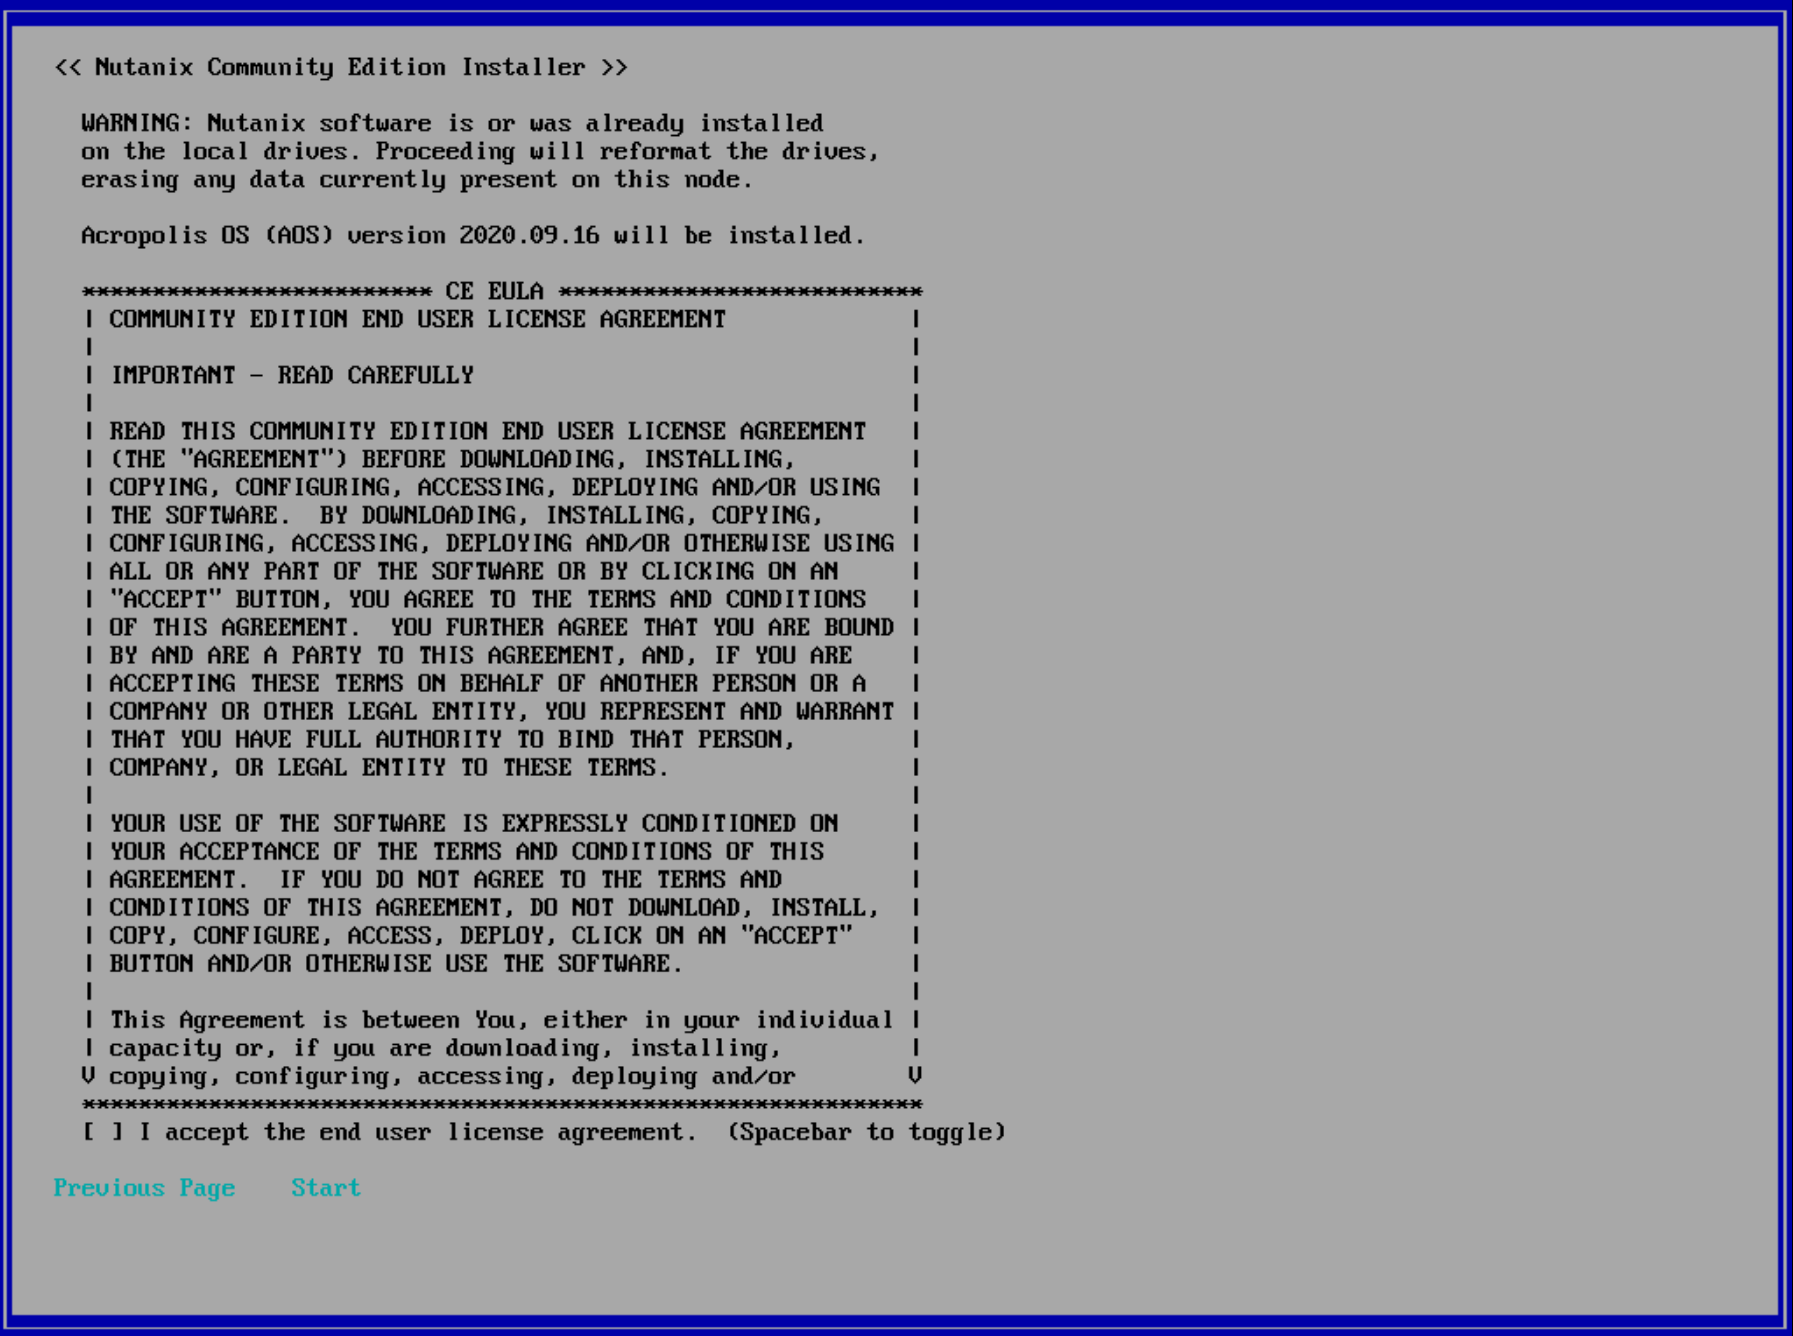
Once Phoenix has loaded, you’ll be presented with this installation screen - it’s pretty simple and requires just a few key presses to configure.
IMPORTANT NOTE: If you are creating a Single-Node cluster, like I am in this case, make sure you DO NOT check the box that says “Create single-node cluster?” - it evidently does not work well and it’s just easier to create the cluster later once the hypervisor is installed.

You can see how I configured the information with the different disks in my R720 and with the IPs from my table above.
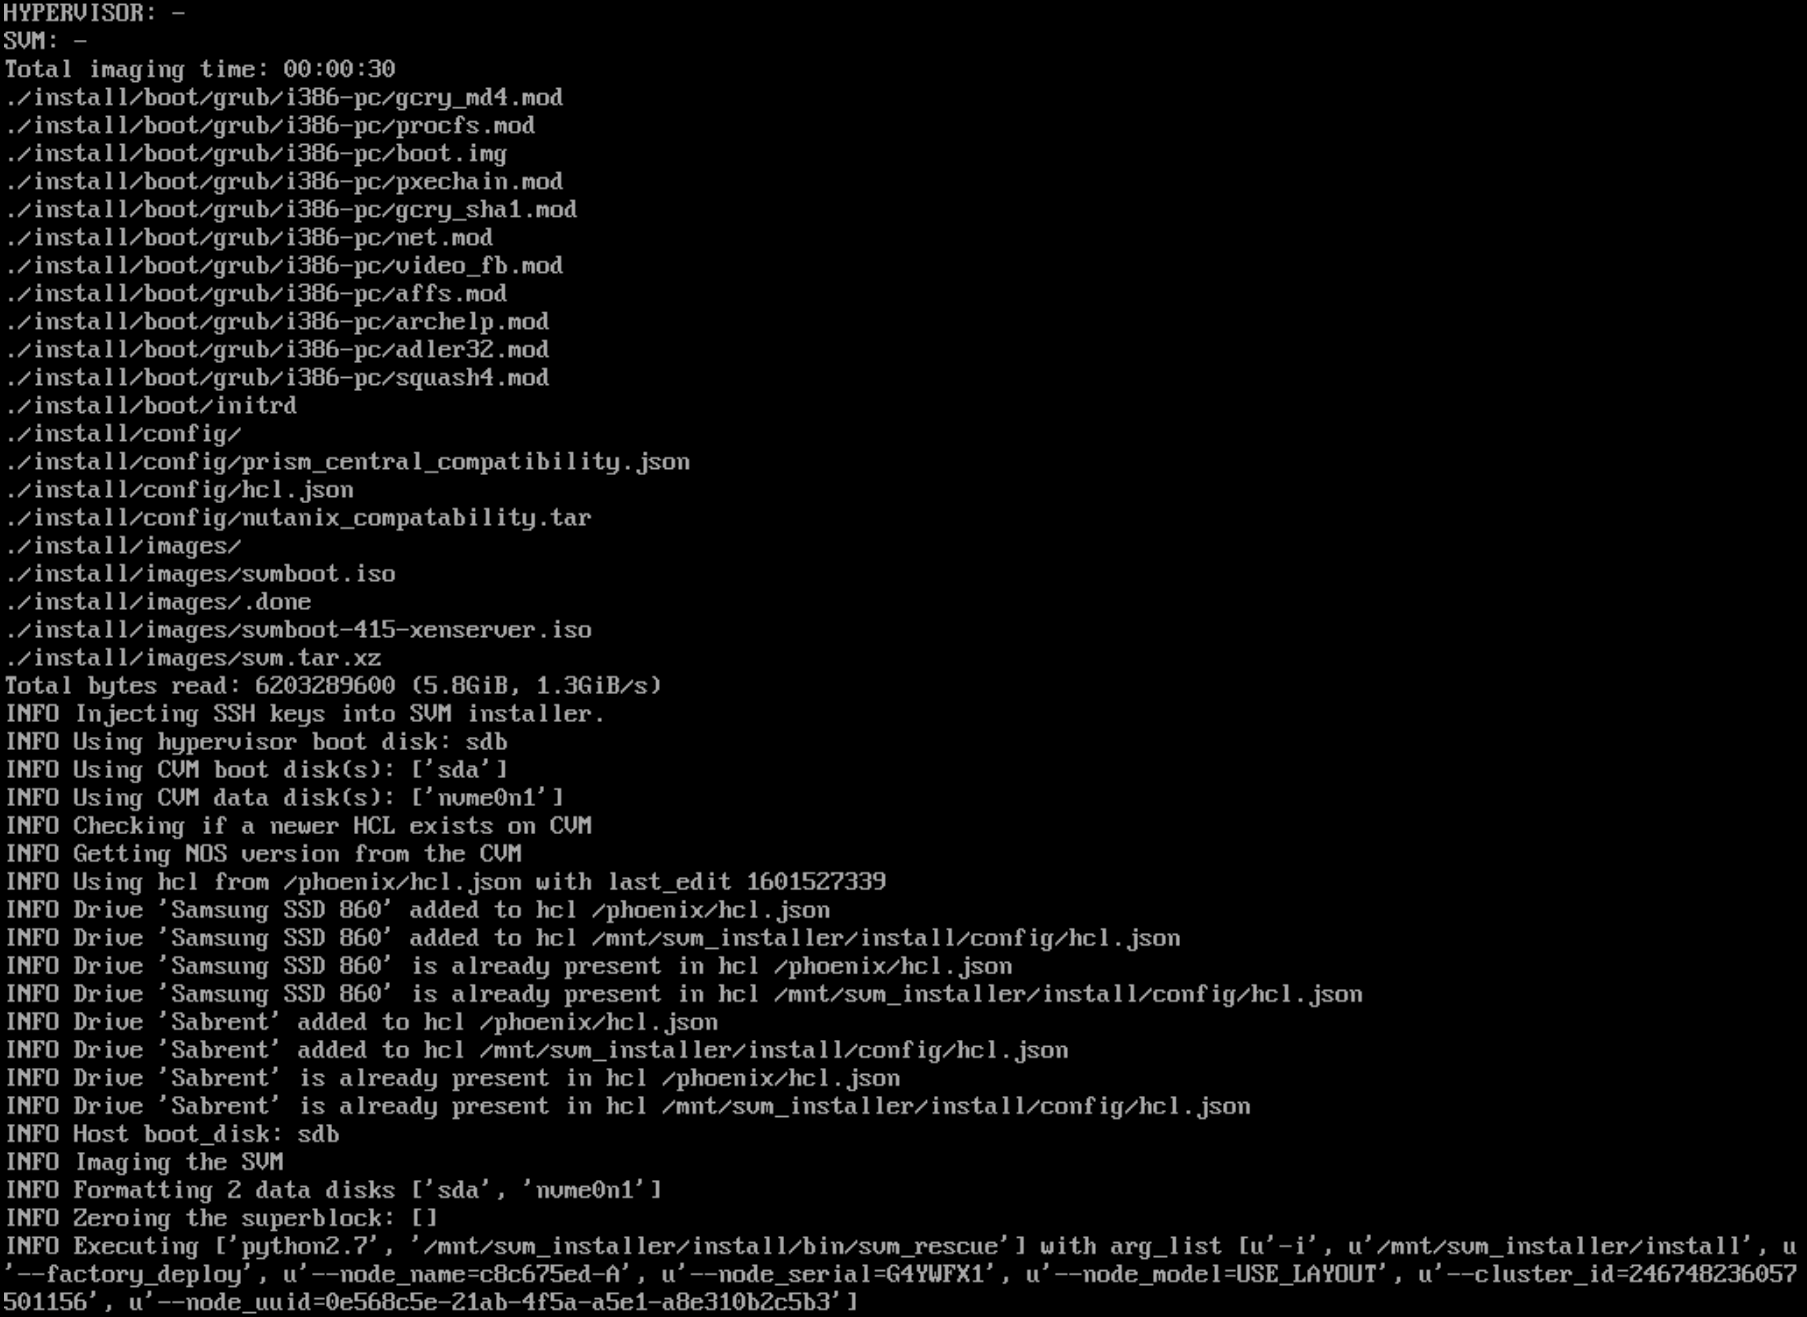
On the next screen you’ll use the Scroll Down key to get to the bottom of the EULA, accept it, then the installation should kick off.
Once the installation is complete you’ll be prompted to reboot and then will be presented with the Nutanix AHV terminal log in prompt.
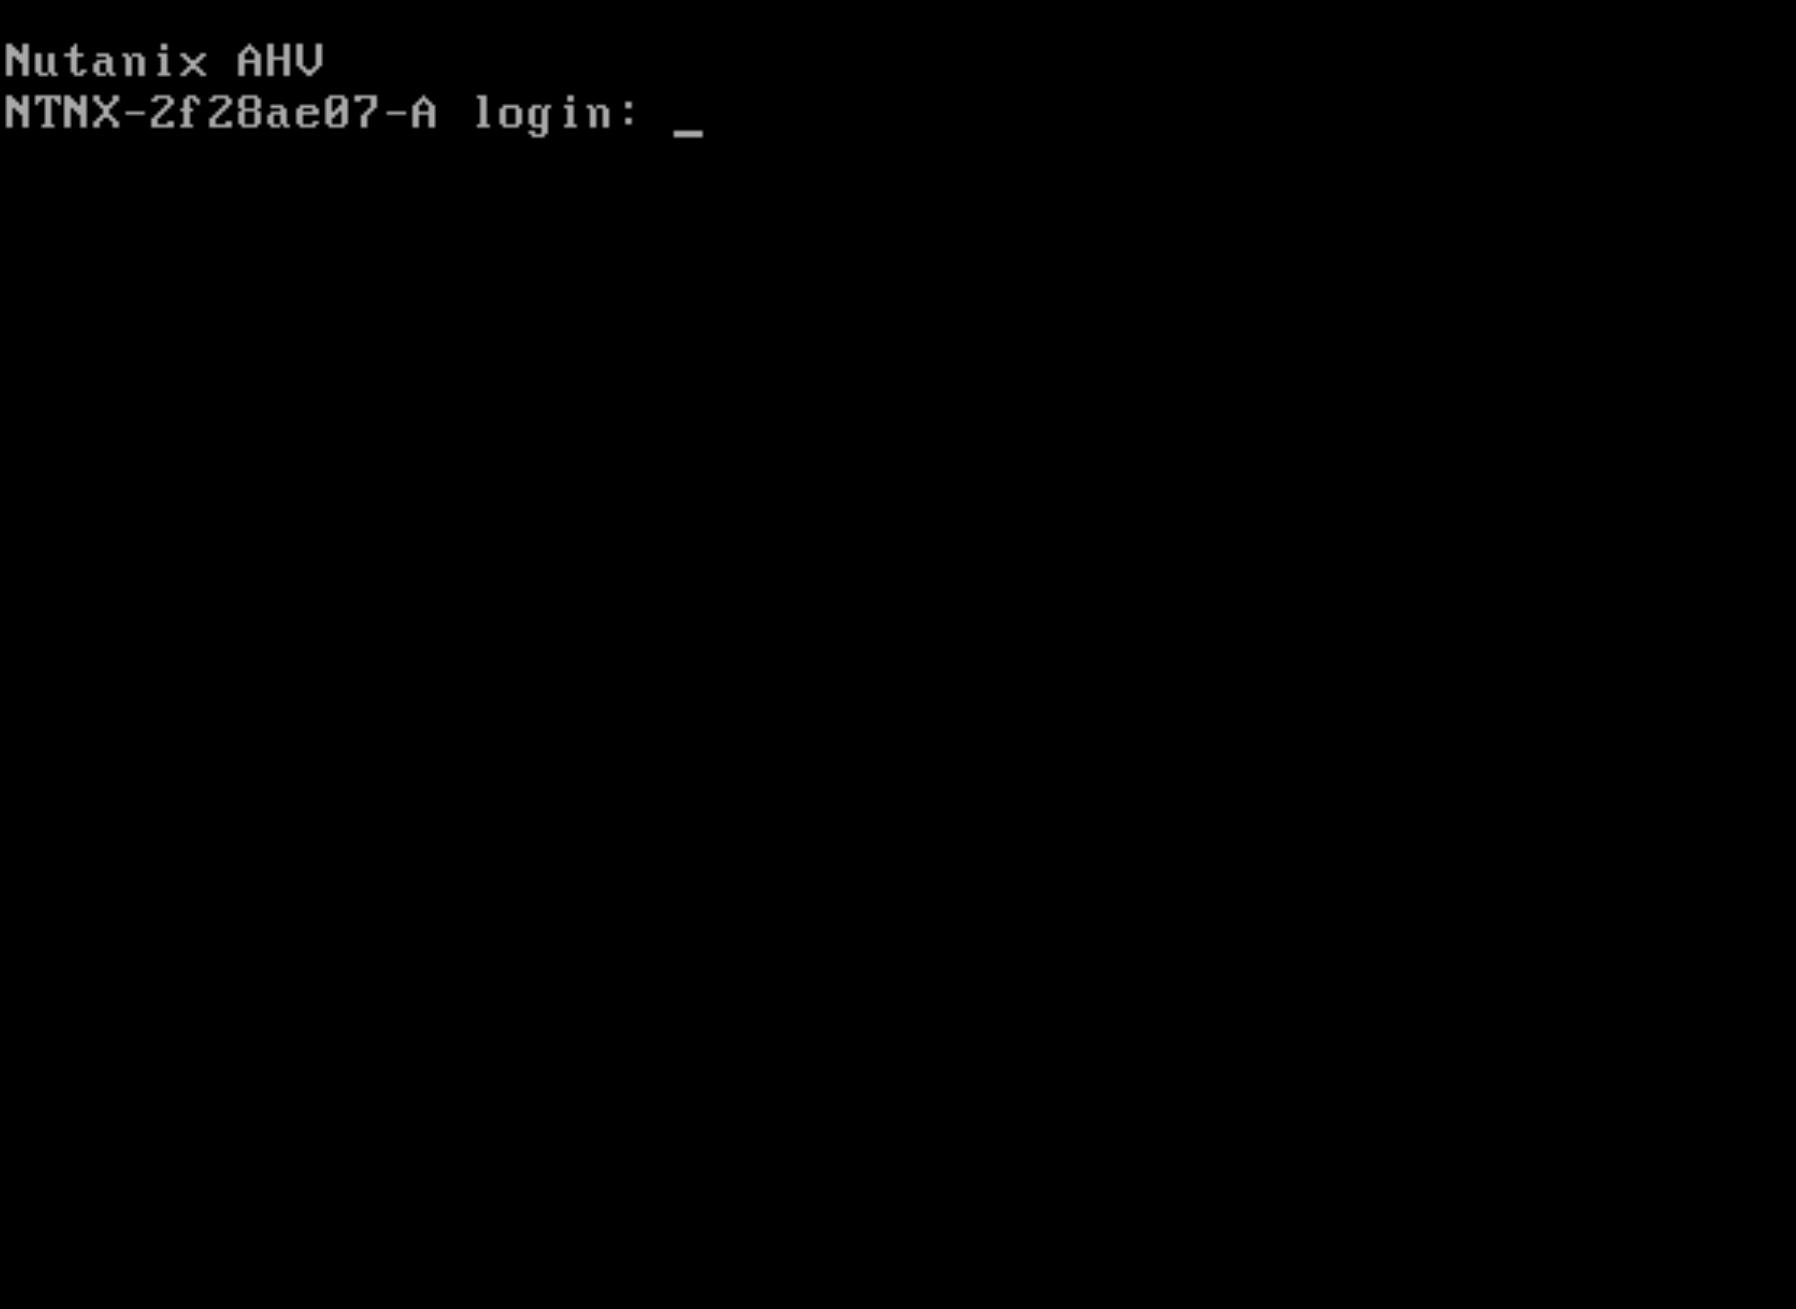
Cluster Creation
With the AHV host installed and rebooted, you’ll be presented with the Nutanix AHV terminal log in prompt - in order to create and configure the cluster we need to access the CVM running on that host.
You could log into the AHV host and then SSH into the CVM or you can SSH into the CVM directly and configure the cluster from there. The default credentials are as follows:
- AHV Username/Password:
root/nutanix/4u - CVM Username/Password:
nutanix/nutanix/4u
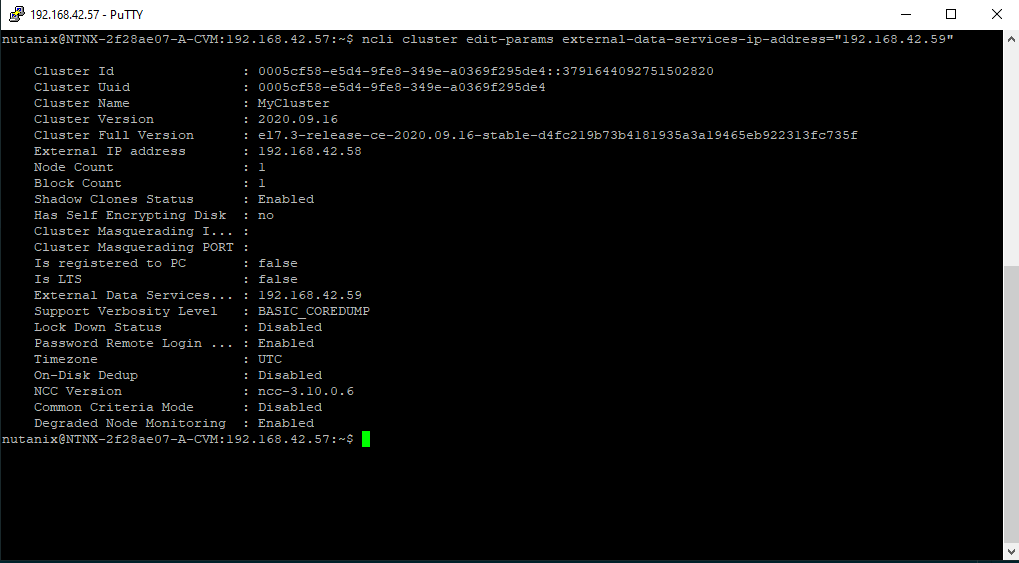
You could log in via the terminal on the host, but normally you’d want to use an SSH client - I use PuTTY on Windows and the built-in terminal on Mac/*nix to SSH into the CVM:

Create a Single-Node Cluster
Now that you’re SSH’d into the CVM, you can run a few commands to create the cluster, making sure to change the IPs out:
# Create a cluster, redundancy_factor=1 basically means single-node
cluster -s "192.168.42.57" --redundancy_factor=1 create
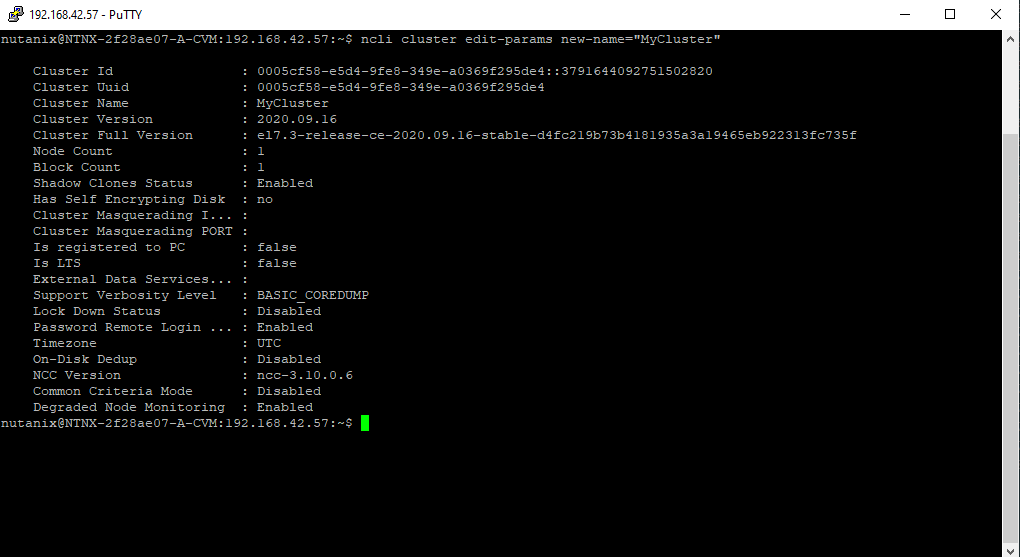
# Give your cluster a name
ncli cluster edit-params new-name="MyCluster"
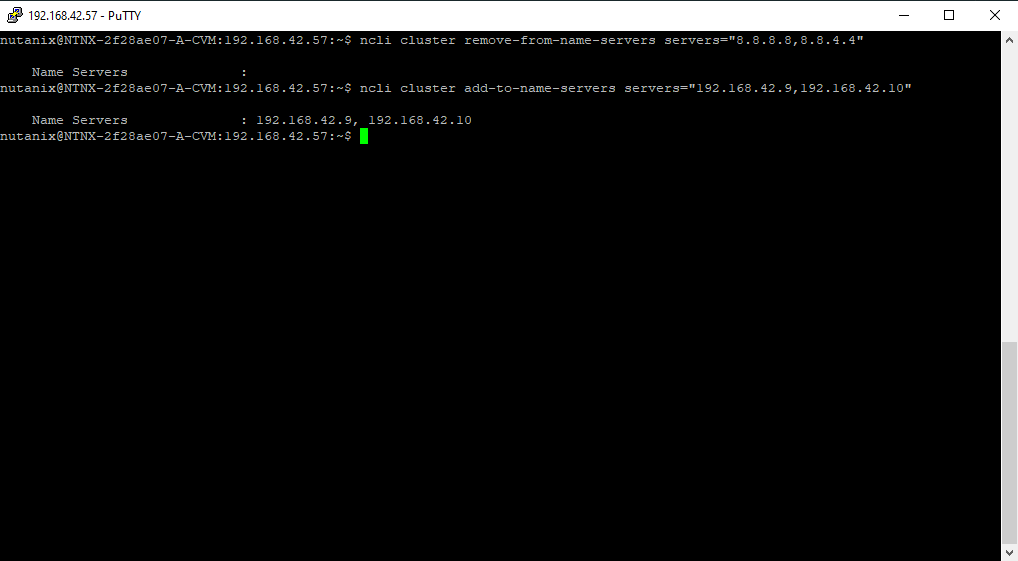
# Get rid of Google auto-set nameservers maybe if you need
ncli cluster remove-from-name-servers servers="8.8.8.8,8.8.4.4"
# Set your actual name servers
ncli cluster add-to-name-servers servers="192.168.42.9,192.168.42.10"
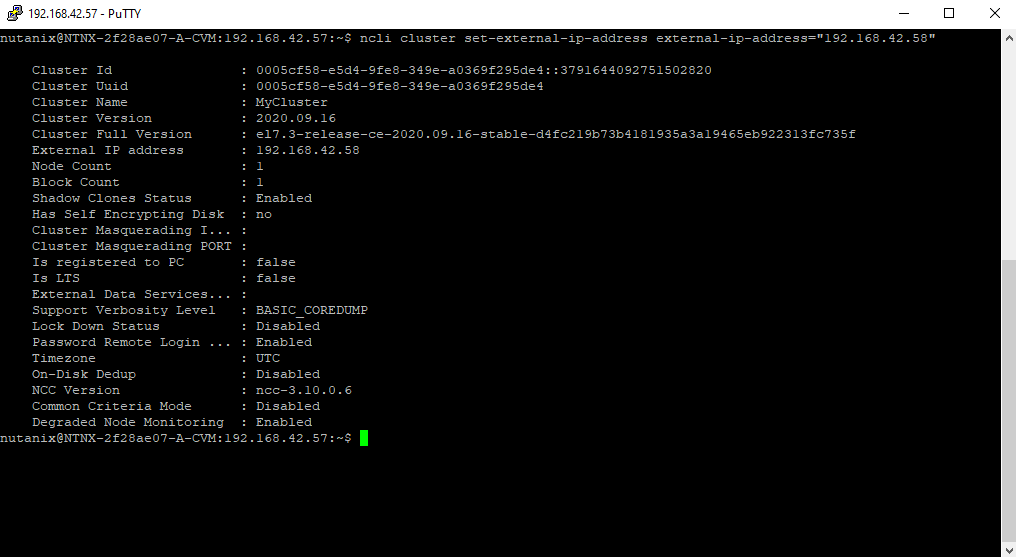
# Set some parameters
ncli cluster set-external-ip-address external-ip-address="192.168.42.58"
ncli cluster edit-params external-data-services-ip-address="192.168.42.59"
# Start the cluster in case it is not already started after creation
cluster start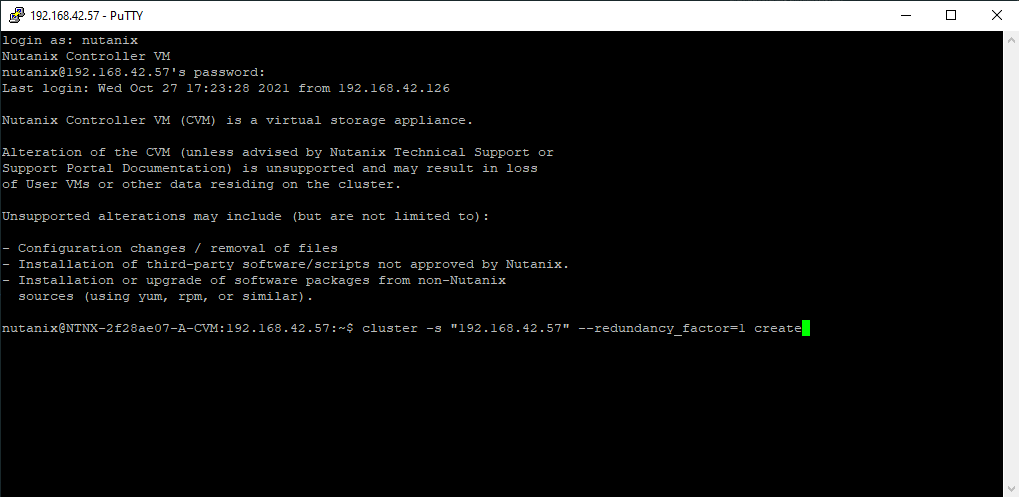
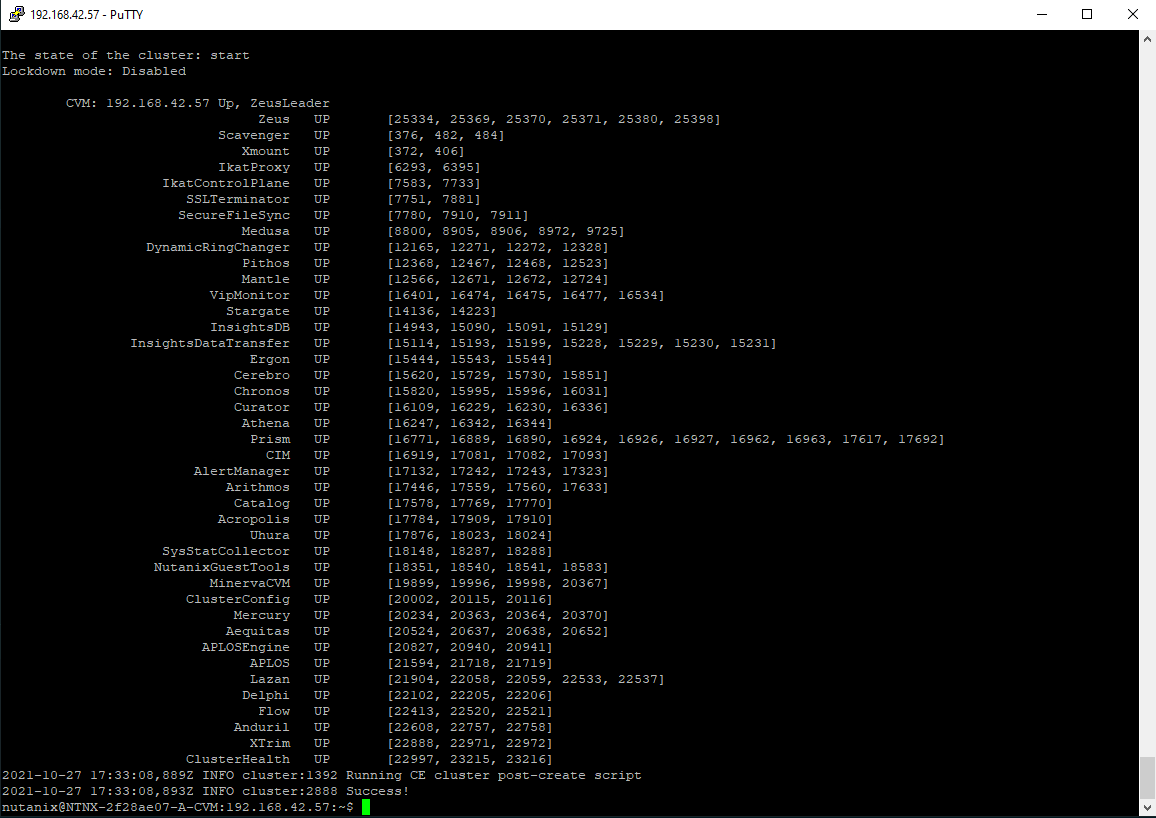
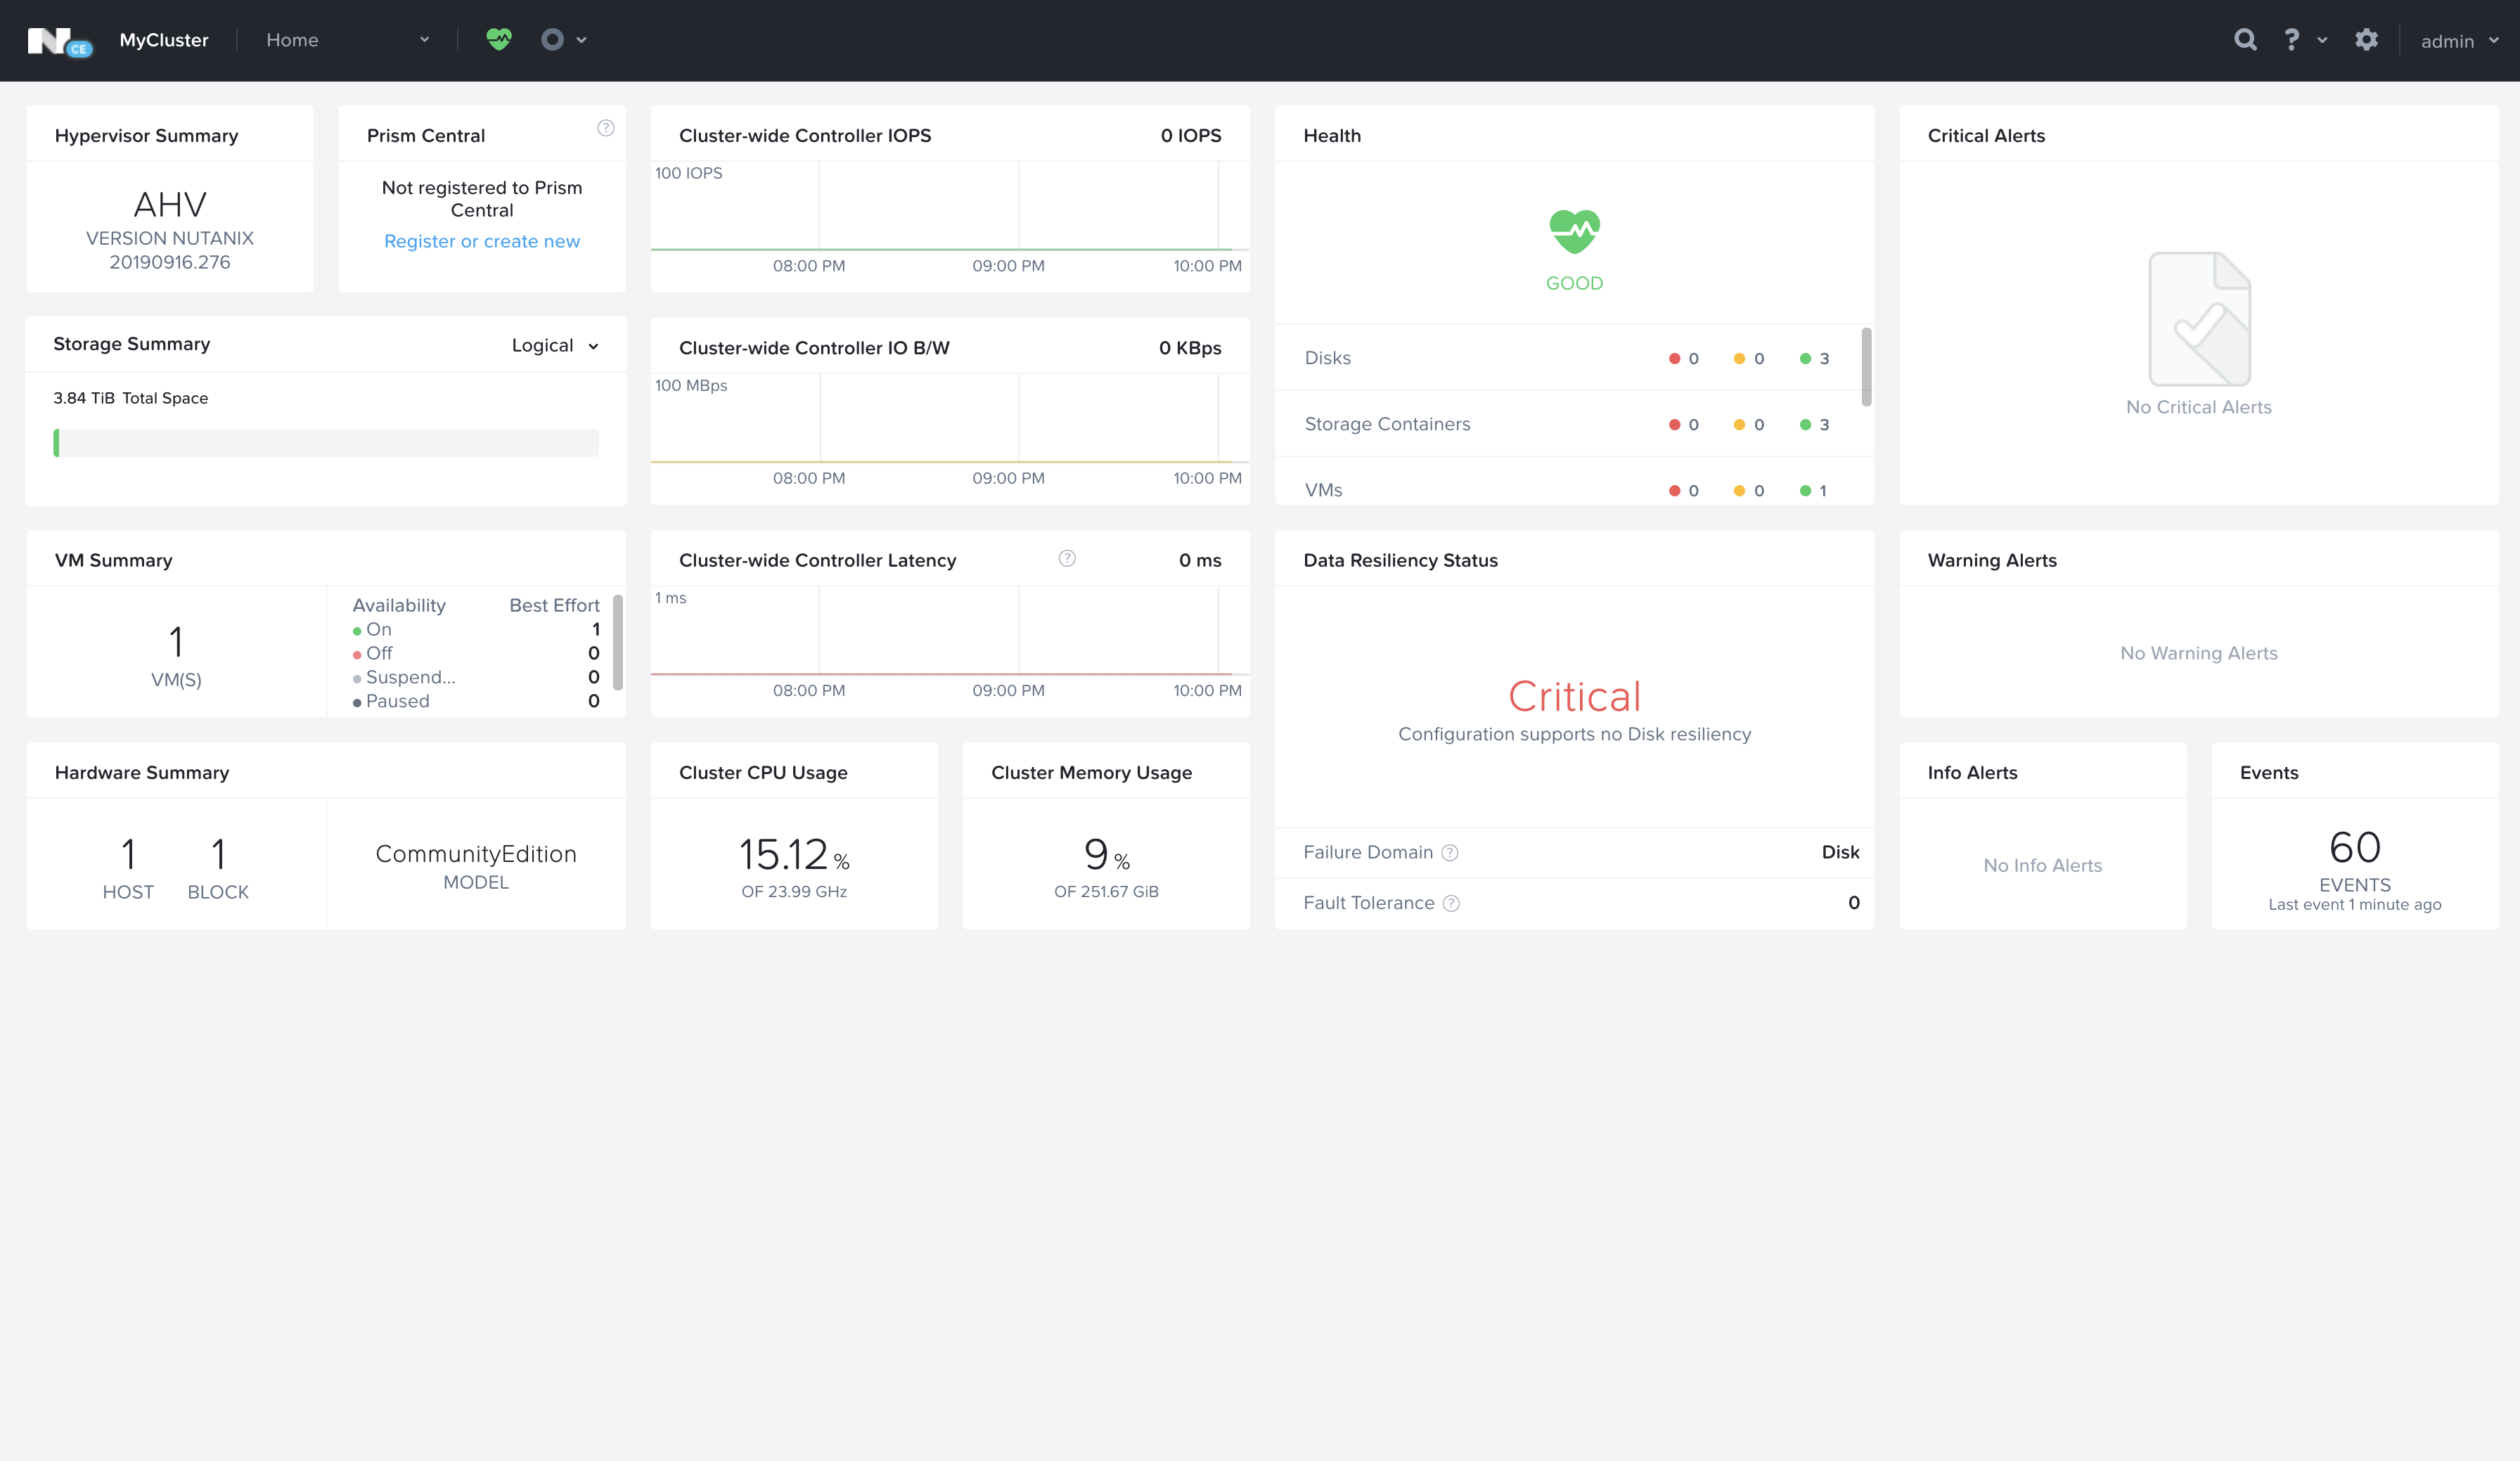
With the cluster created and started, you can finally get out of the terminal and launch Prism Element, which is the host-bound Web UI for Nutanix’s stack.
Cluster Creation and Configuration
The basic cluster is created however there is some configuration that needs to take place before it’s usable at a basic level.
Prism Configuration
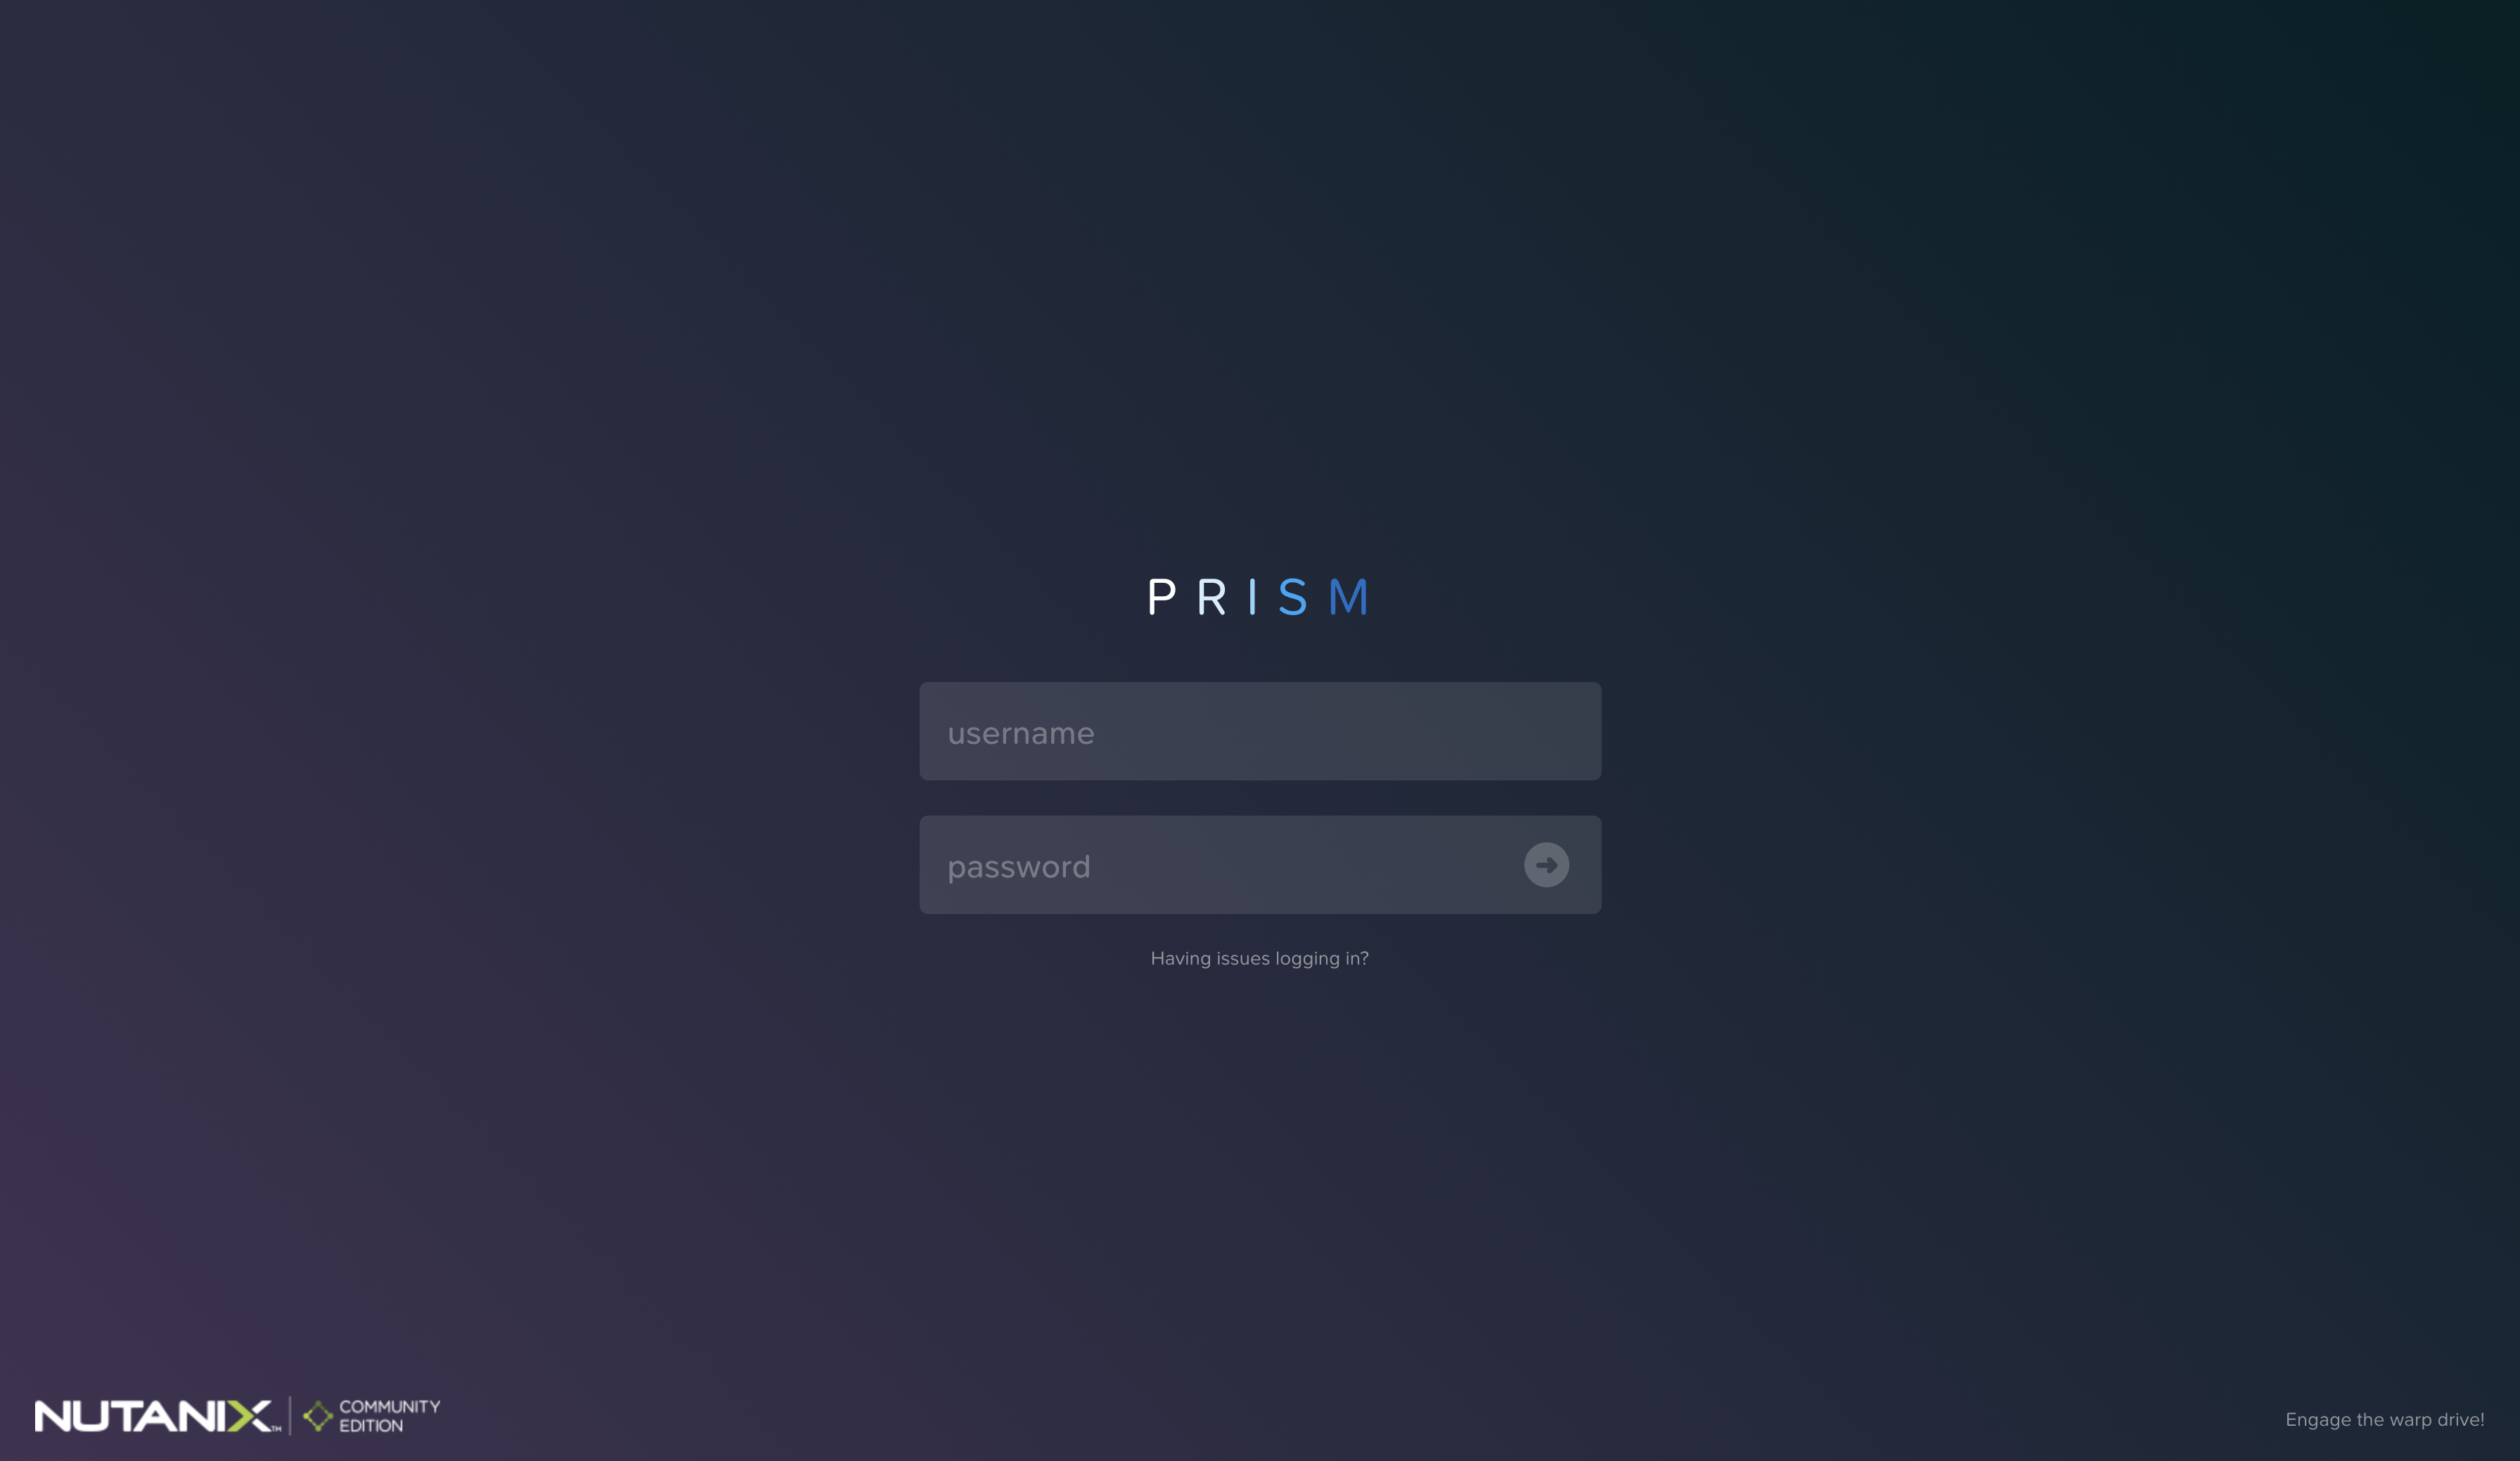
Launch Prism Element by navigating to your CVM Hostname/IP at port 9400, in my case that would be: https://192.168.42.57:9440
Note: If you are using Chrome and do not see a link to get passed the self-signed certificate warning page, type the following, into the Chrome SSL warning screen: thisisunsafe and it’ll blow right past the self-signed certificate warning page.
The default username / password credentials for Prism Element are admin / nutanix/4u - you will be prompted to change the password to something more secure immediately.
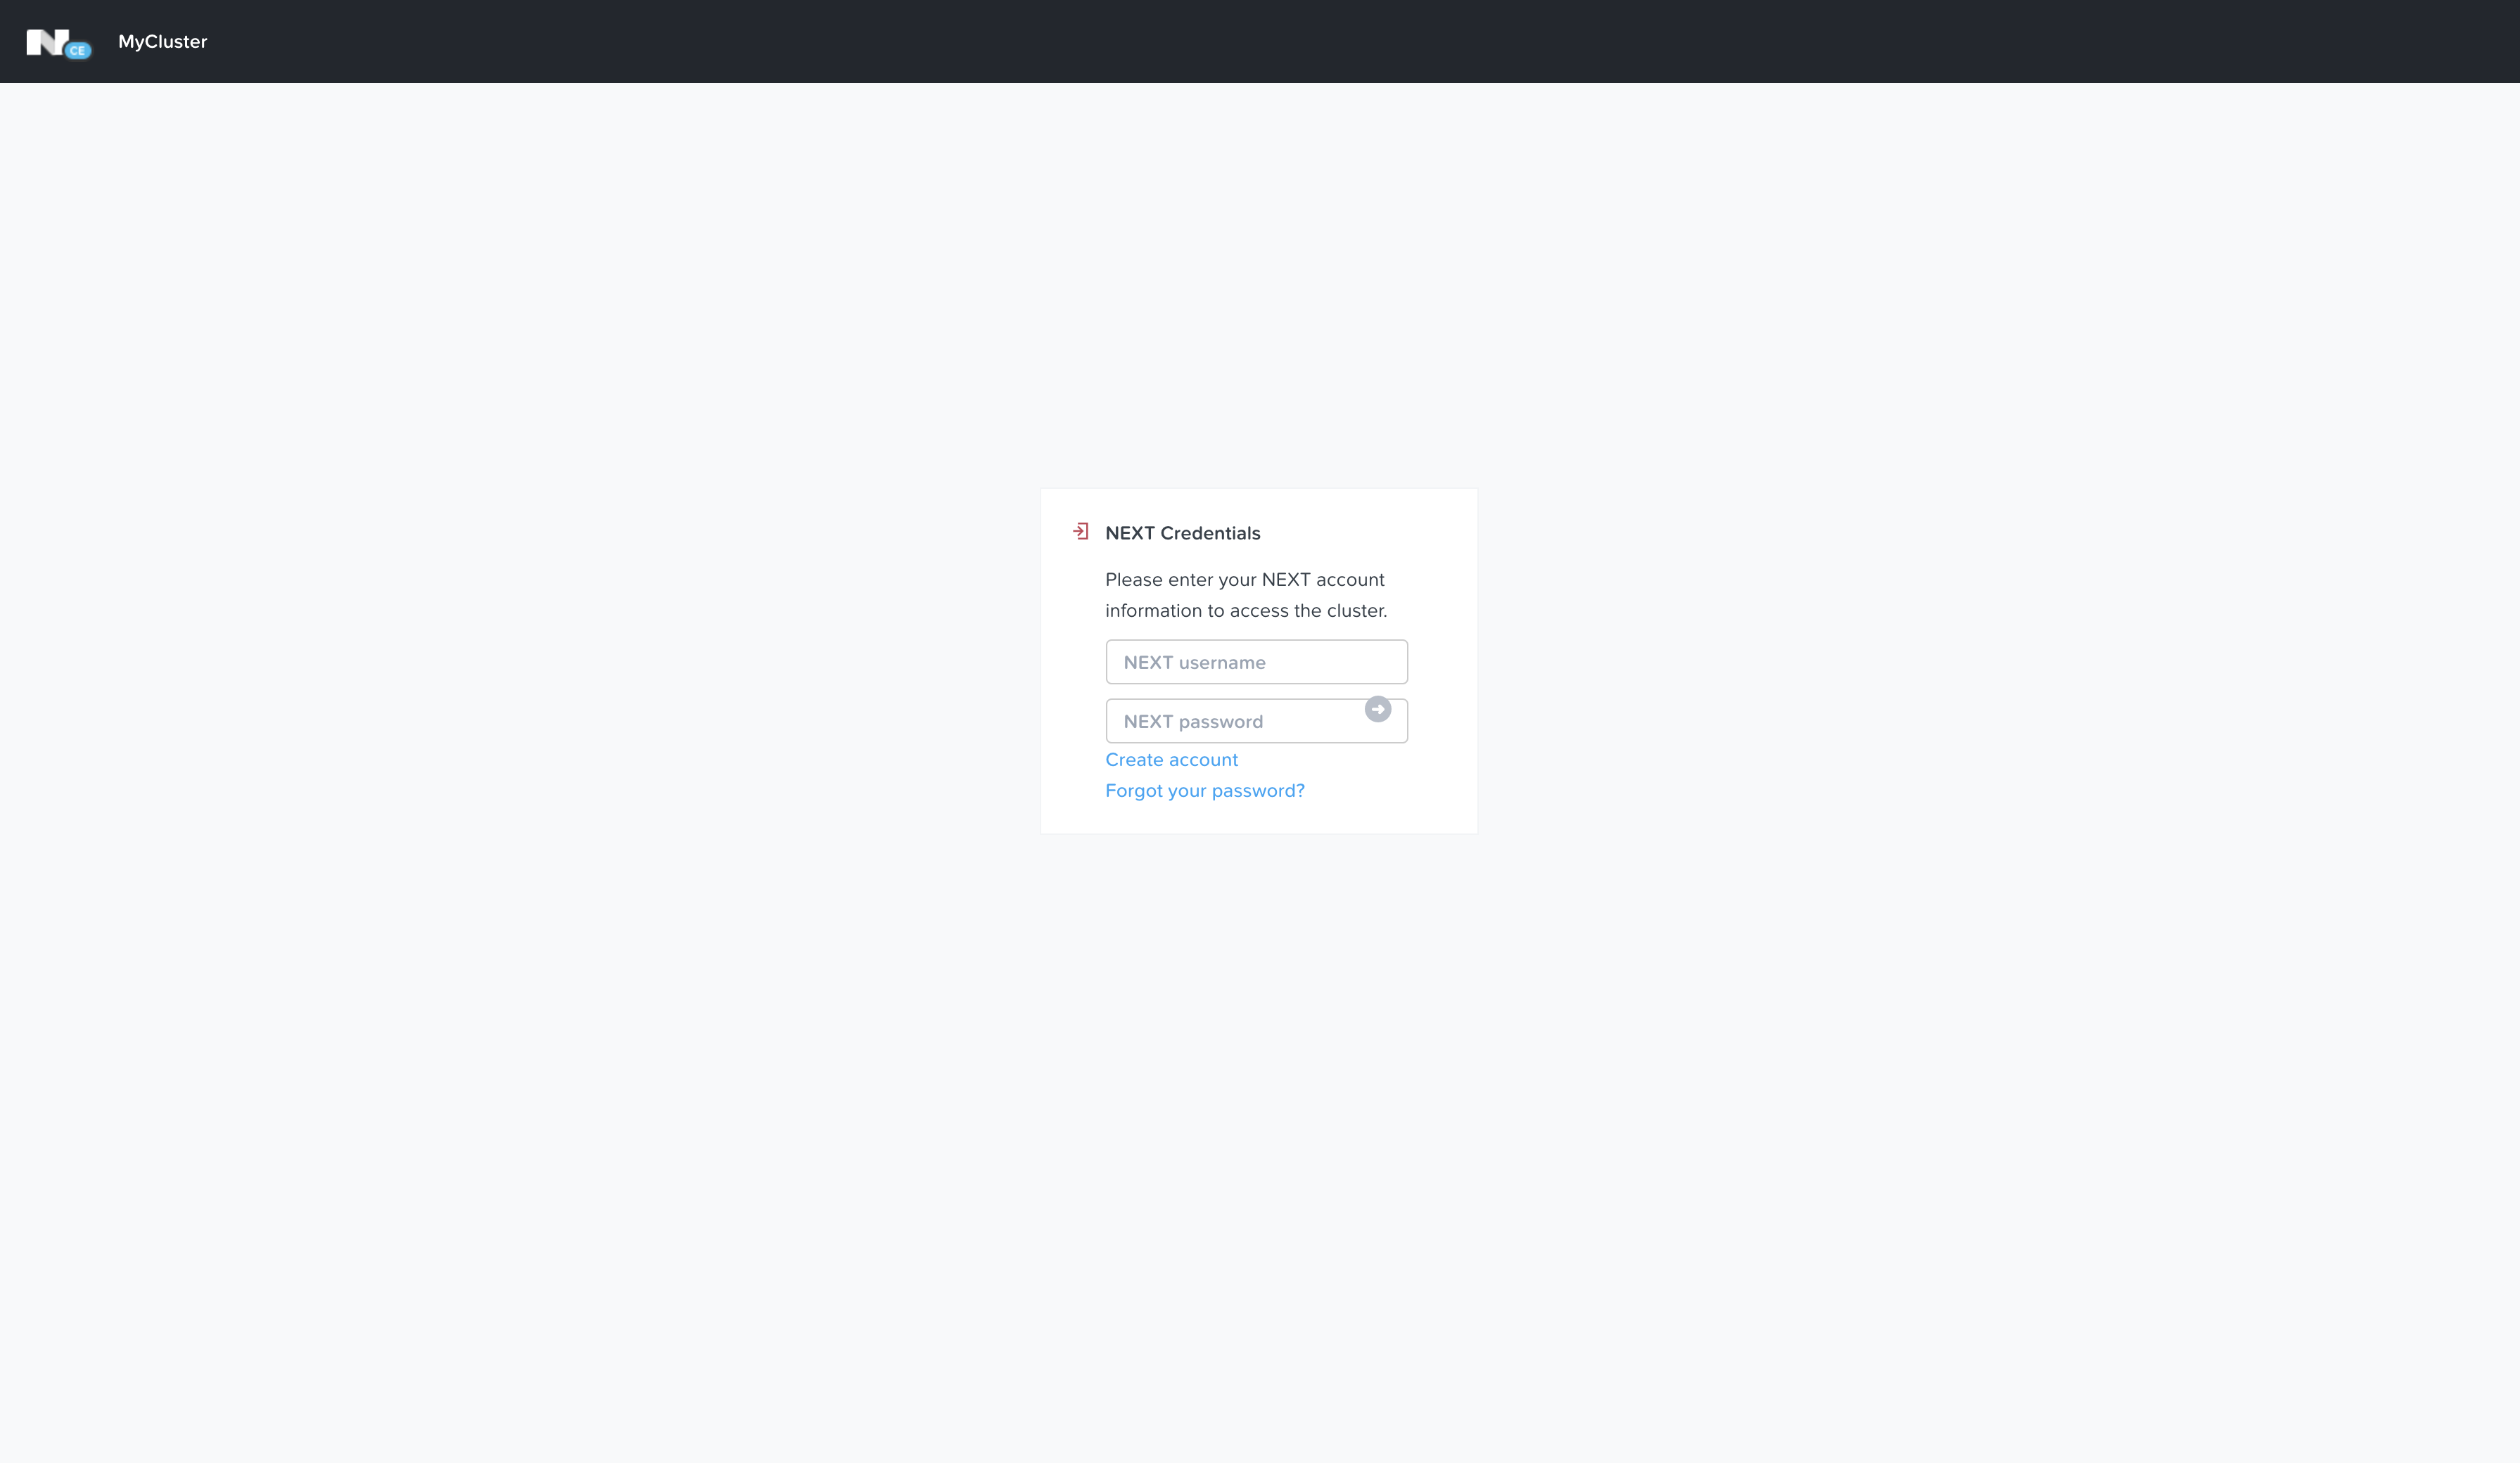
Once logged in, you’ll also need to log into your Nutanix Next account.
Before we can go about launching VMs, there’s some basic configuration that needs to be set.
Cluster Networking
First thing we’ll need to do is create a Network for the VMs to use - click the Cog in the upper right corner to the left of the username dropdown to enter Settings.
In the left-hand pane, navigate to Network > Network Configuration - click the Create Network button.
Give your Network a Name, a VLAN ID (0 being default/none) and click Save.

Storage
You can choose to create a new Storage Container dedicated to your workloads or other assets - I just create two new Storage Containers, one called images and one called machines in the default Storage Pool. If you had additional disks to attach to the system that were not initialized on install, you’d want to create a new Storage Pool or expand the default one.
To manage the cluster’s storage, you’ll use the dropdown to the right of the Cluster Name in the top bar, select Storage.

Images
You’ll likely want to upload some ISOs to boot new VMs from - to do so, click the Cog in the upper right corner to the left of the username dropdown to enter Settings.
In the left-hand pane, navigate to General > Image Configuration - here you can upload Images or pull them from a URL.
At this point you have the basics in place to deploy virtualized workloads on Nutanix’s AHV
But then again, you may ask yourself - where’s Calm? How do I access data services such as Files? This is all via Prism Central.
Deploying Prism Central
Prism Central is essentially the vCenter of the Nutanix world - you can manage multiple hosts and clusters from a single Prism Central instance.
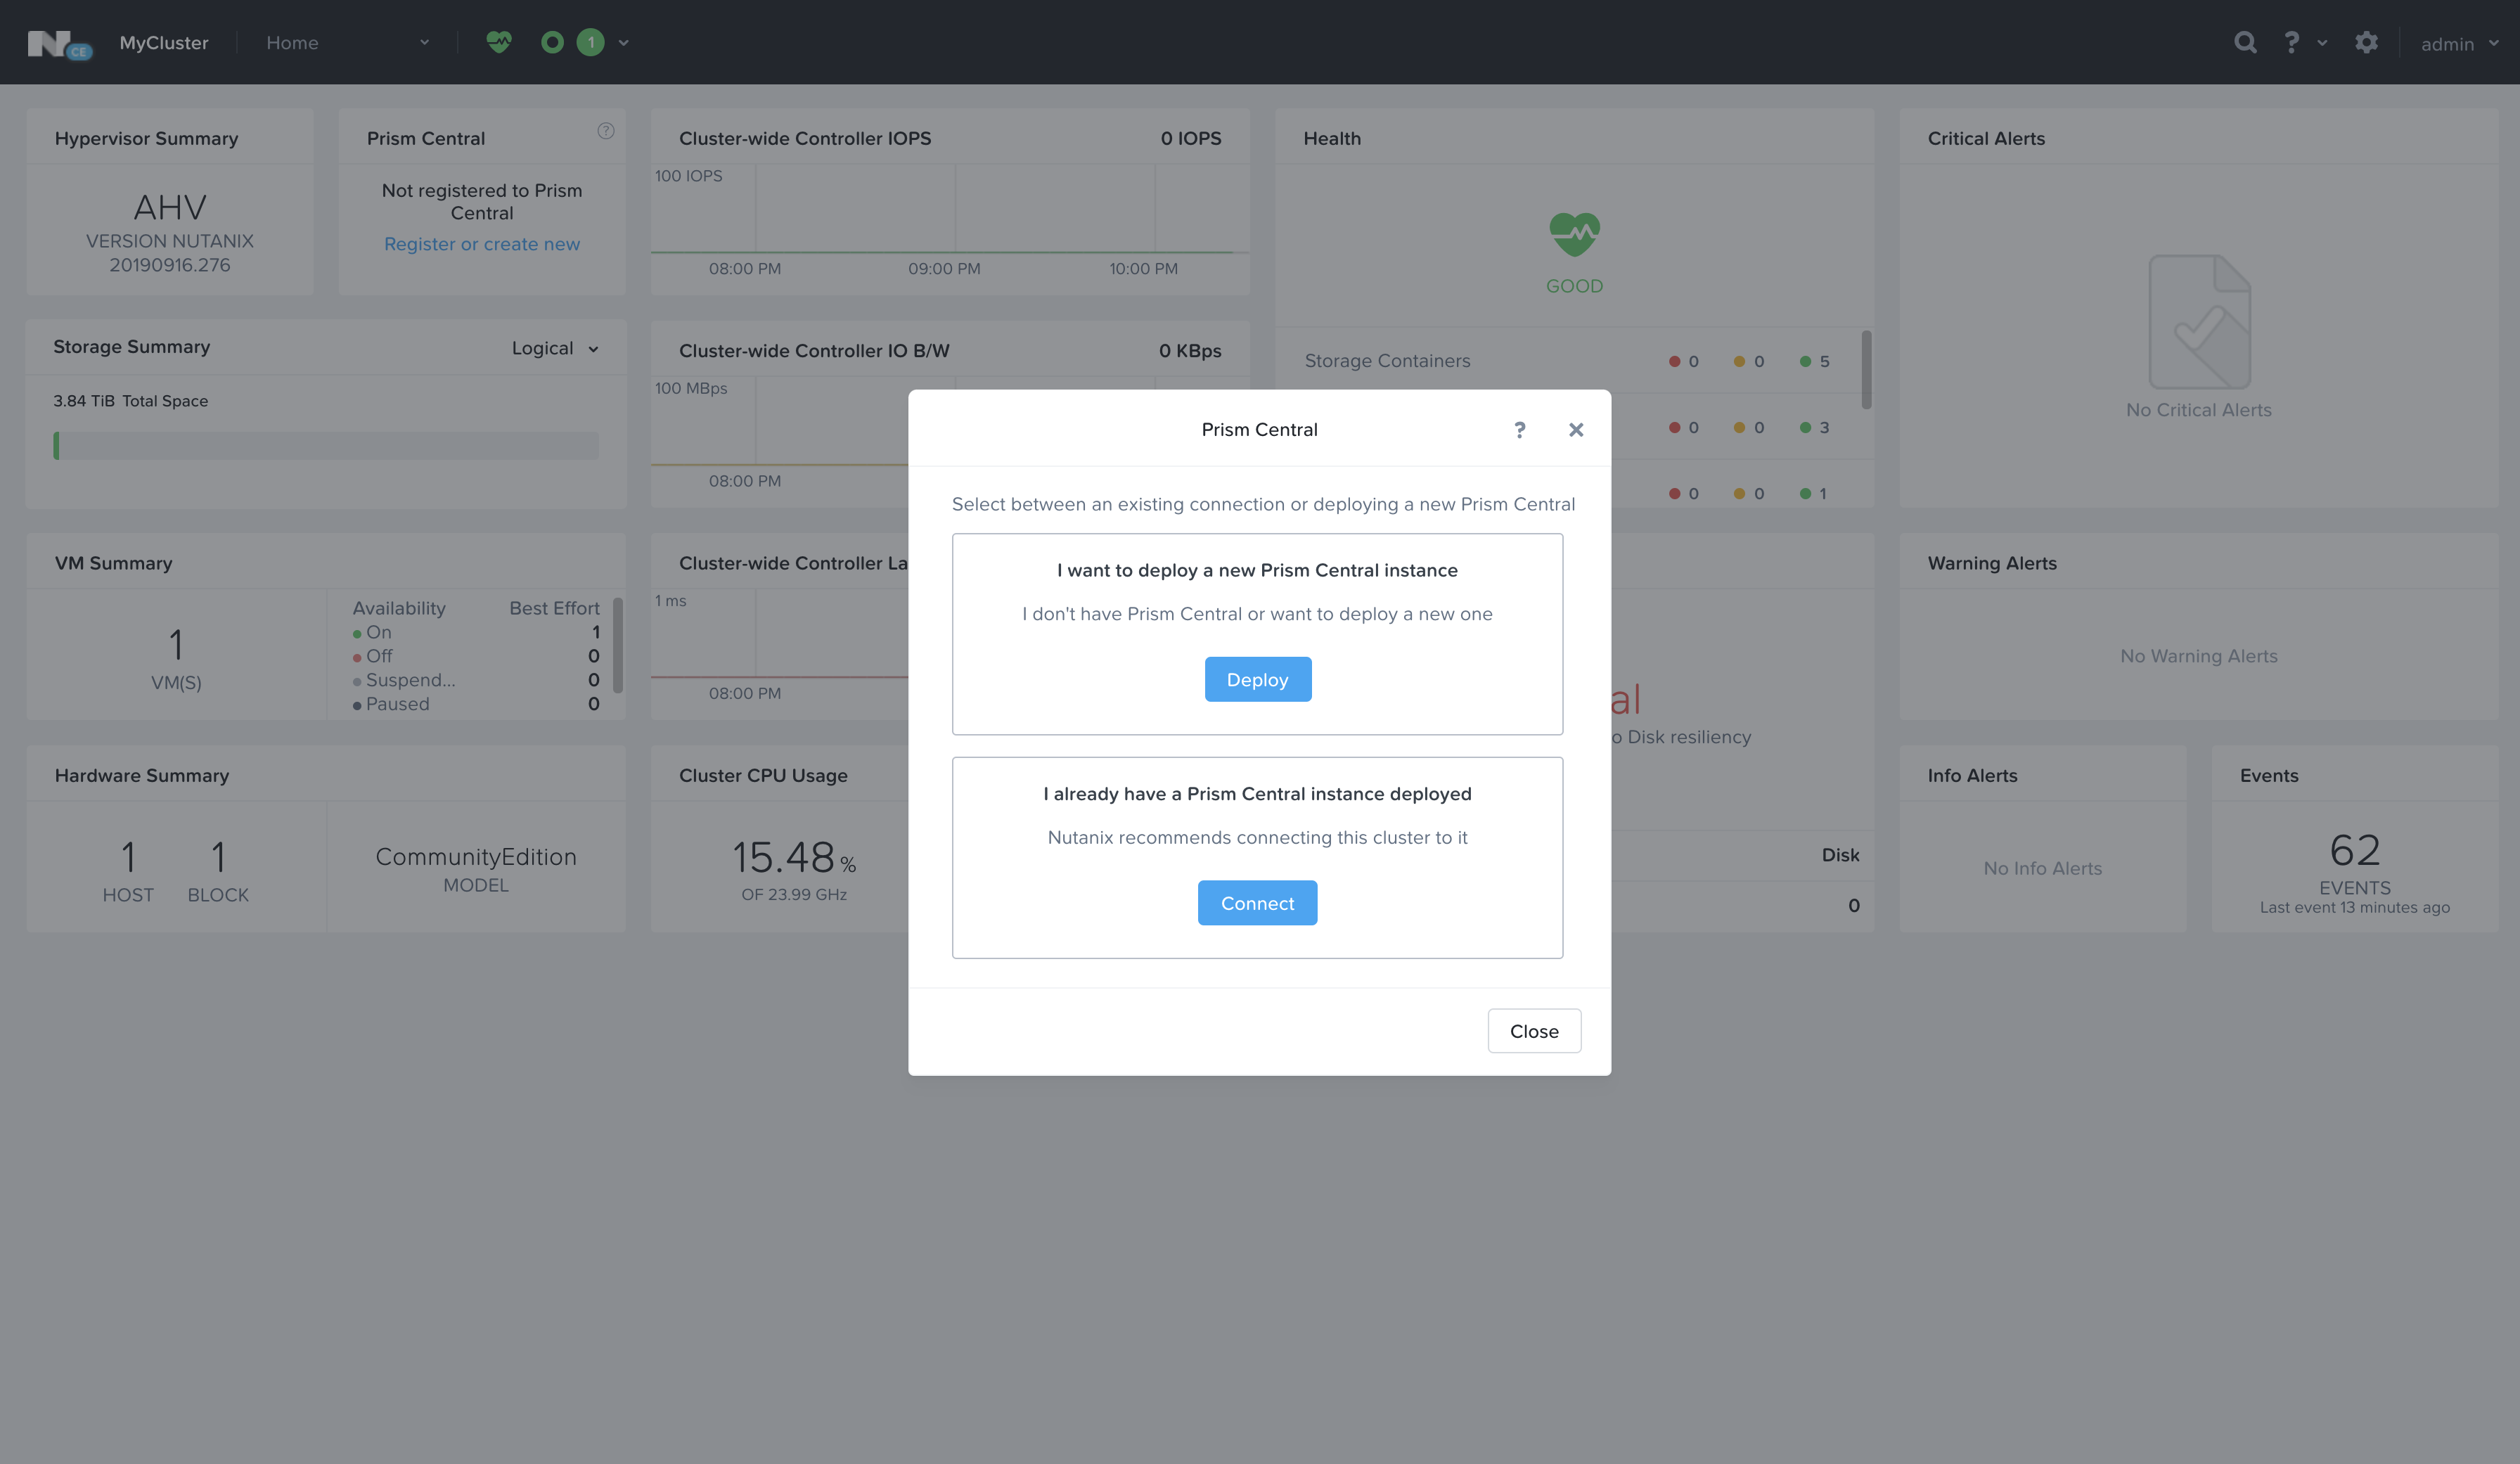
Navigate back to the Prism Element dashboard - you should see a block regarding Prism Central and that this instance is “Not registered to Prism Central.”

Go ahead and click that “Register or create new” link in that block which will open up a modal window - from the modal pop-up, select “Deploy”.
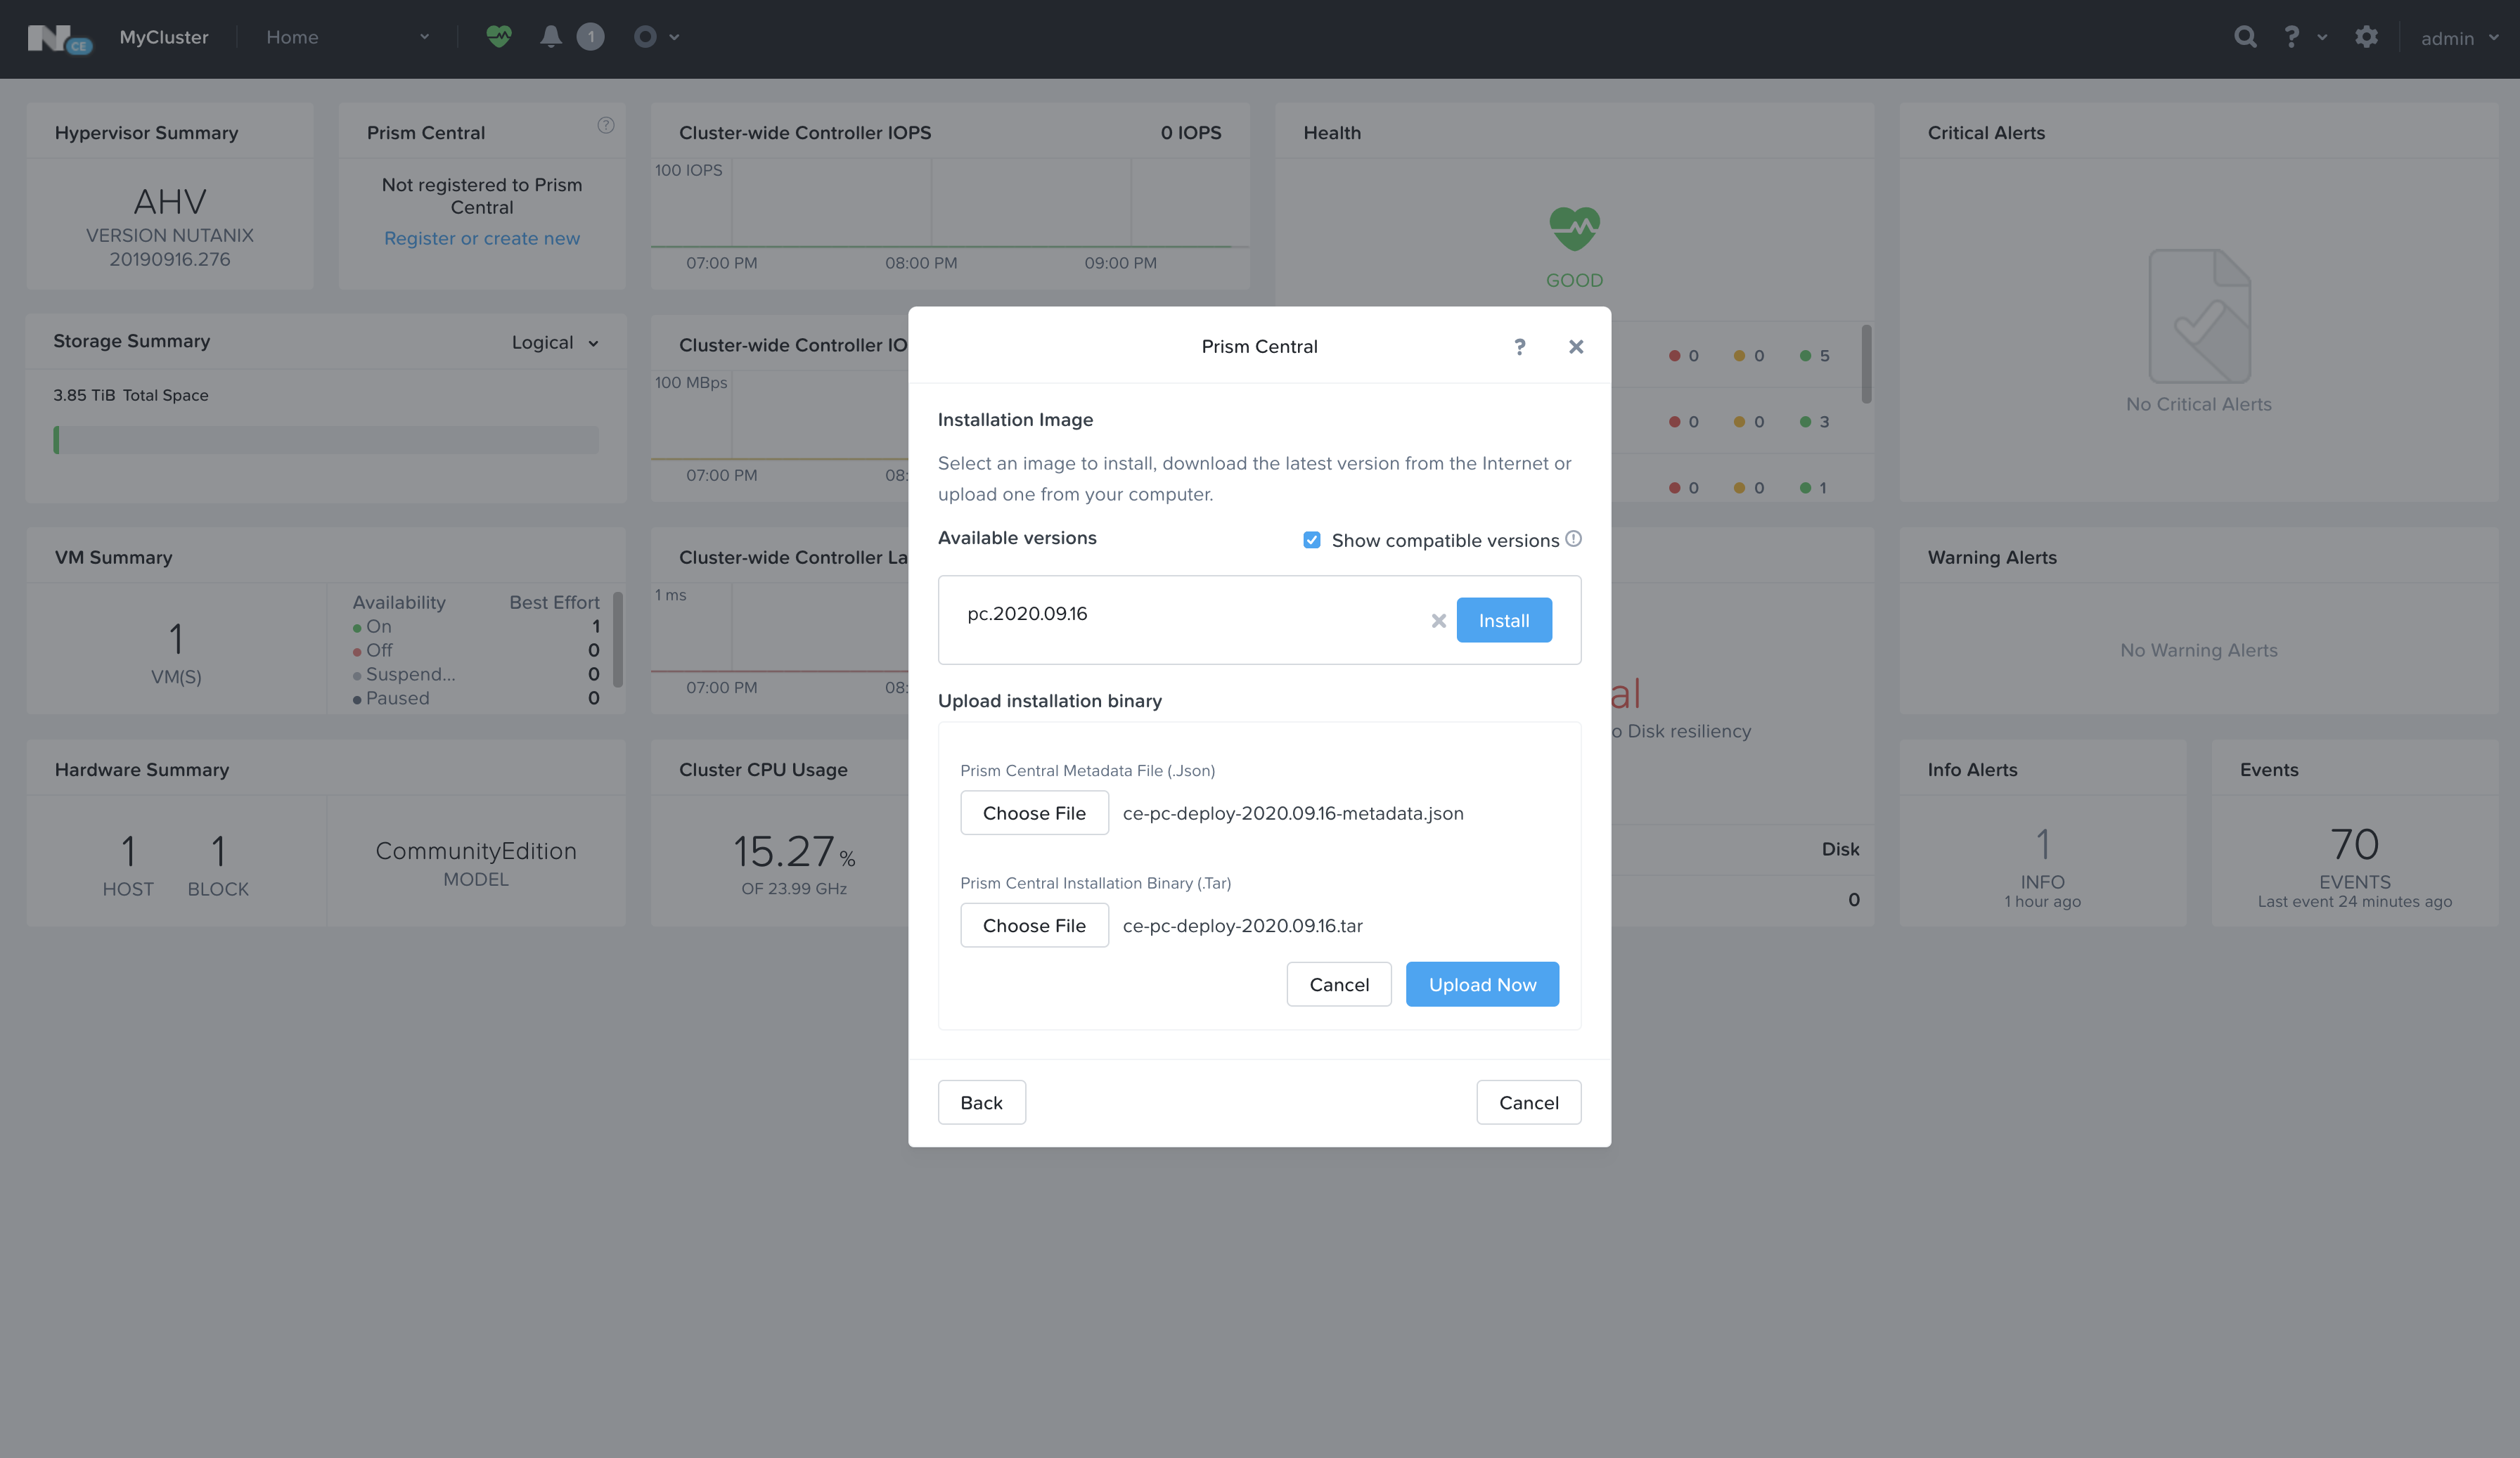
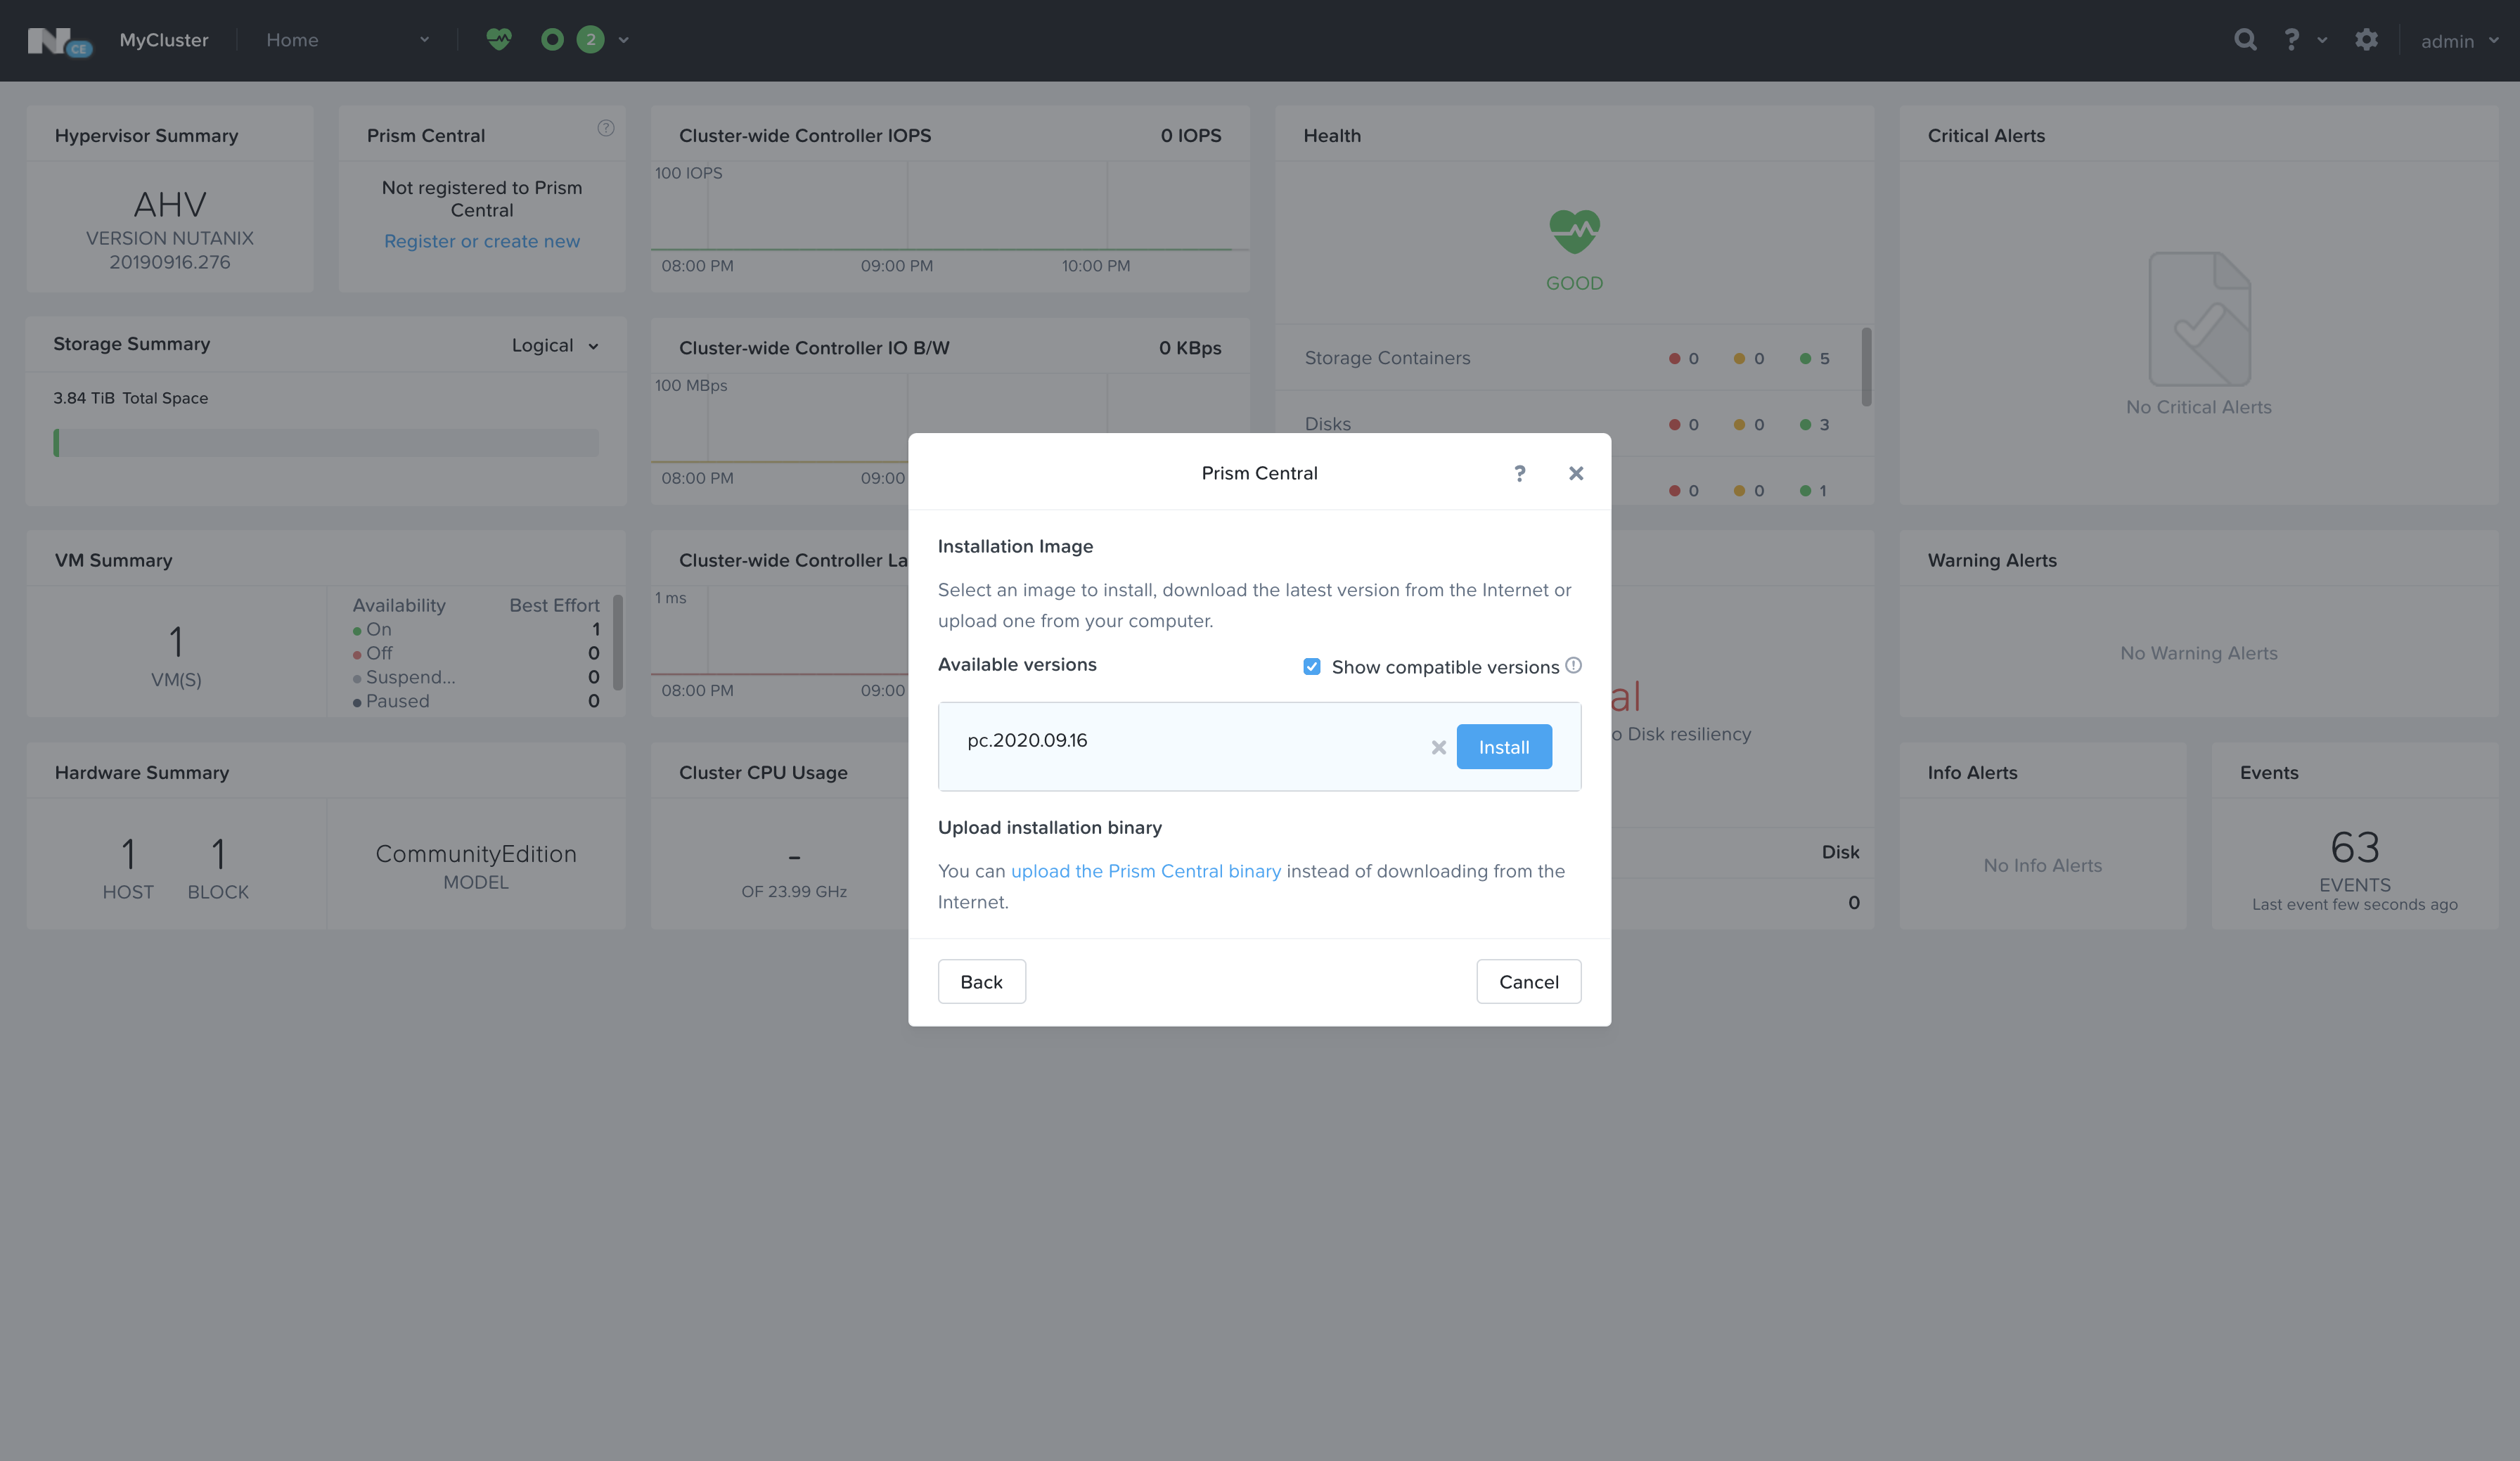
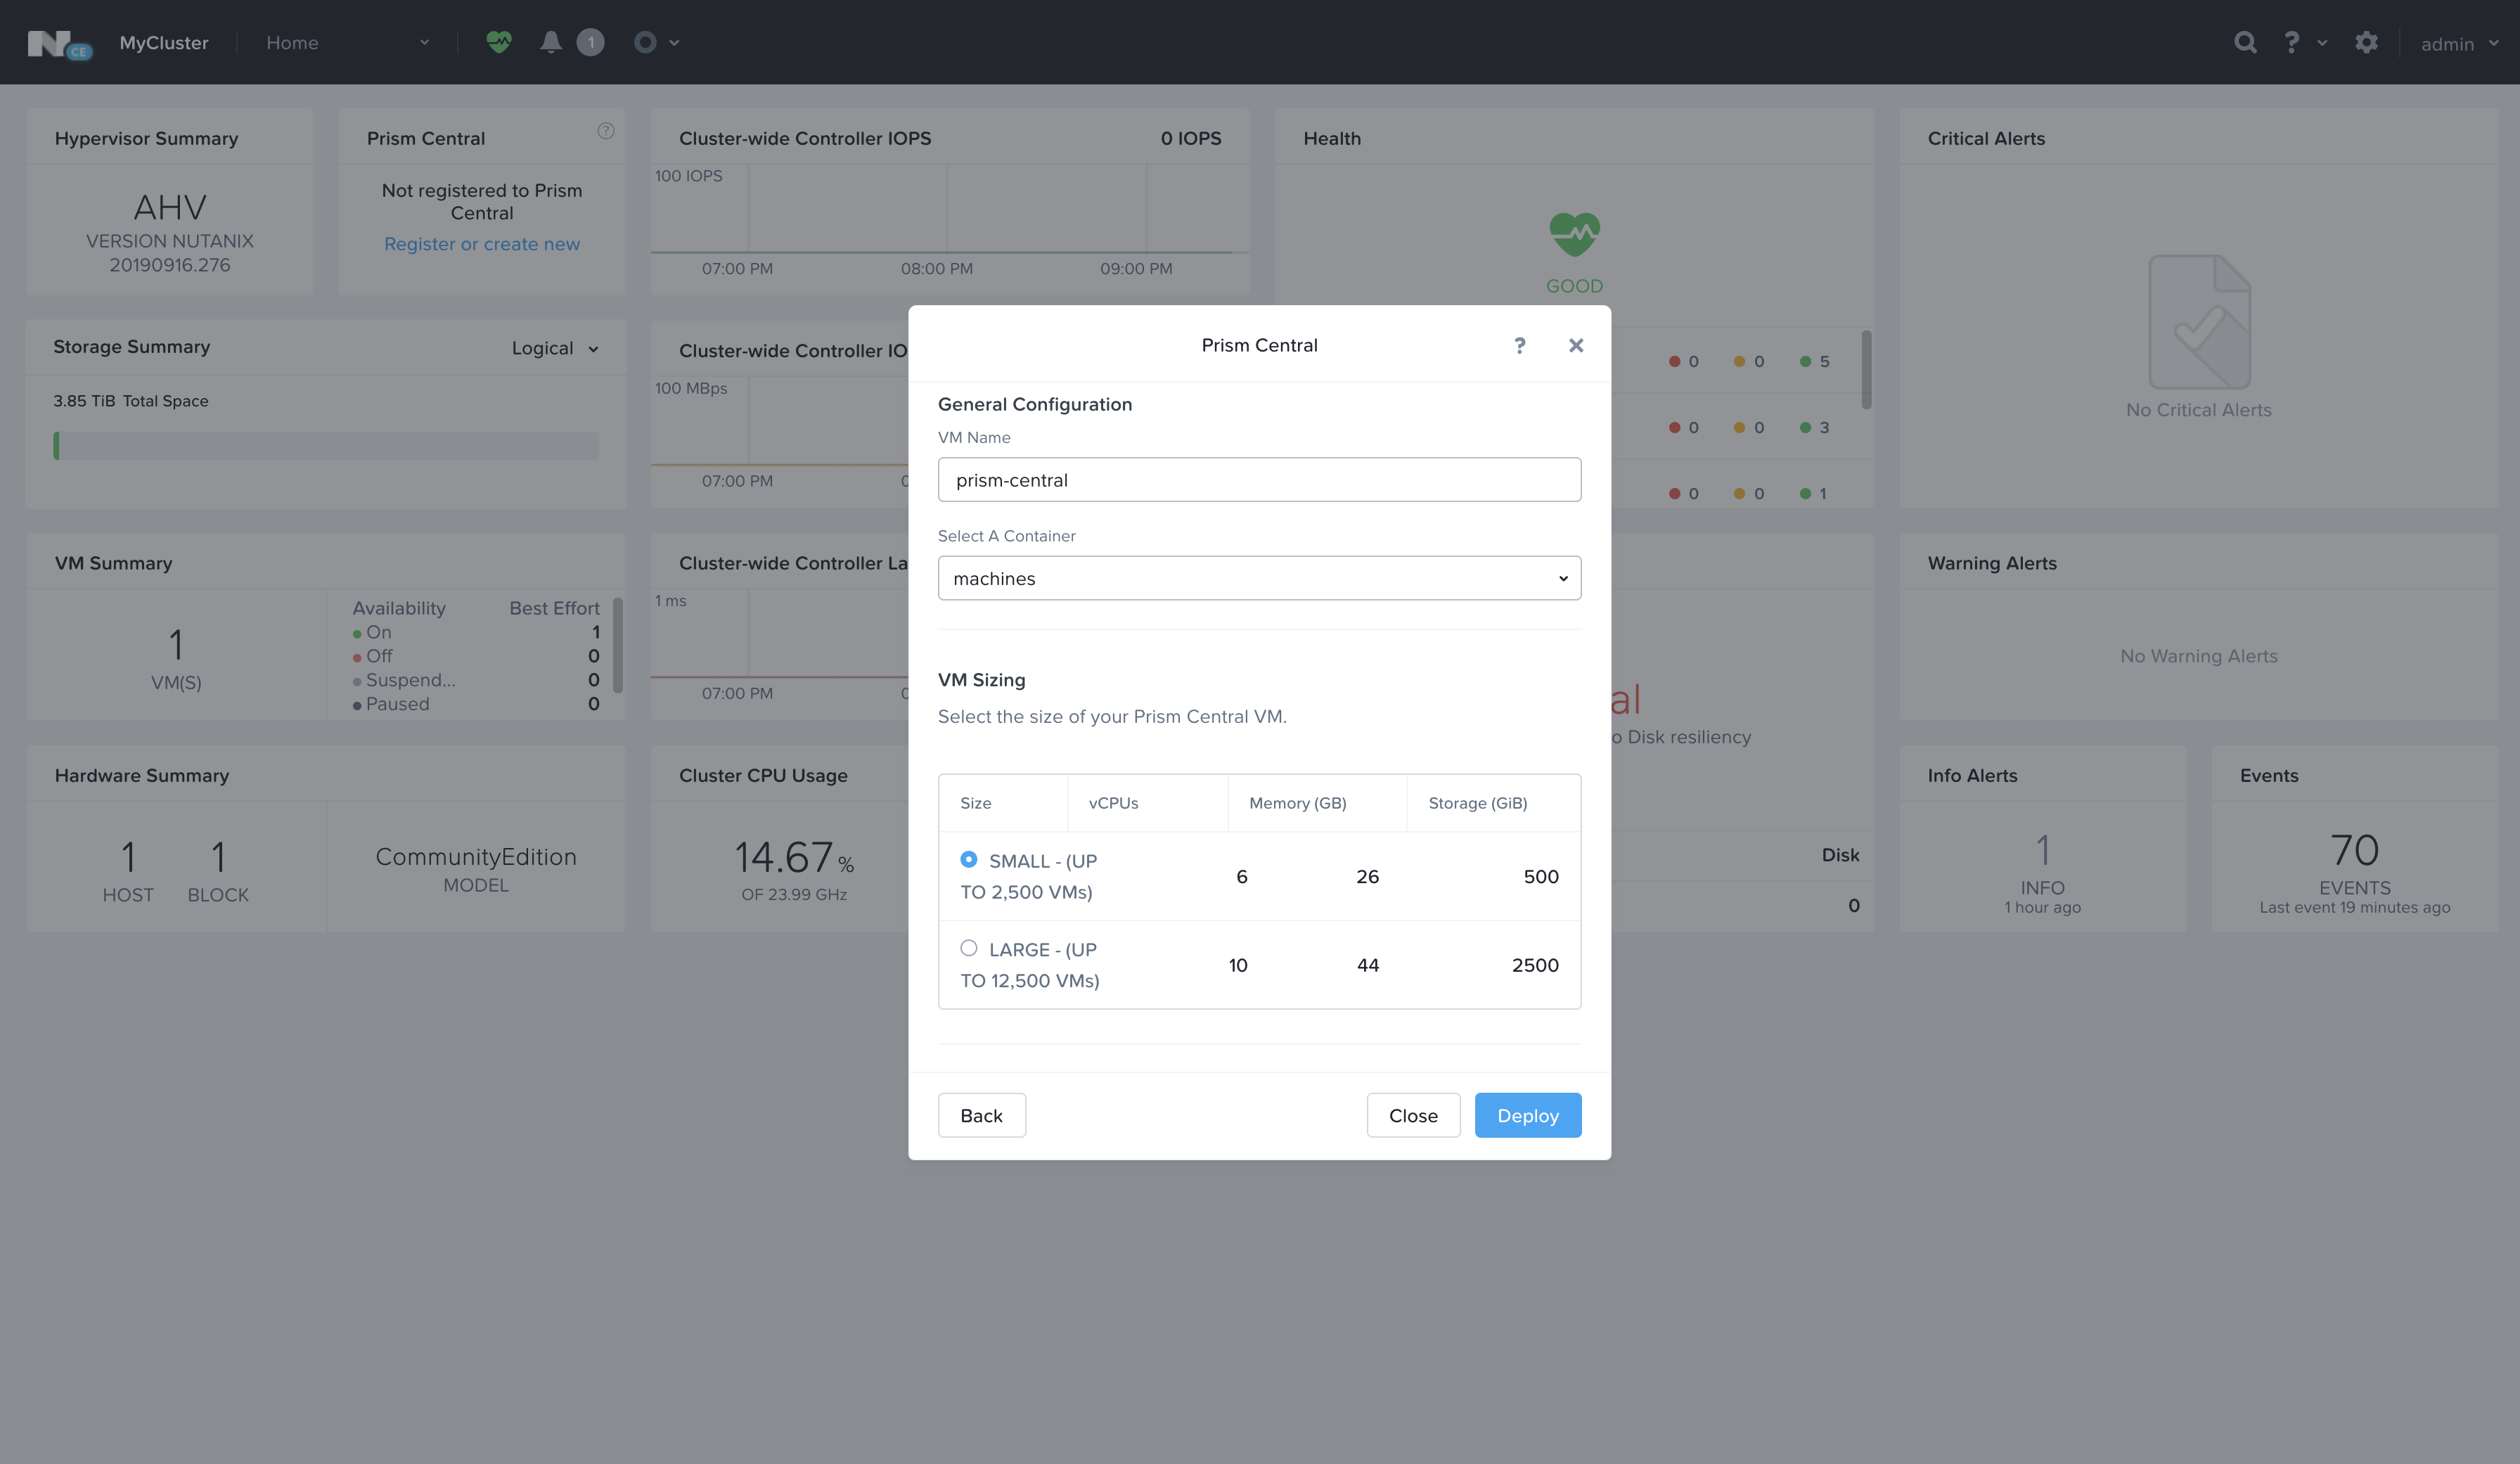
In order to deploy Prism Central, the archived binary and extracted metadata needs to be uploaded - these are the two other files downloaded earlier.
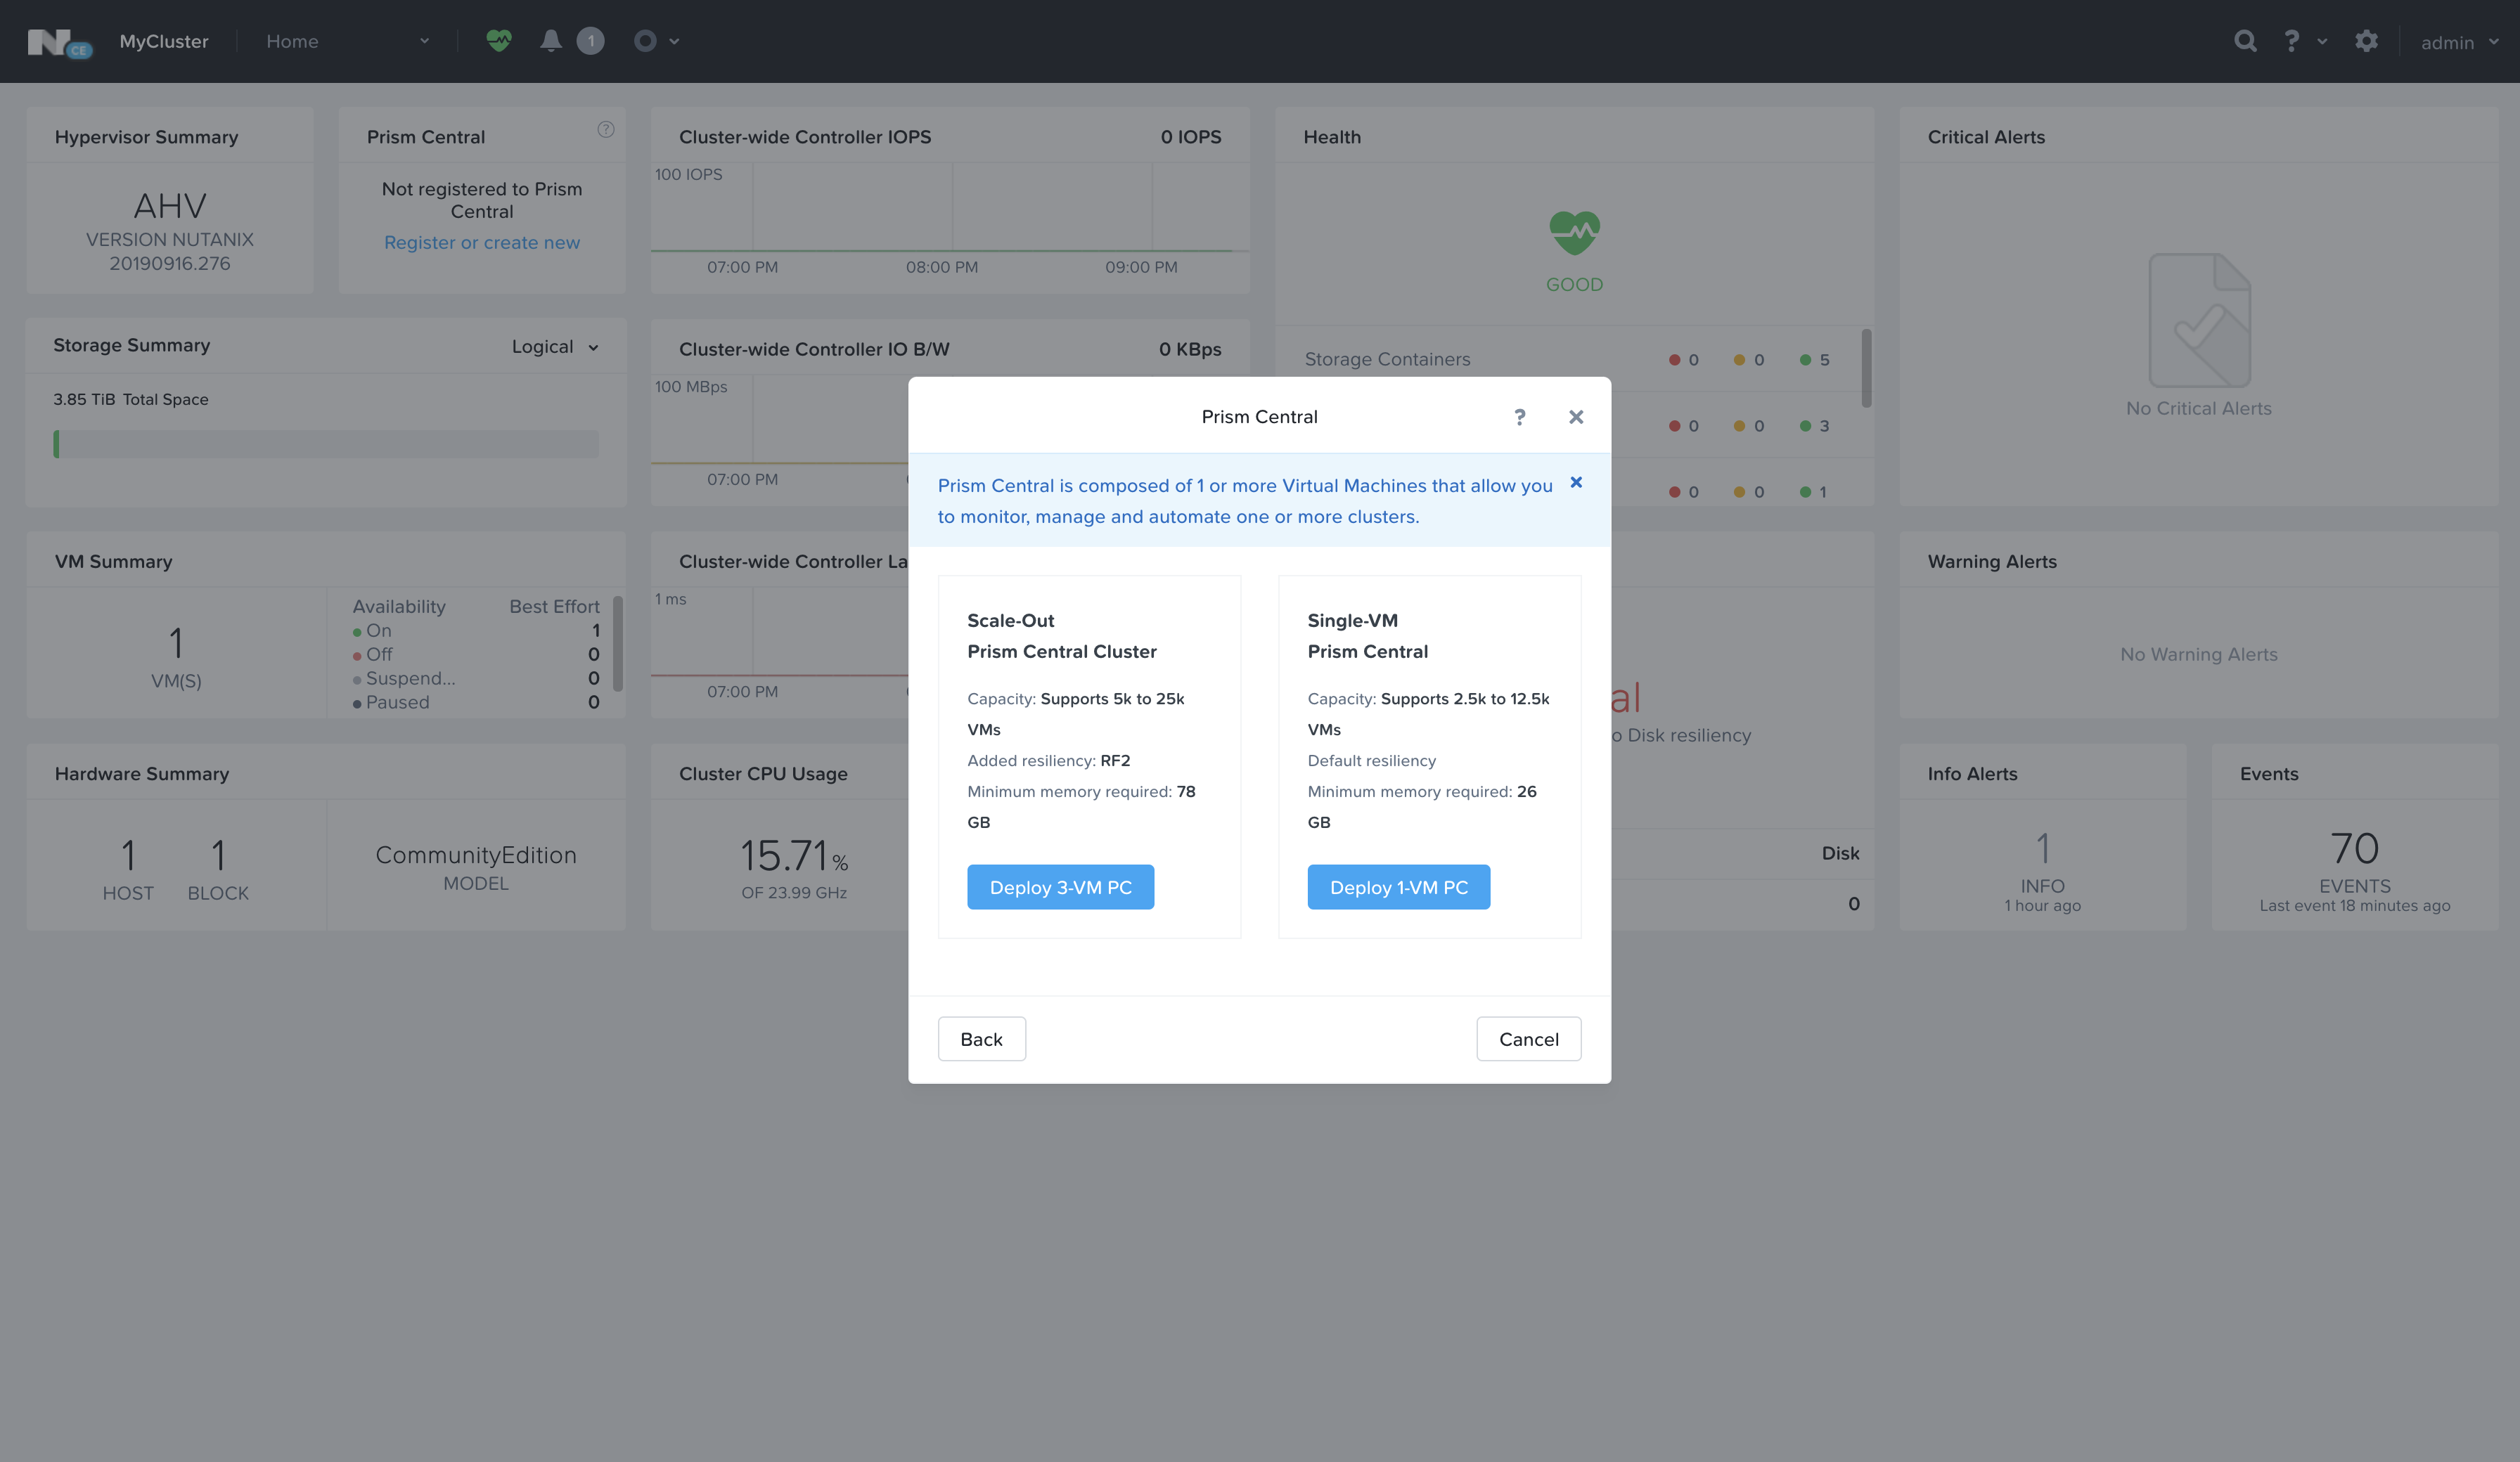
Select a Single-VM Prism Central deployment and click Next - then give it a name, select the Storage Container, stick to the Small size, set the Network information, and click Deploy!
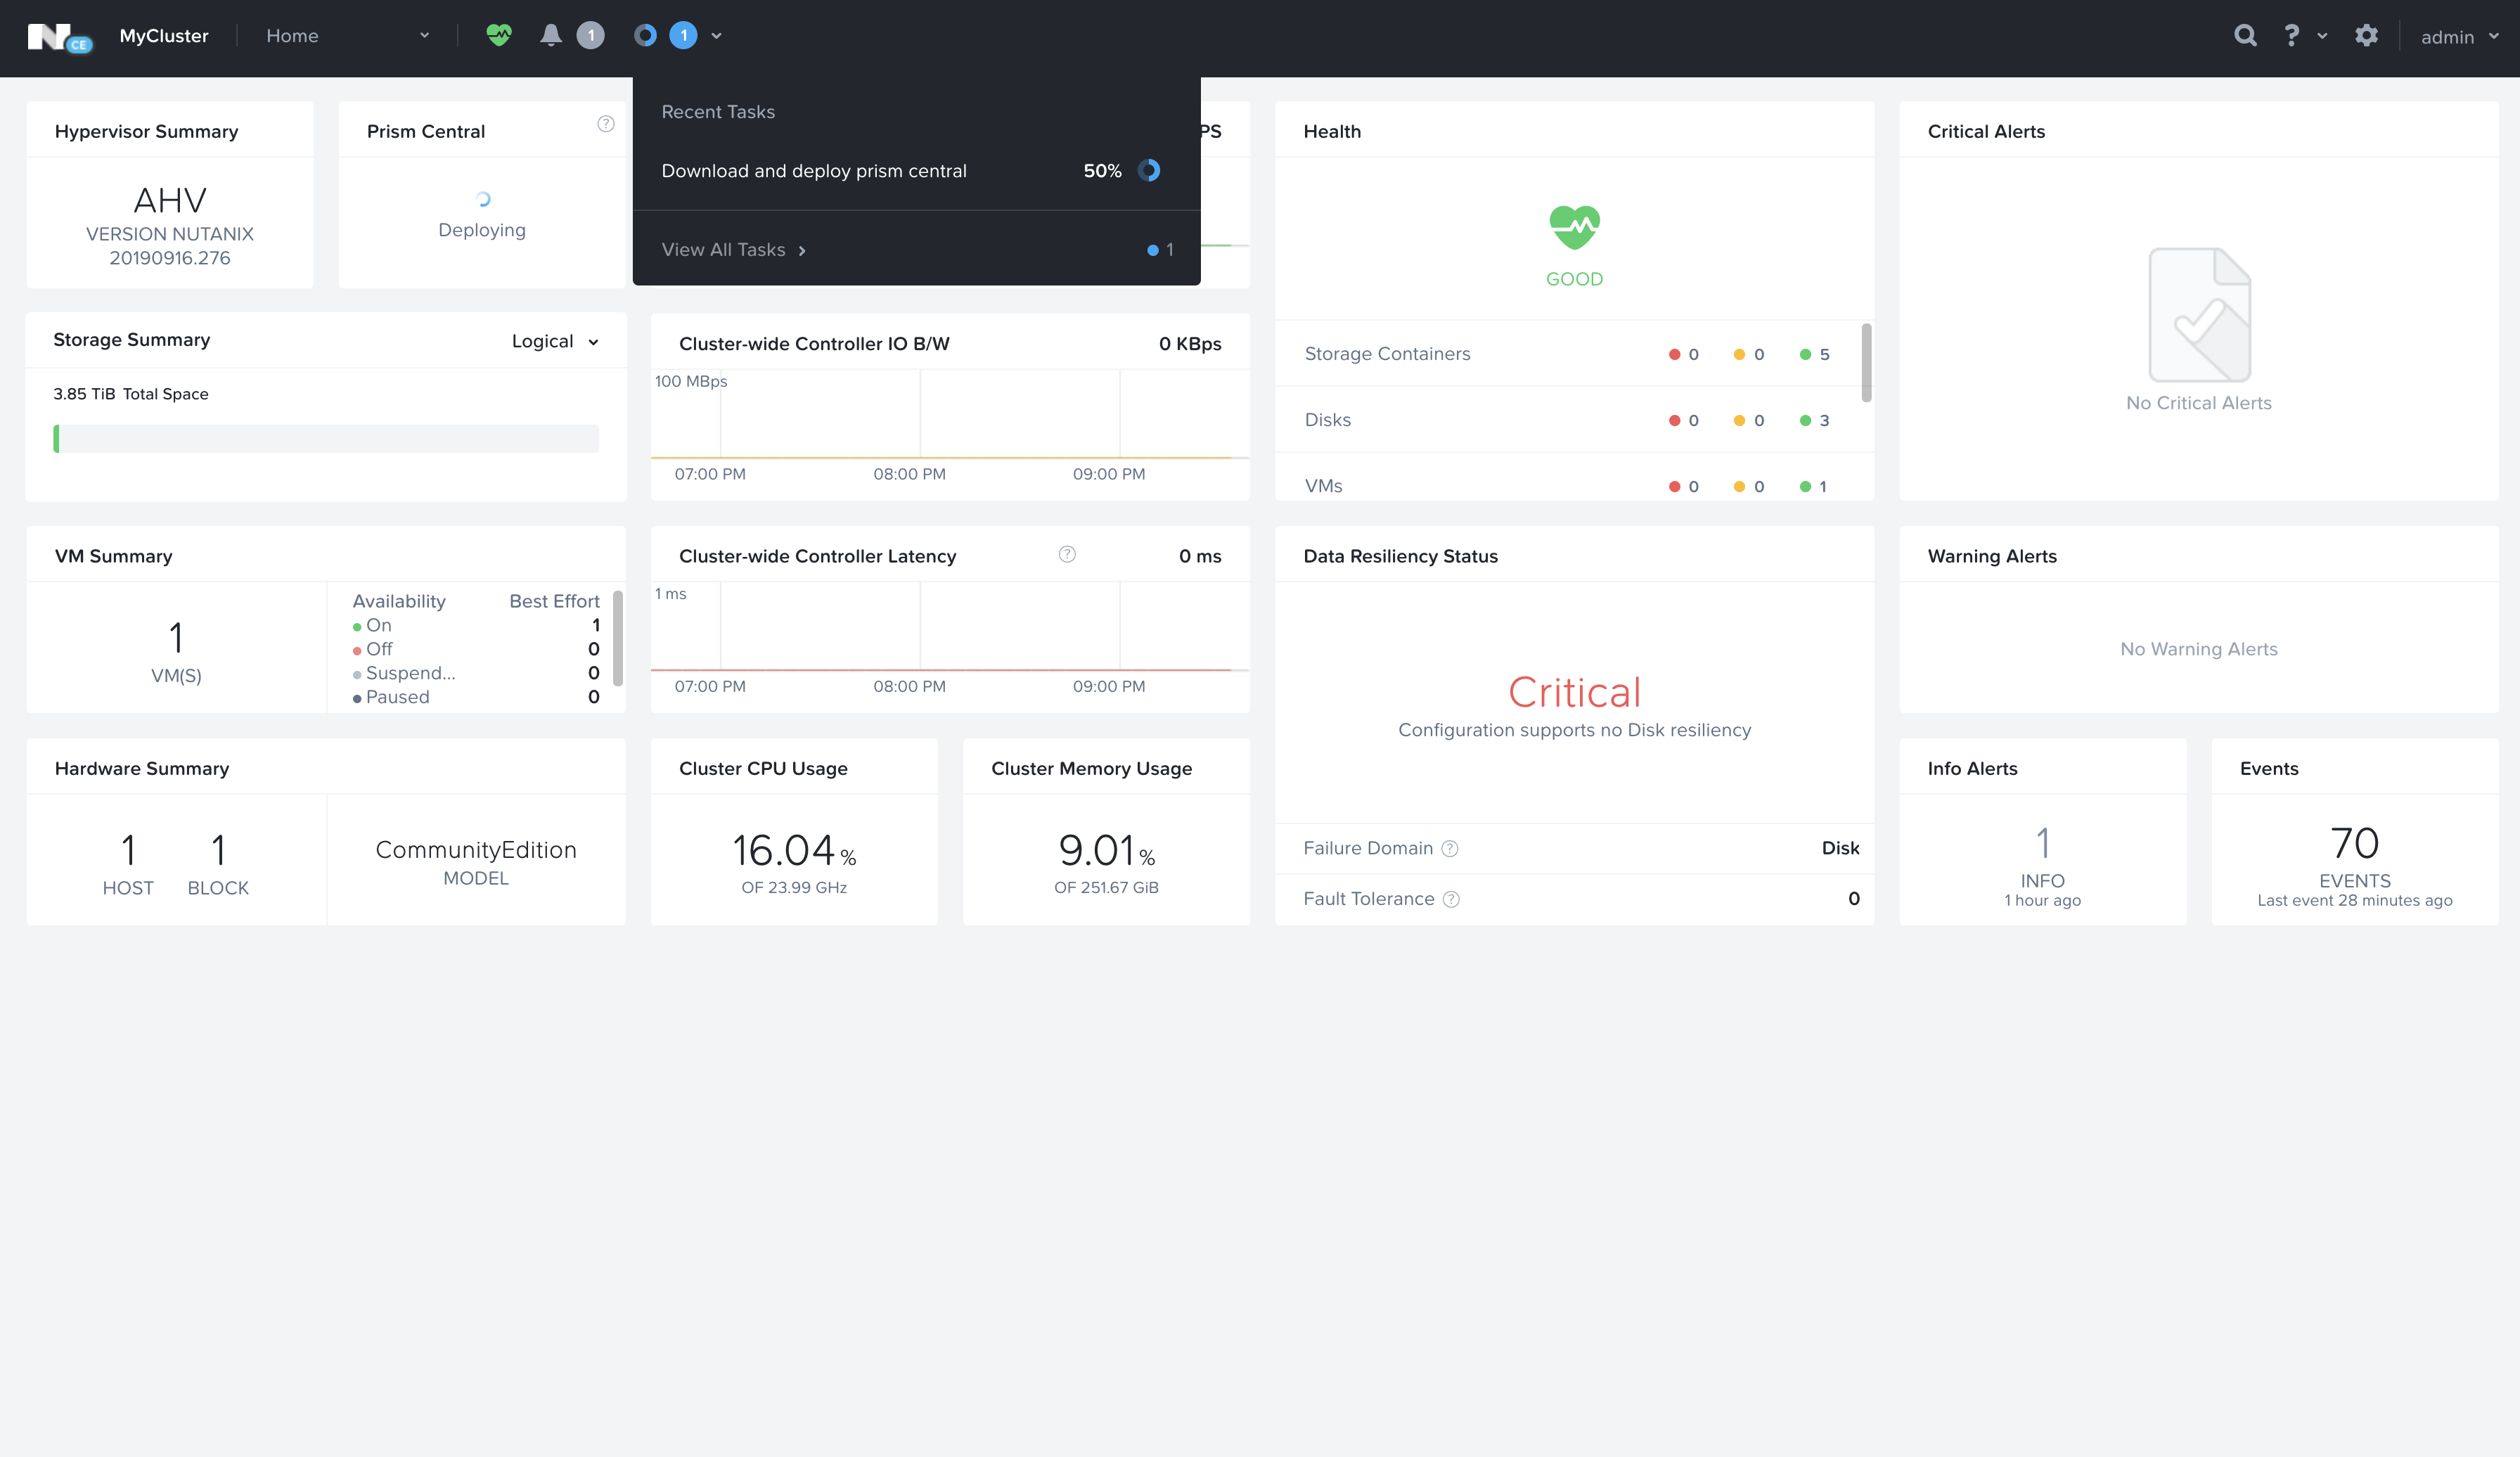
Note: Once Prism Central is initially deployed, the Prism Element dashboard does not show anything differently in that Prism Central block, in fact it’ll revert to saying “Not registered to Prism Central” - the only notification you get is the successful event execution in the Recent Tasks dropdown.
Connect Prism Element to Prism Central
Once Prism Central is deployed, you can access it via the IP assigned to it at port 9440 - in my case that would be https://192.168.42.60:9440
It looks exactly the same as the Prism Element log in, there’s nothing that distinguishes them individually - the default Prism Central credentials are admin / Nutanix/4u, noting the capital N in the password now.
Prism Central will prompt you to change the default admin password to something more secure, and for your Nutanix Next credentials just as before when initially logging into Prism Element.
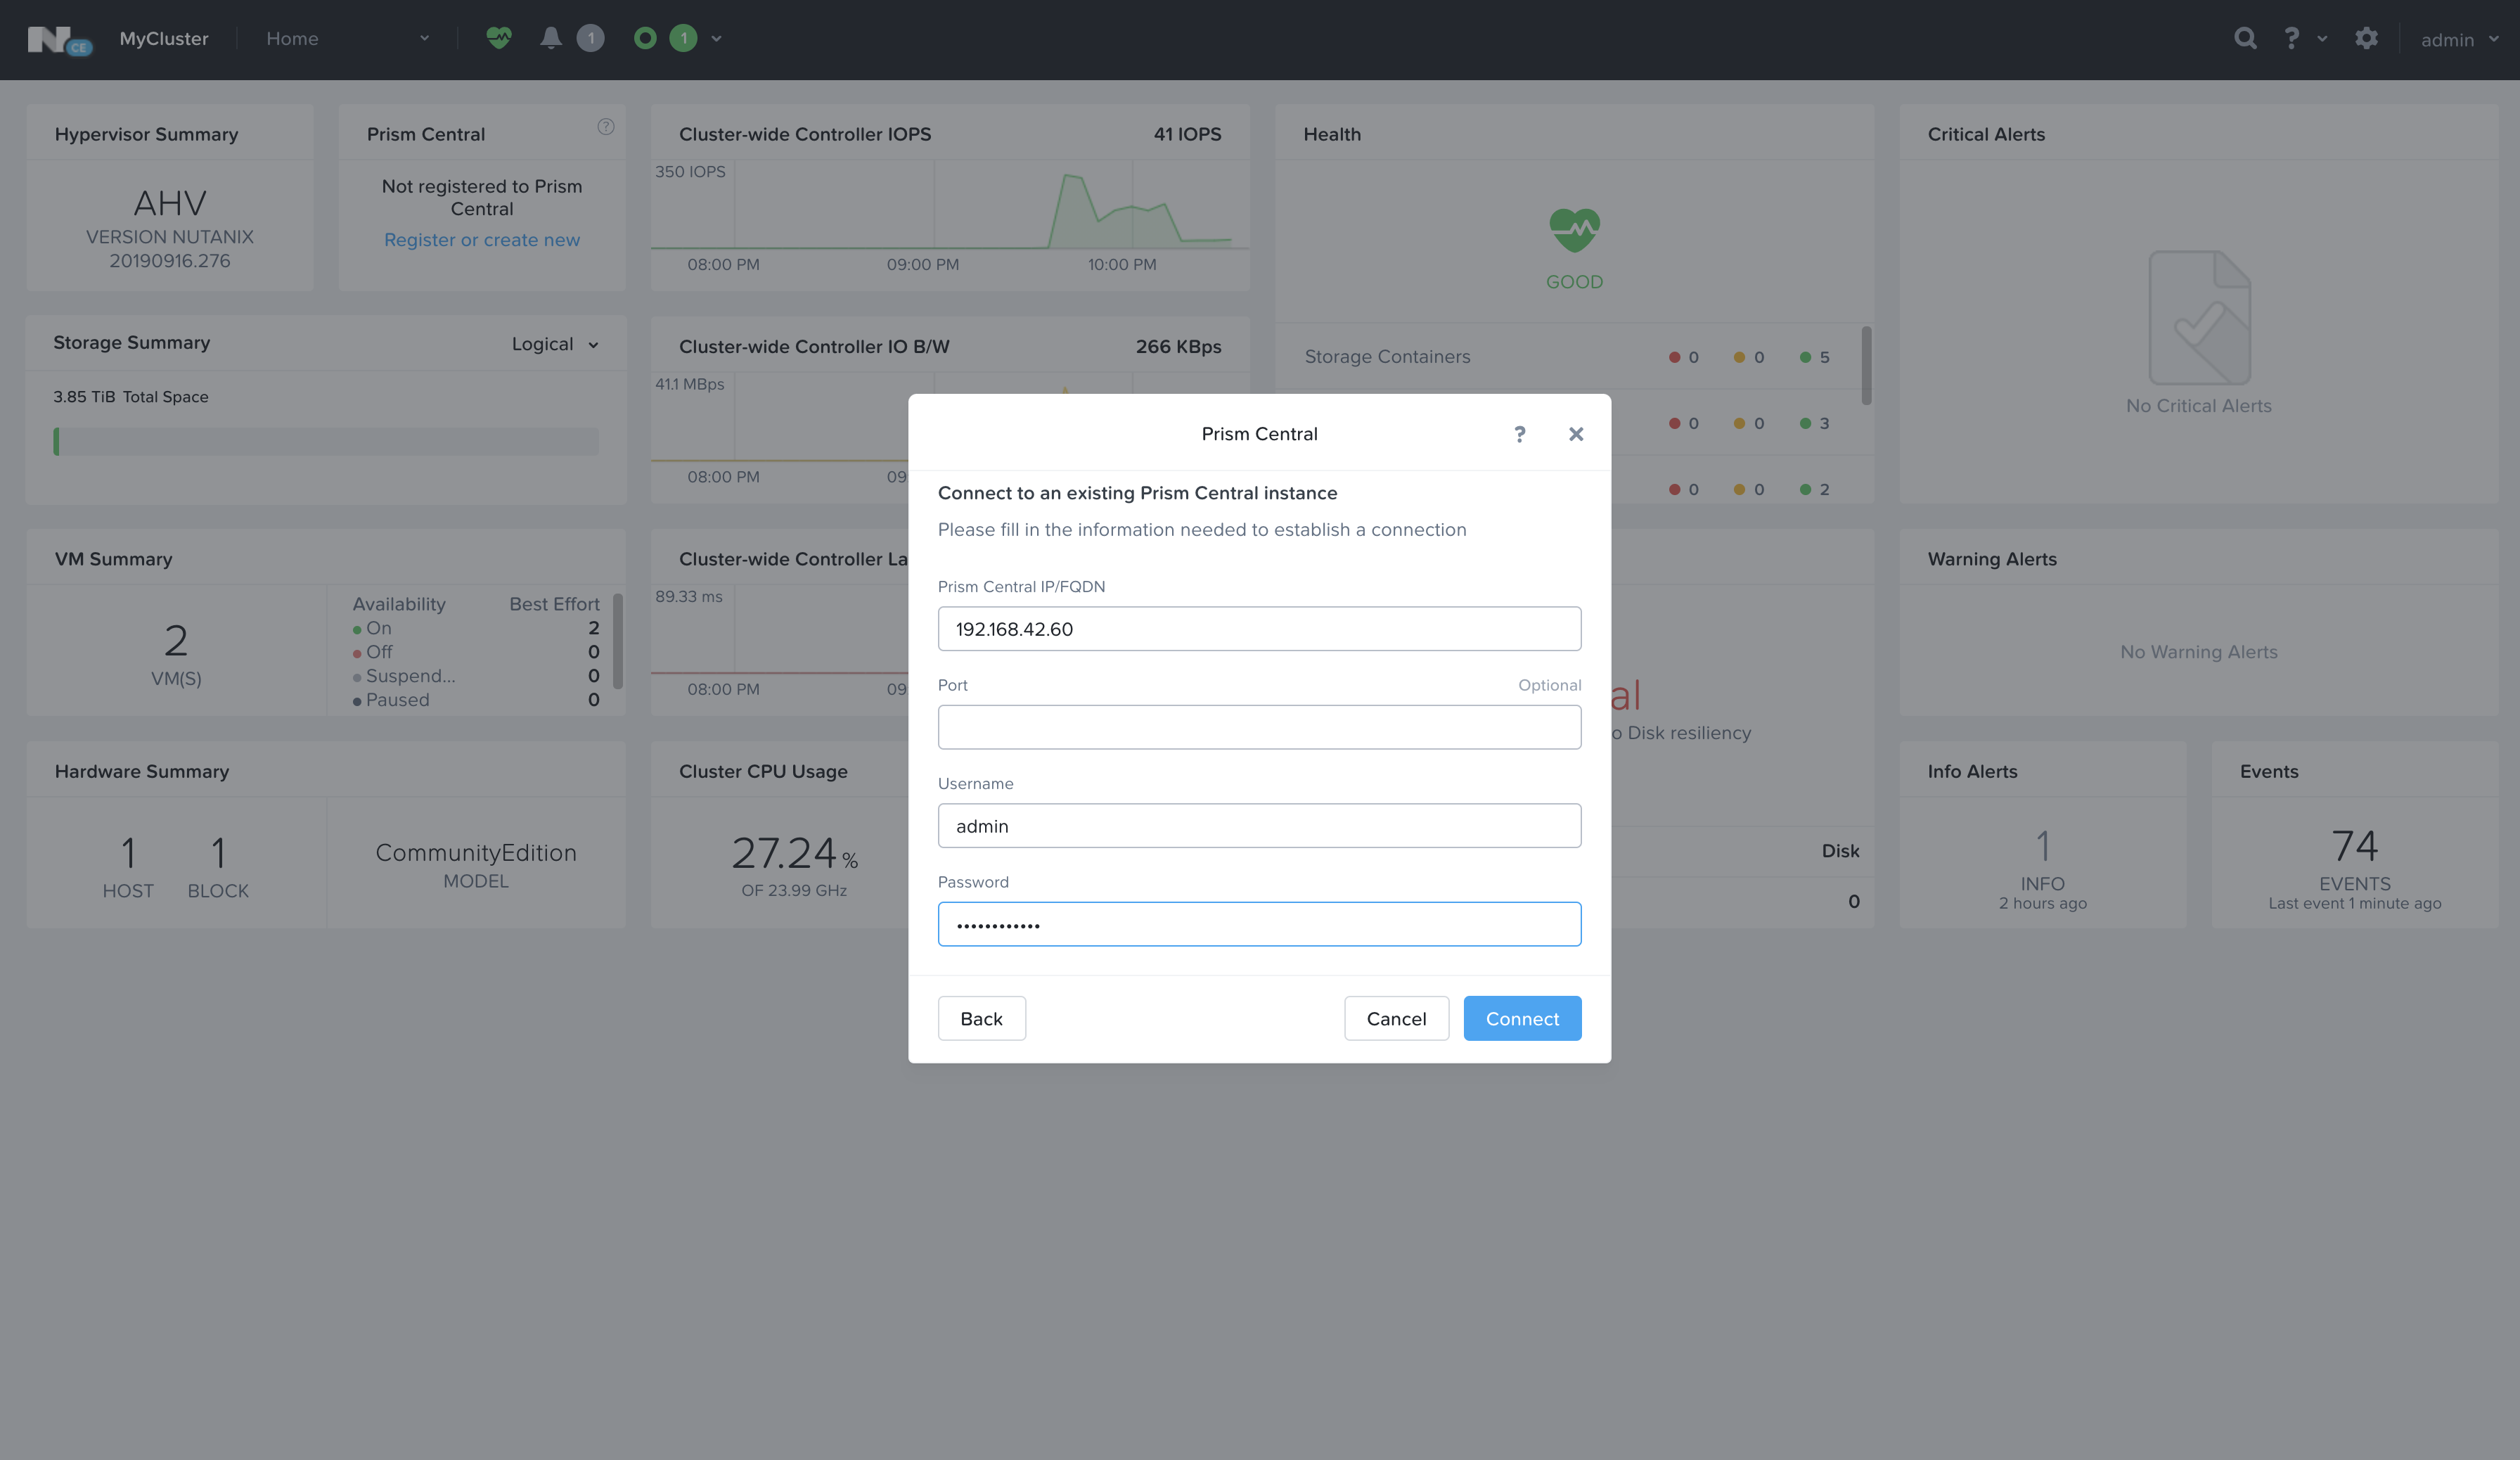
With the admin password and Nutanix Next credentials set in Prism Central, you can now navigate back to Prism Element and instead of deploying Prism Central, select the Connect option and follow the prompts.
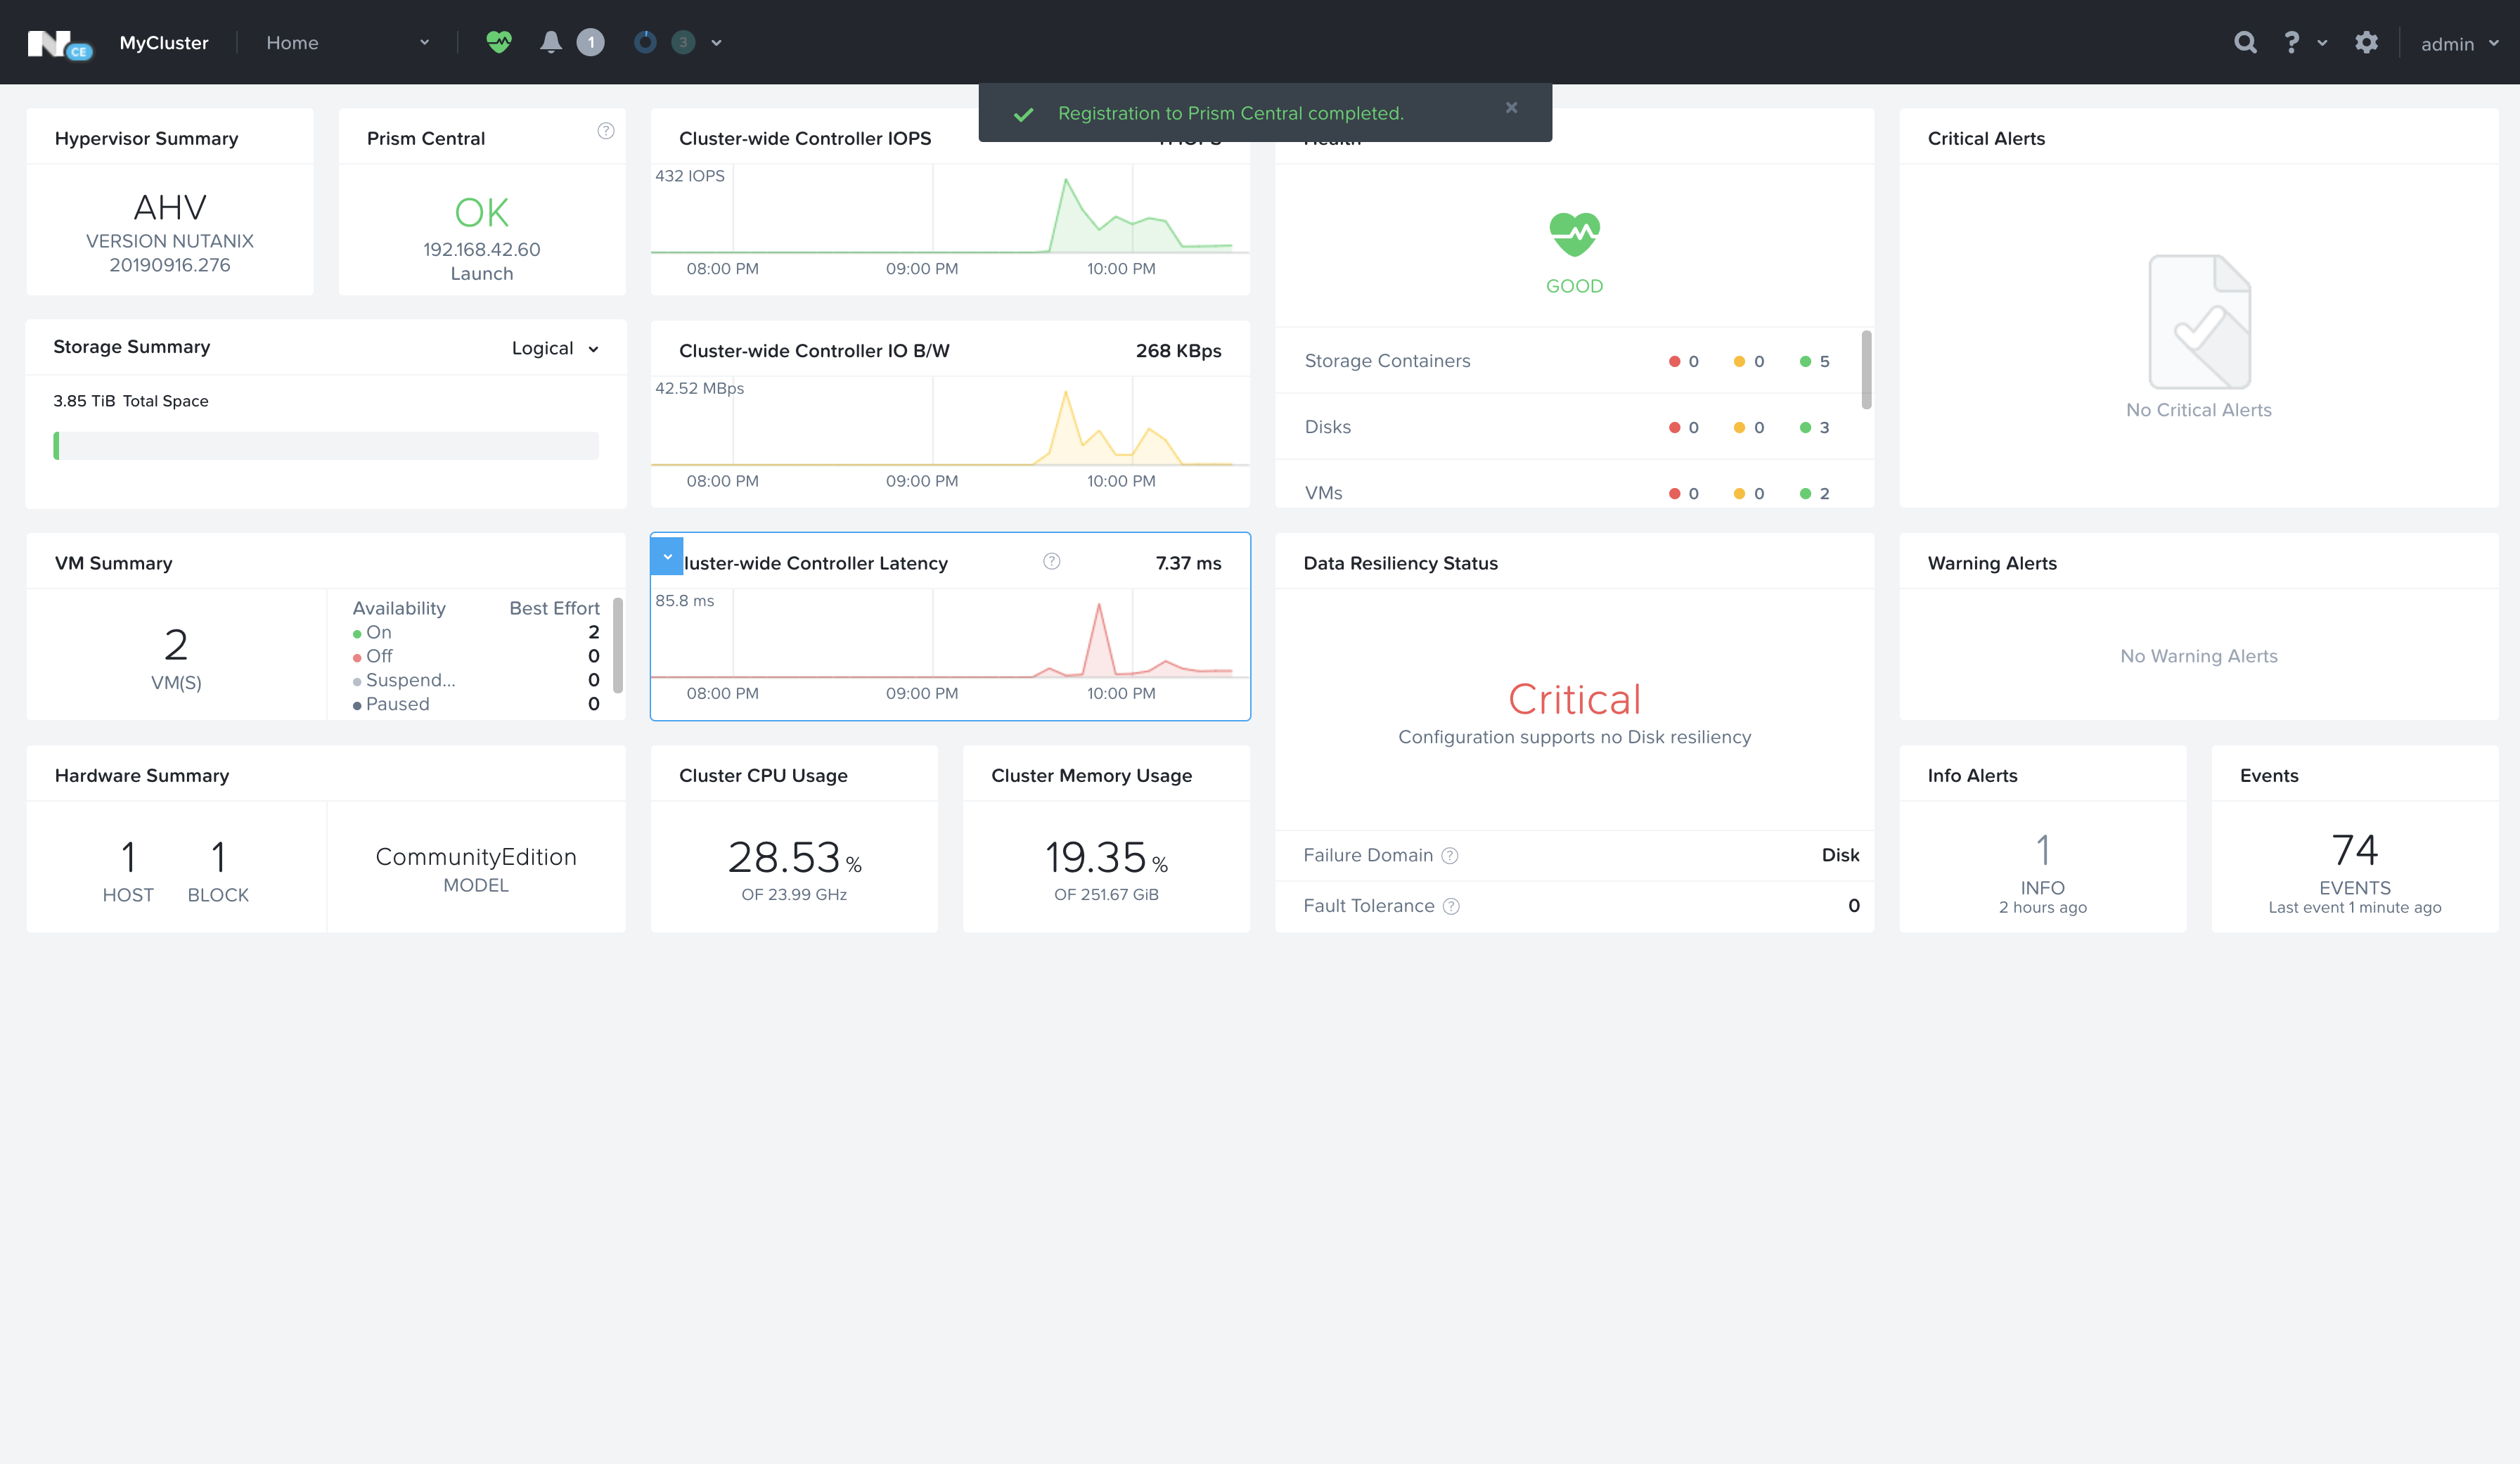
With Prism Element registered with the Prism Central instance, you can click on that dashboard box to launch Prism Central.

Deploying Calm via Prism Central
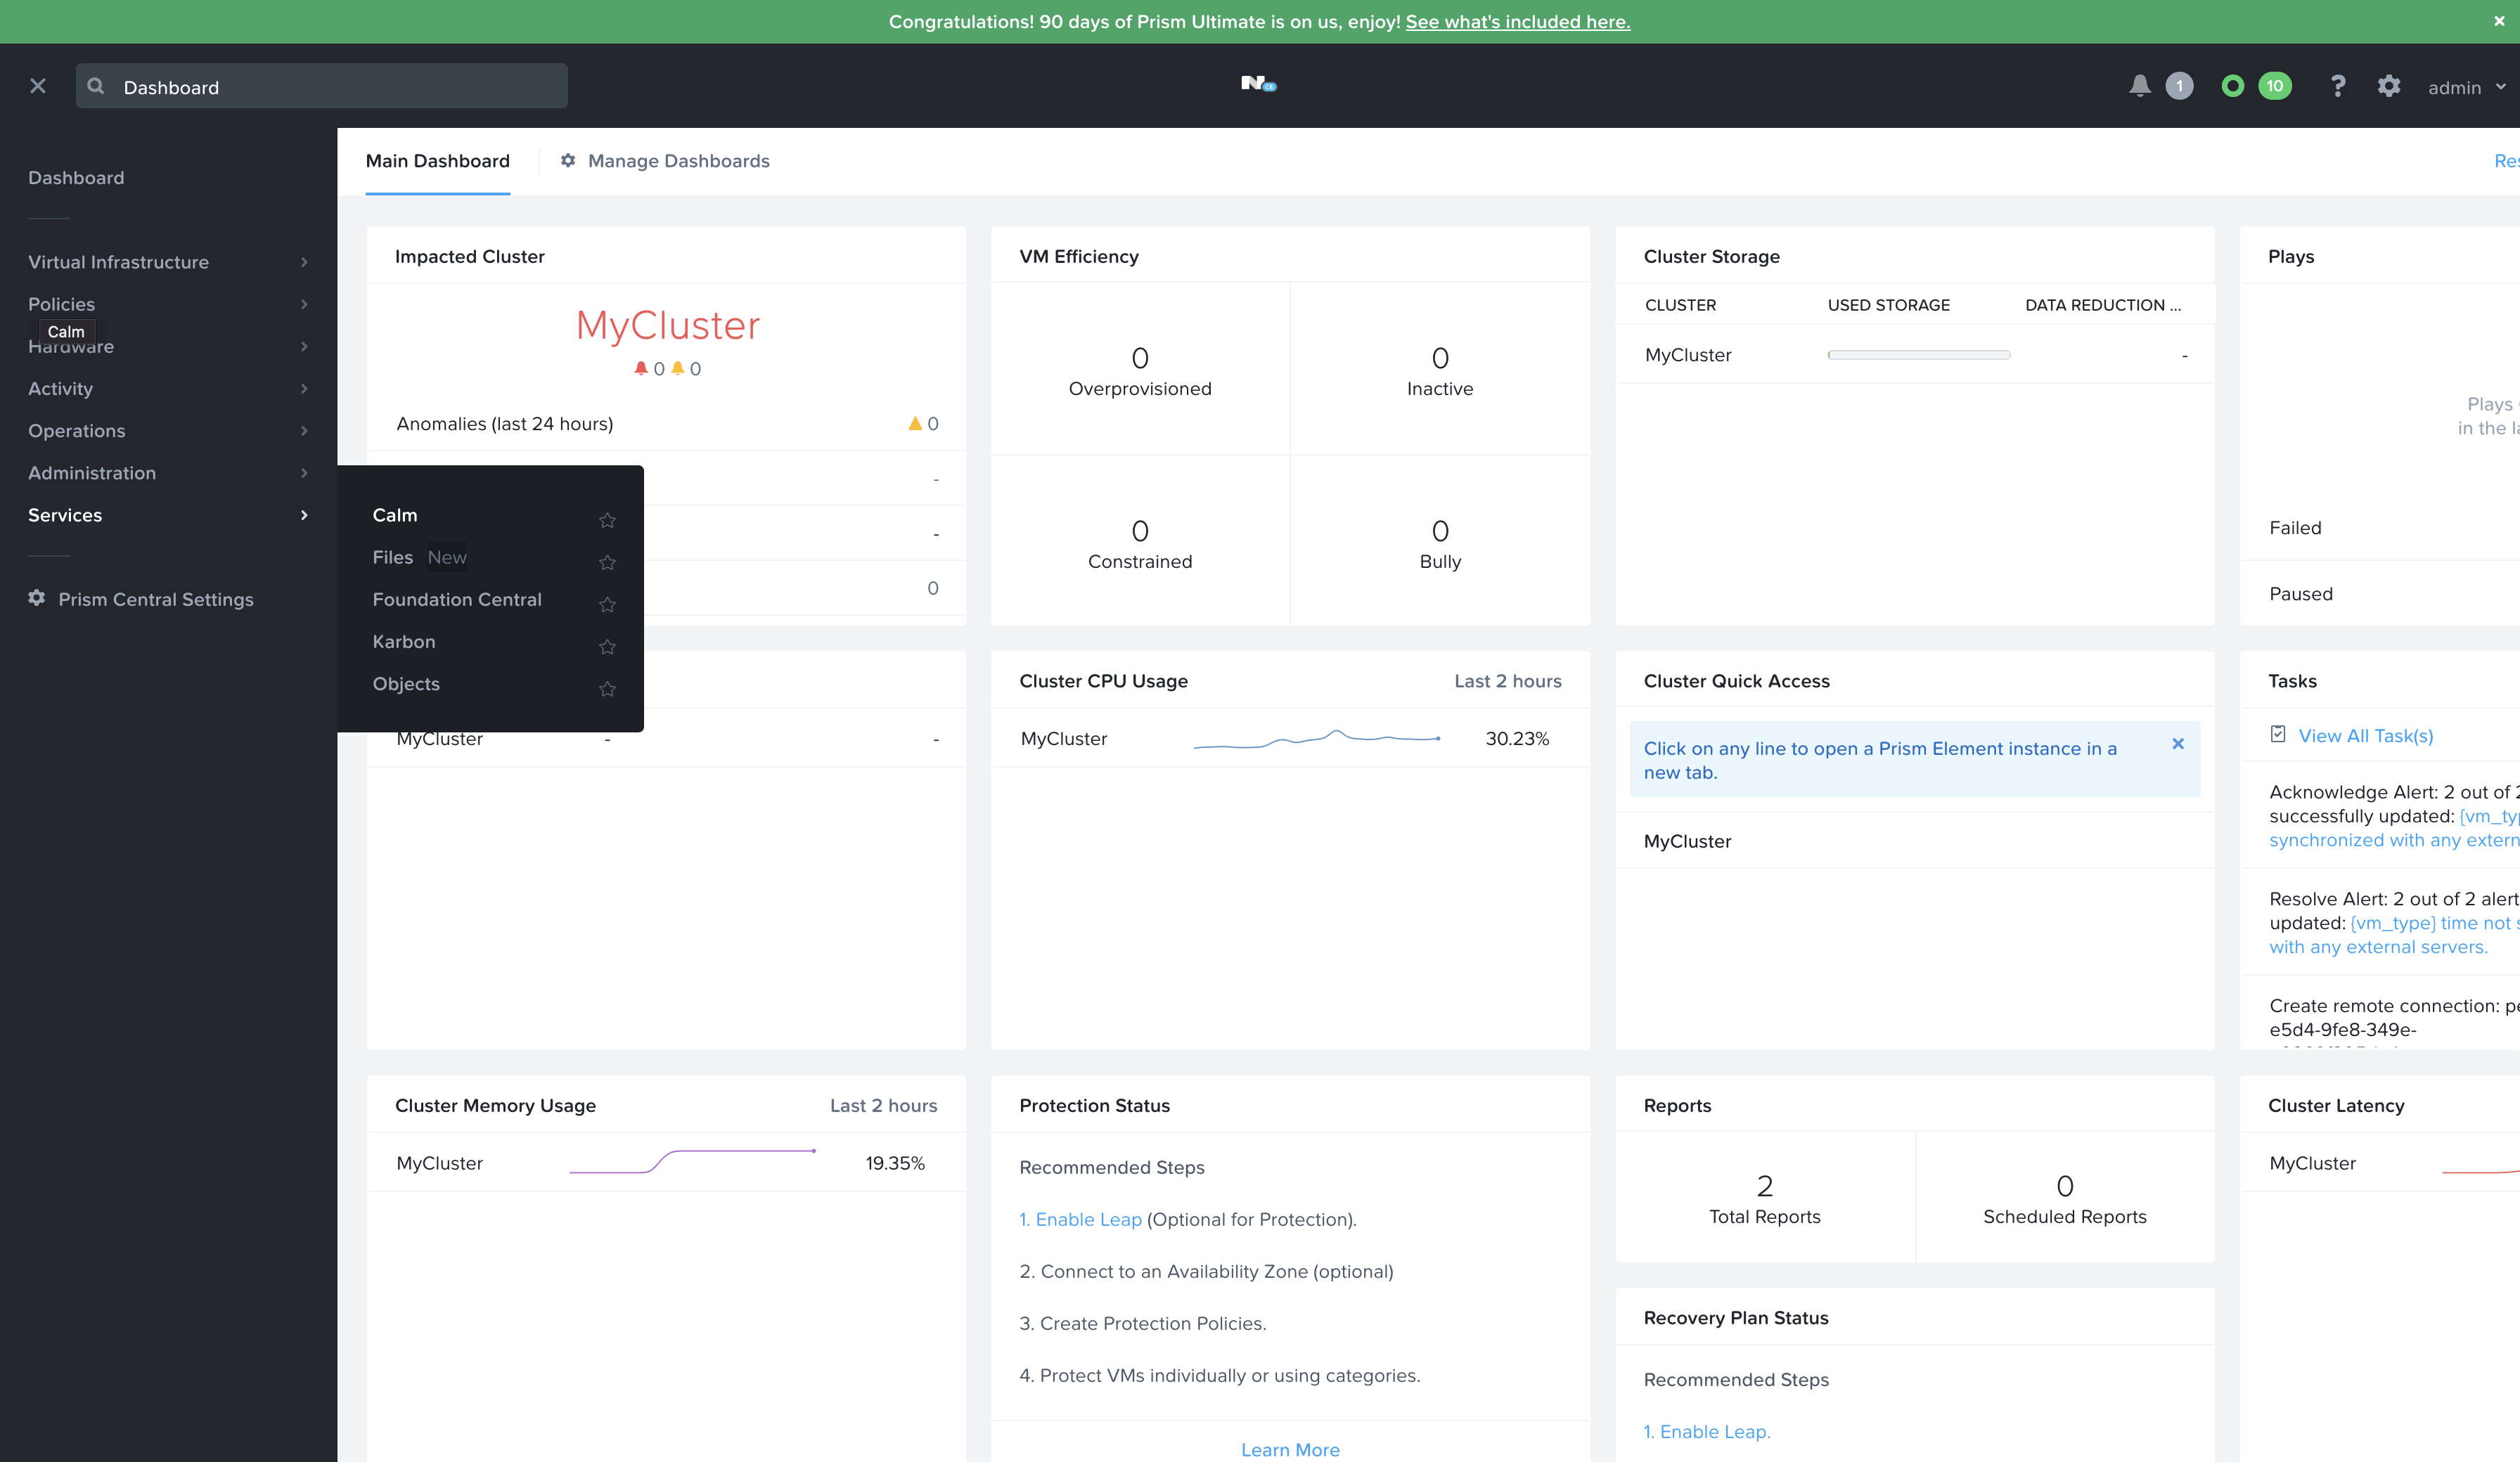
With Prism Central loaded, toggle the side-bar navigation pane with the hamburger menu (the button in the top left with the 3 horizontal lines). With the menu open, navigate to Services > Calm.
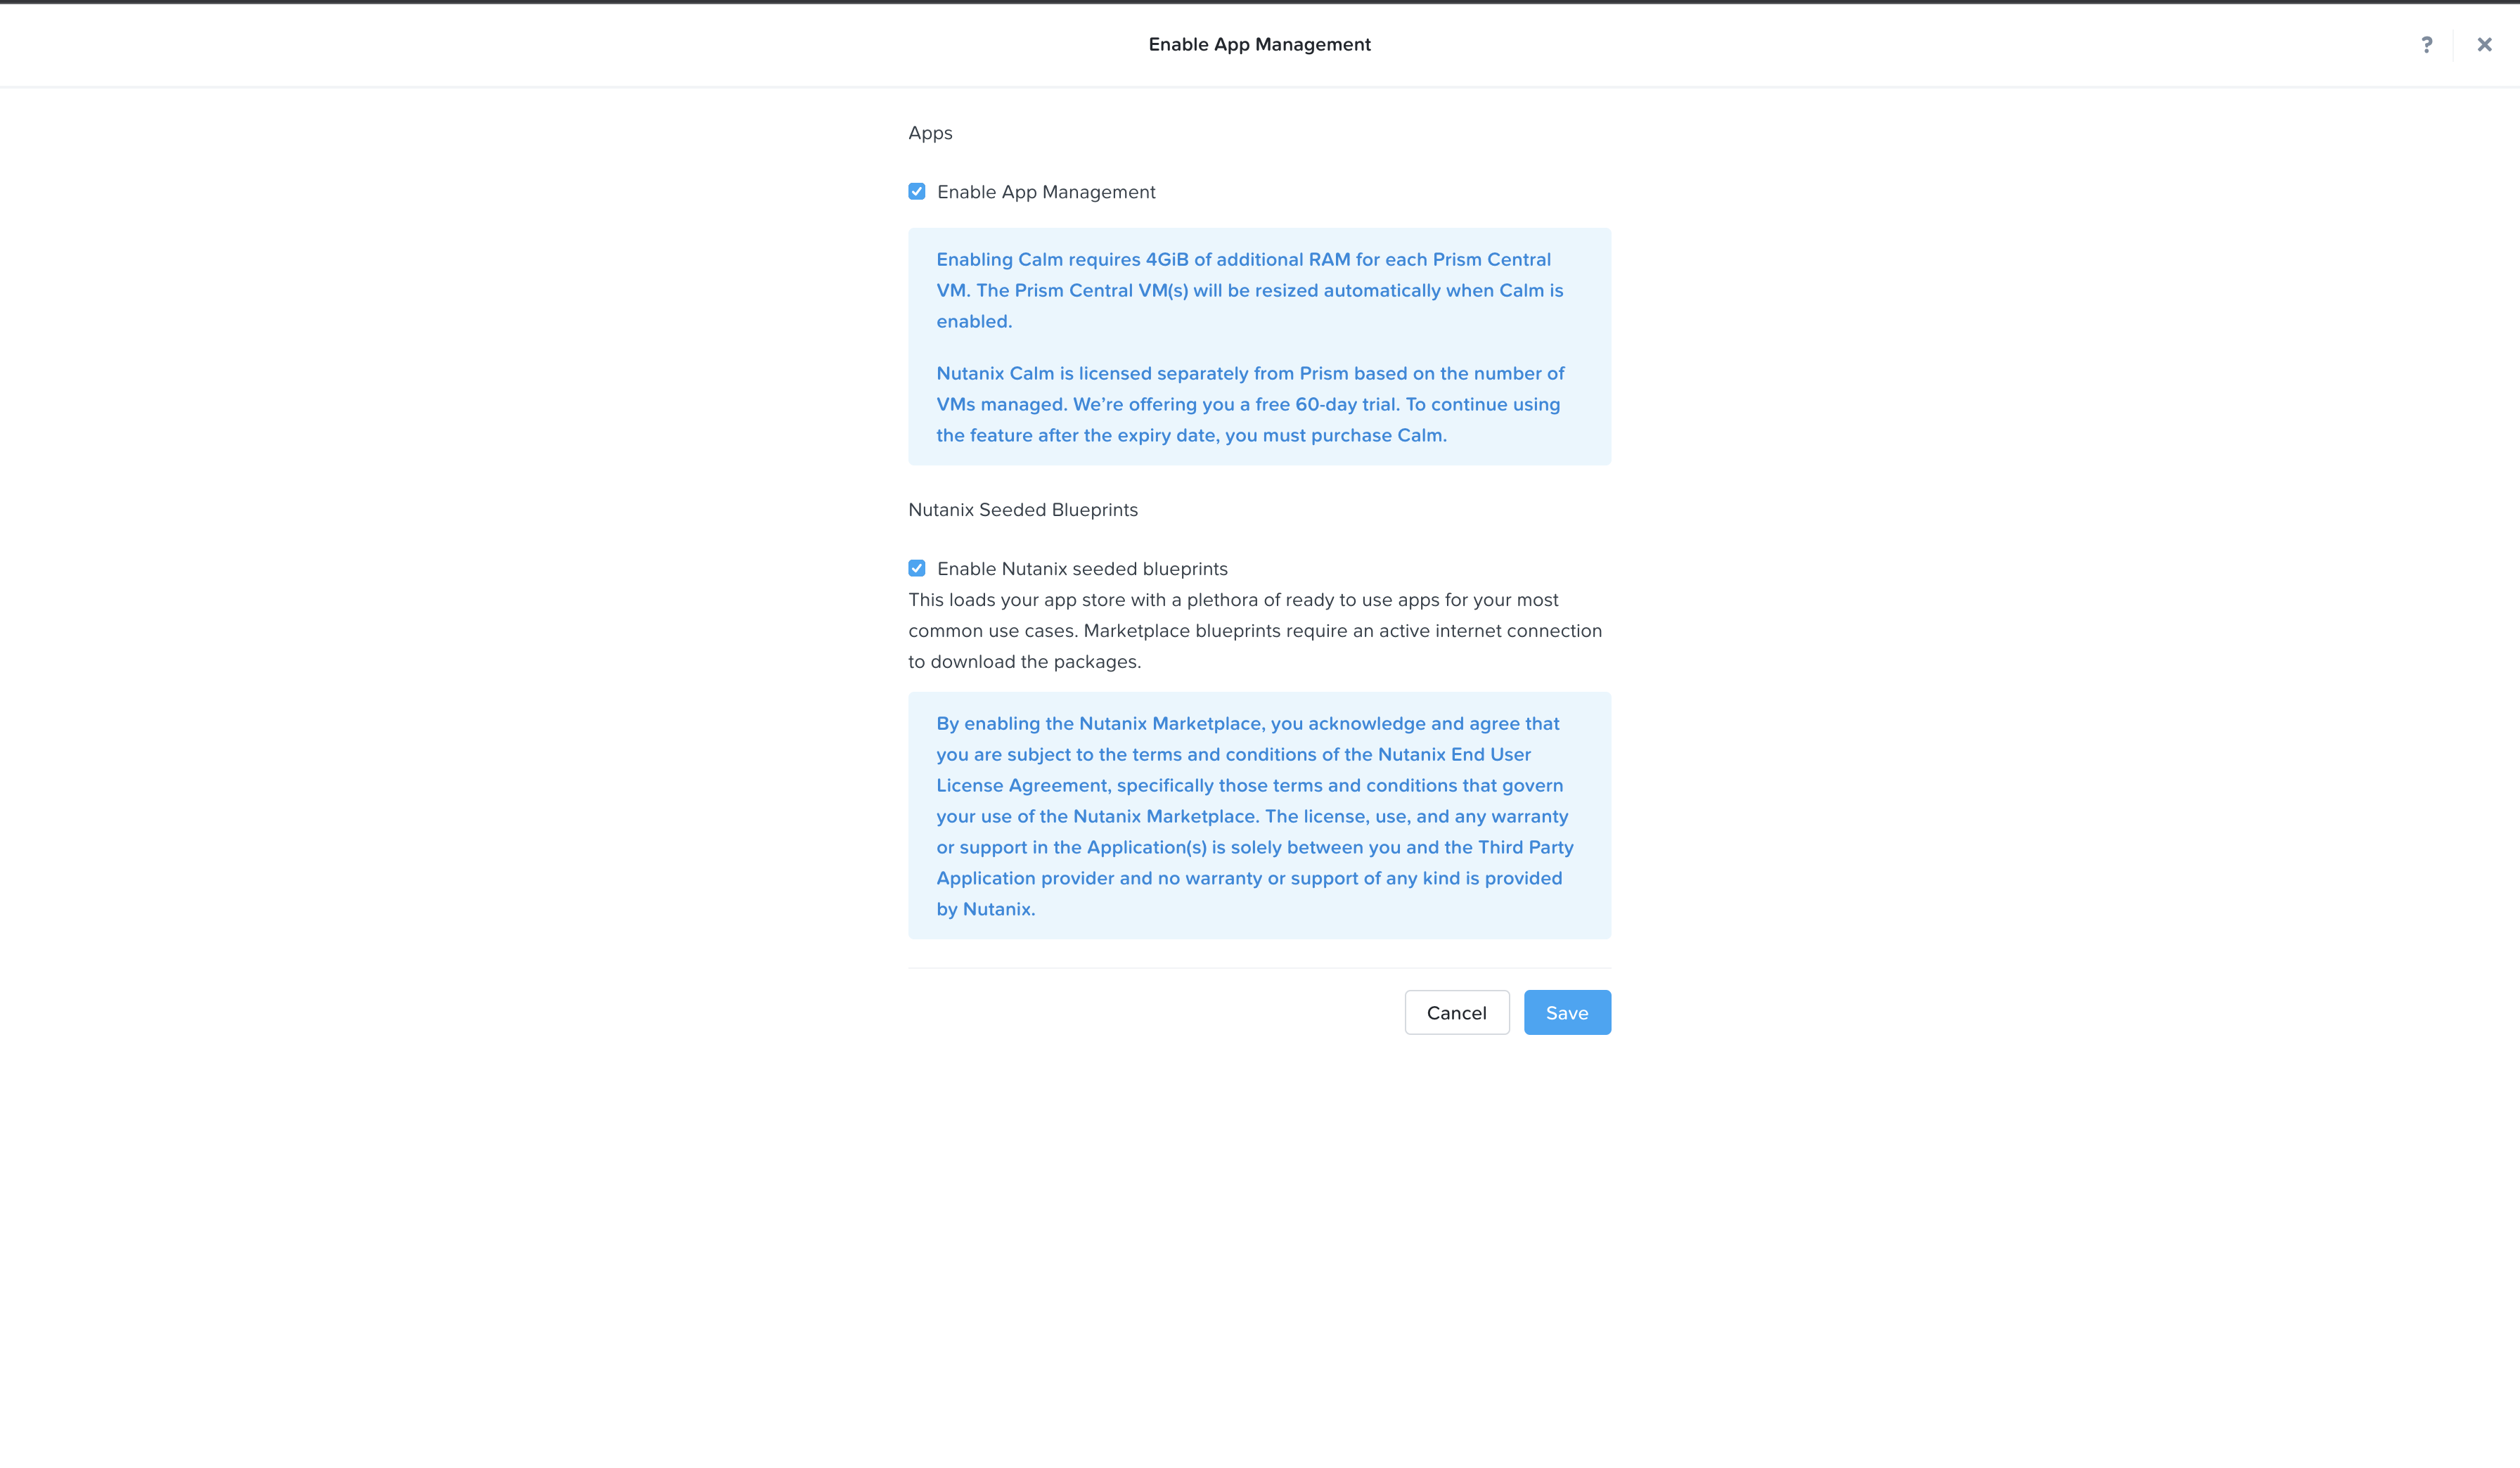
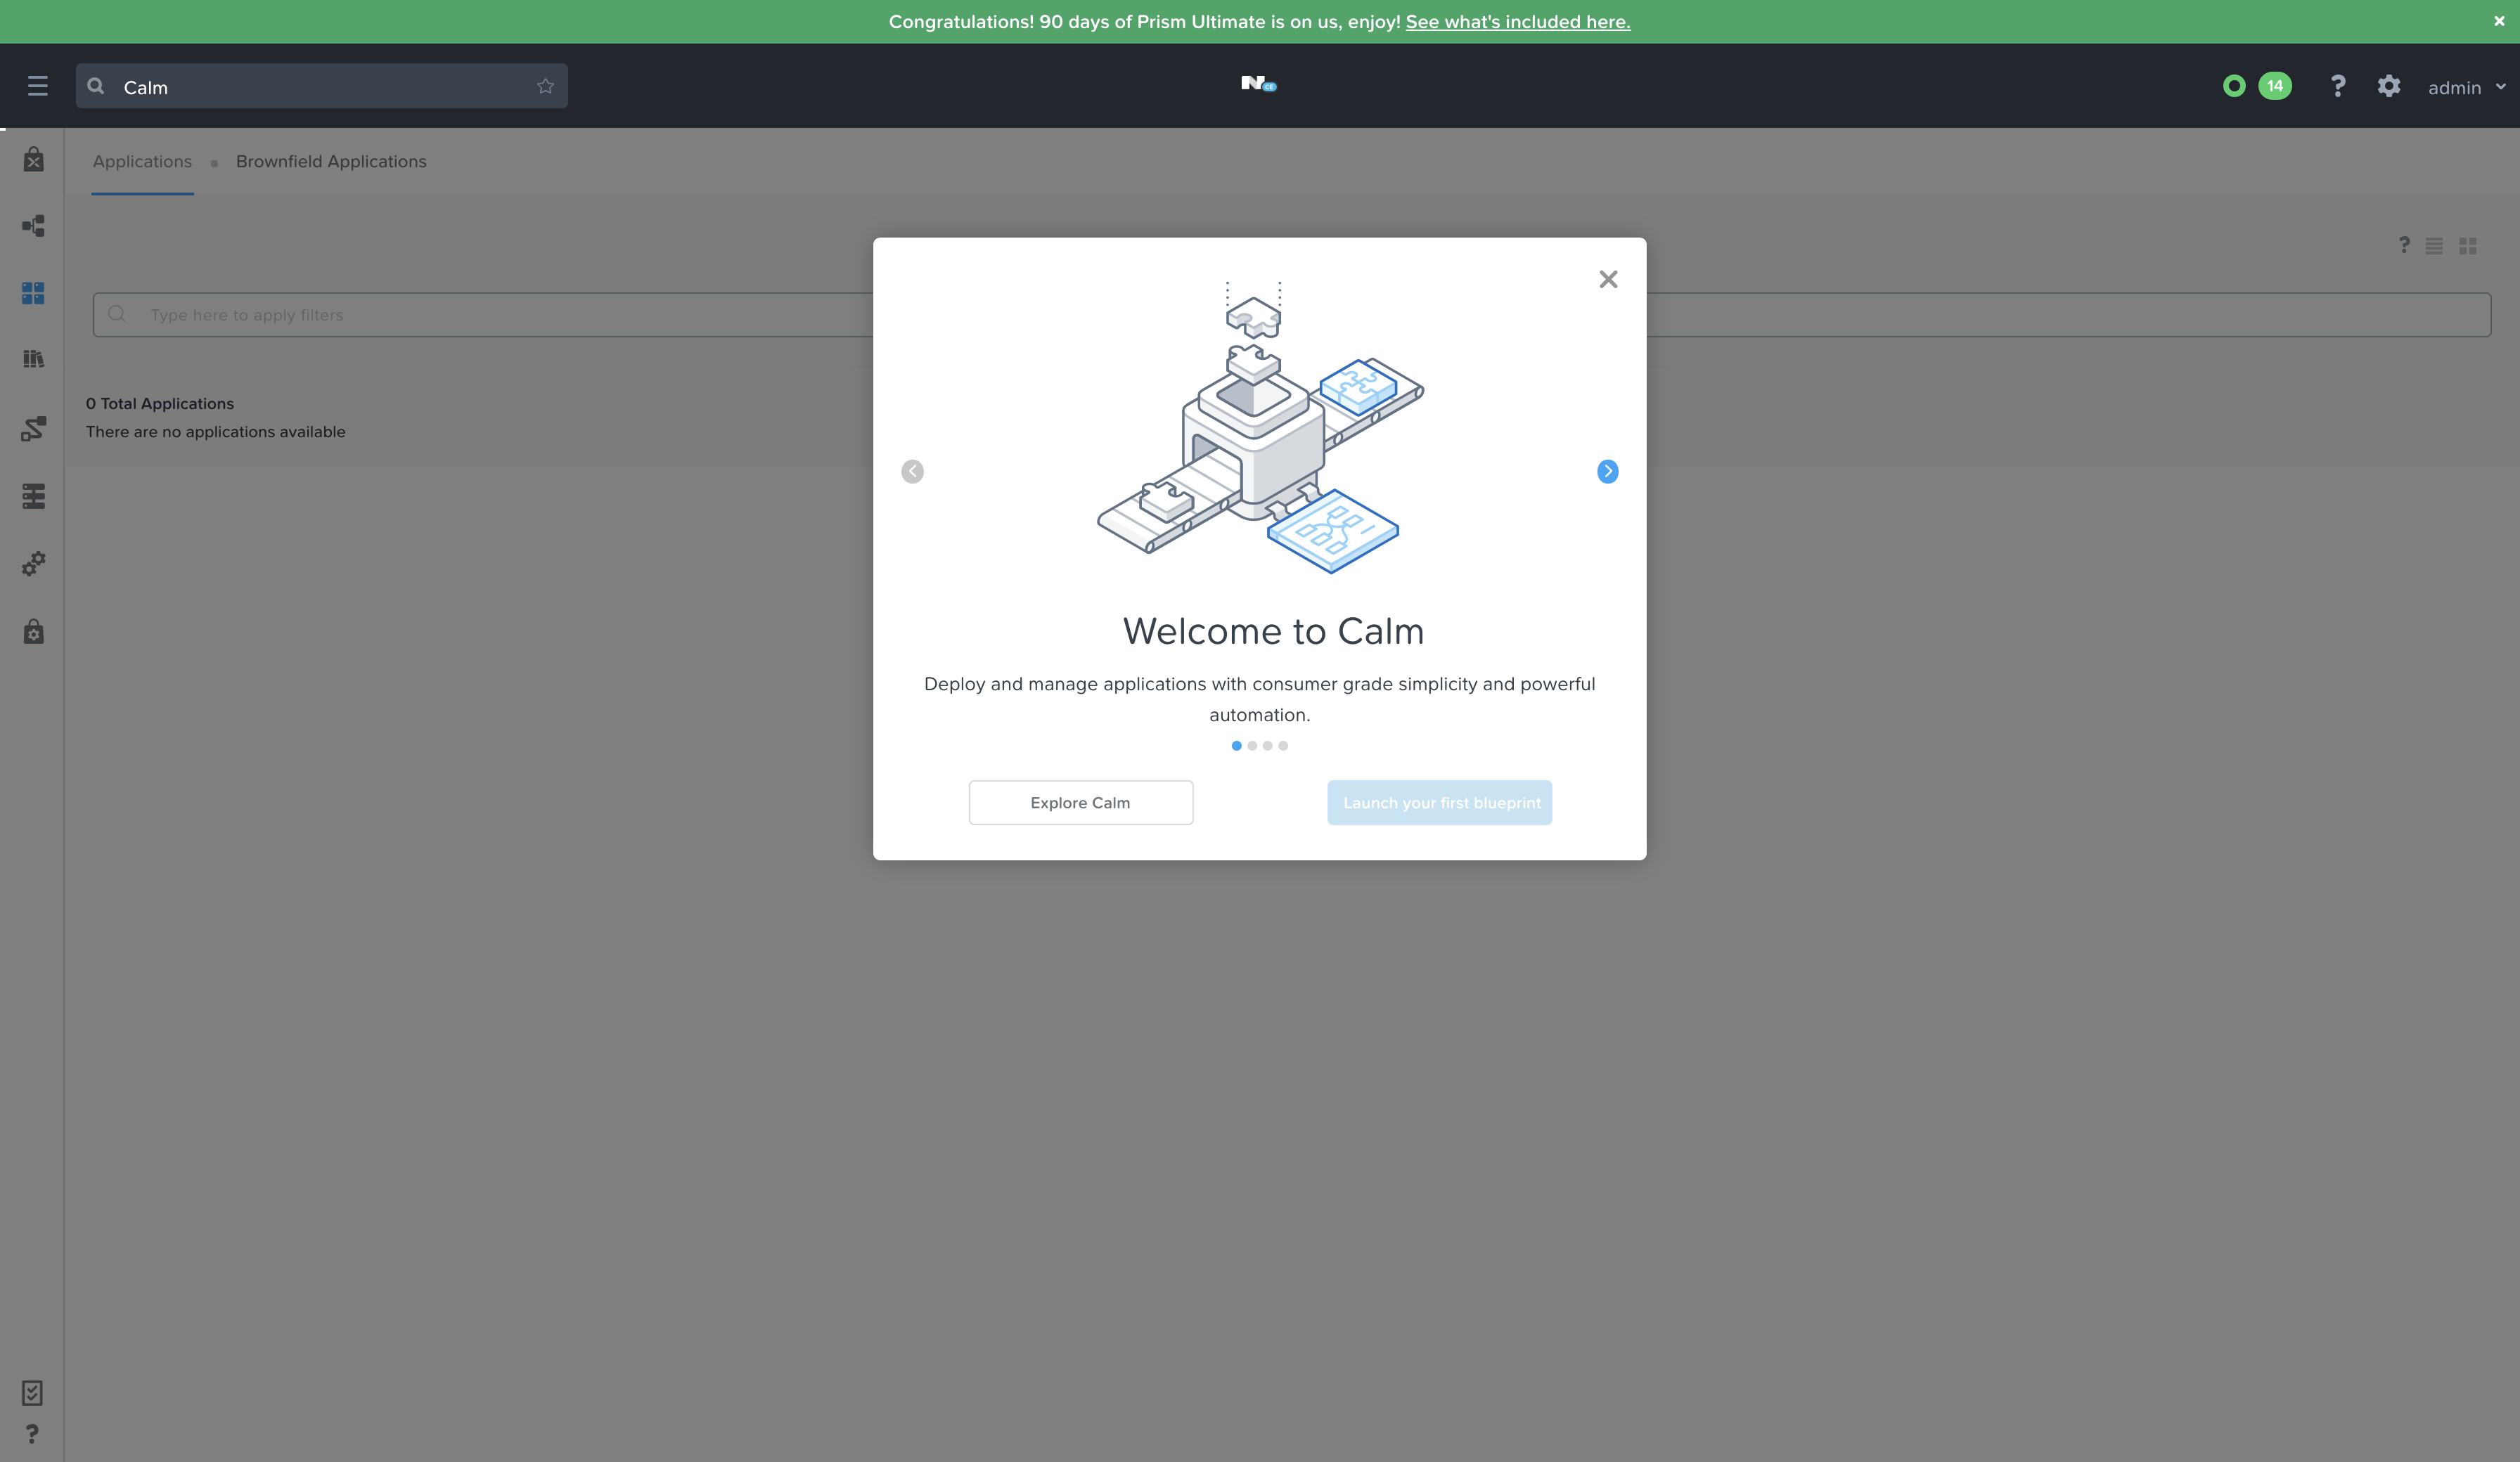
Click the “Enable App Orchestration (Calm)" button - check the boxes and click “Save” - wait for a few minutes while the Calm service deploys.
Next Steps
Now we can perform a large number of functions easily on the Nutanix platform - there are a number of other additional services that the cluster can provide, such as NFS via Files. Carving out a VM is pretty simple and user friendly though some advanced customizations and functions require some use of the CLI or API, and I’ll get into that in the next post where we’ll be deploying Red Hat OpenShift Container Platform onto this Nutanix HCI stack.

